Medical Disclaimer: The information provided on this website is for informational and educational purposes only and is not intended as personal medical or health advice. The content, including text, graphics, and images, is not a substitute for professional medical advice, diagnosis, or treatment. Always seek the advice of your physician or other qualified healthcare provider with any questions you may have regarding a medical condition or before starting any new exercise, nutrition, or supplement program. Never disregard professional medical advice or delay in seeking it because of something you have read on this blog. Reliance on any information provided by this site is solely at your own risk.
How to master squat form starts with clear cues and simple fixes. This guide gives you the exact steps, progressions, and checks I use with new lifters.
Direct answer: Grip the floor, brace 360°, knees track toes, neutral spine, descend to your depth, and stand by driving through midfoot.
You will learn the key cues, common mistakes and fixes, and an 8-week plan tied to mobility, strength, cardio support, and recovery habits.
Strong Mechanics Reduce Injury and Boost Power Transfer
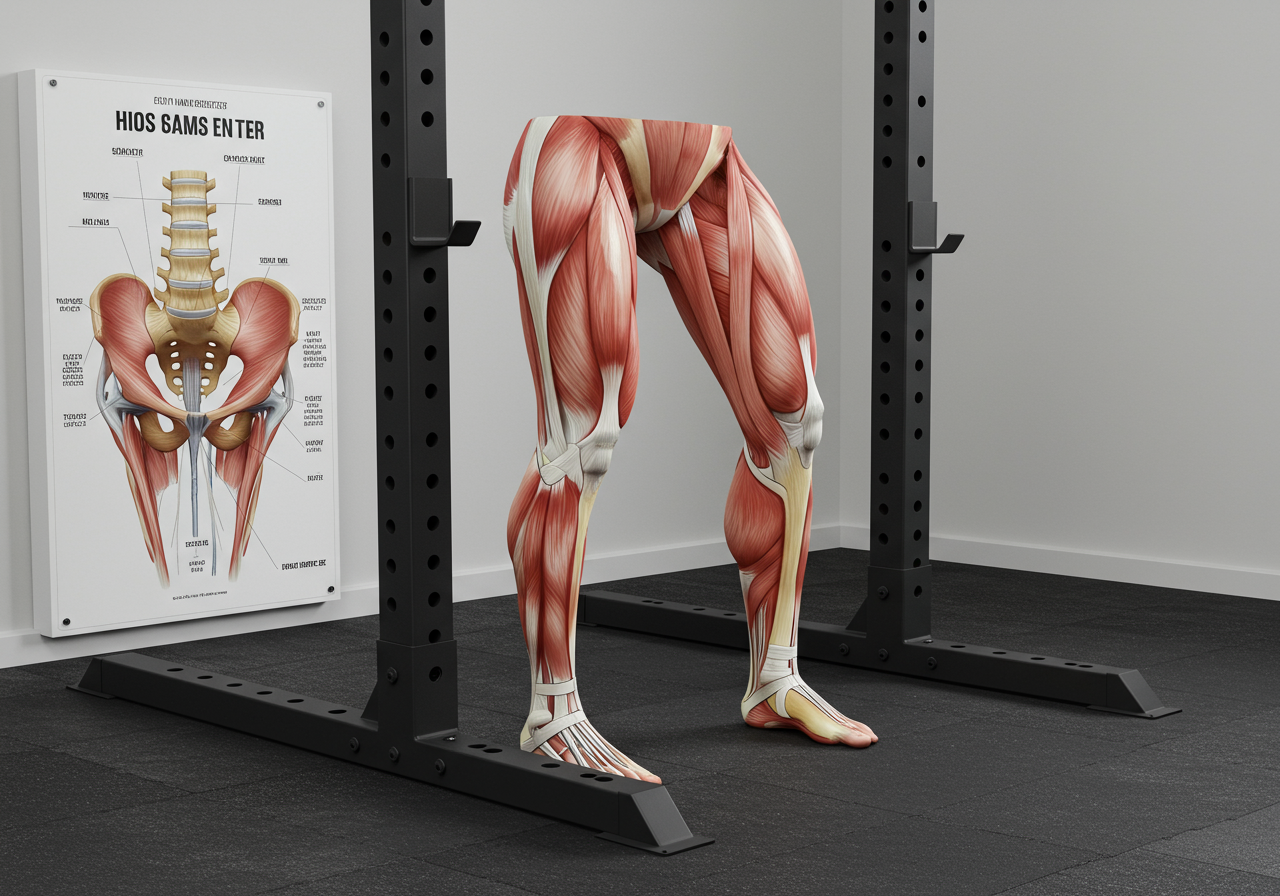
A strong, well-grooved squat builds legs and hips, reinforces a resilient trunk, and supports day-to-day movement. Good mechanics distribute load across knees, hips, and spine, which may reduce irritation and improve power transfer. In peer‑reviewed work, technique consistency and progressive loading are generally linked with better performance and fewer setbacks.
Squats also teach pressure management. When you brace 360° and keep your ribs stacked over your pelvis, your spine resists shear, and the bar path stays efficient. That usually means more reps at a lower perceived effort.
From my coaching logs, beginners who film two angles and follow RPE guidelines often report steadier progress and fewer form breakdowns. In recent beginner groups, knee discomfort reports fell while loads rose modestly over 6–8 weeks. Your results can vary, but the pattern is common in practice.
Client Maya: “The tripod foot cue stopped my heels from popping up. Within a month I hit depth without knee pinching.”
Cardio supports this work. Two weekly Zone 2 sessions help recovery and work capacity, making sets feel less breathy without exhausting your legs.
Eight Steps from Warm-Up to Standing Strong
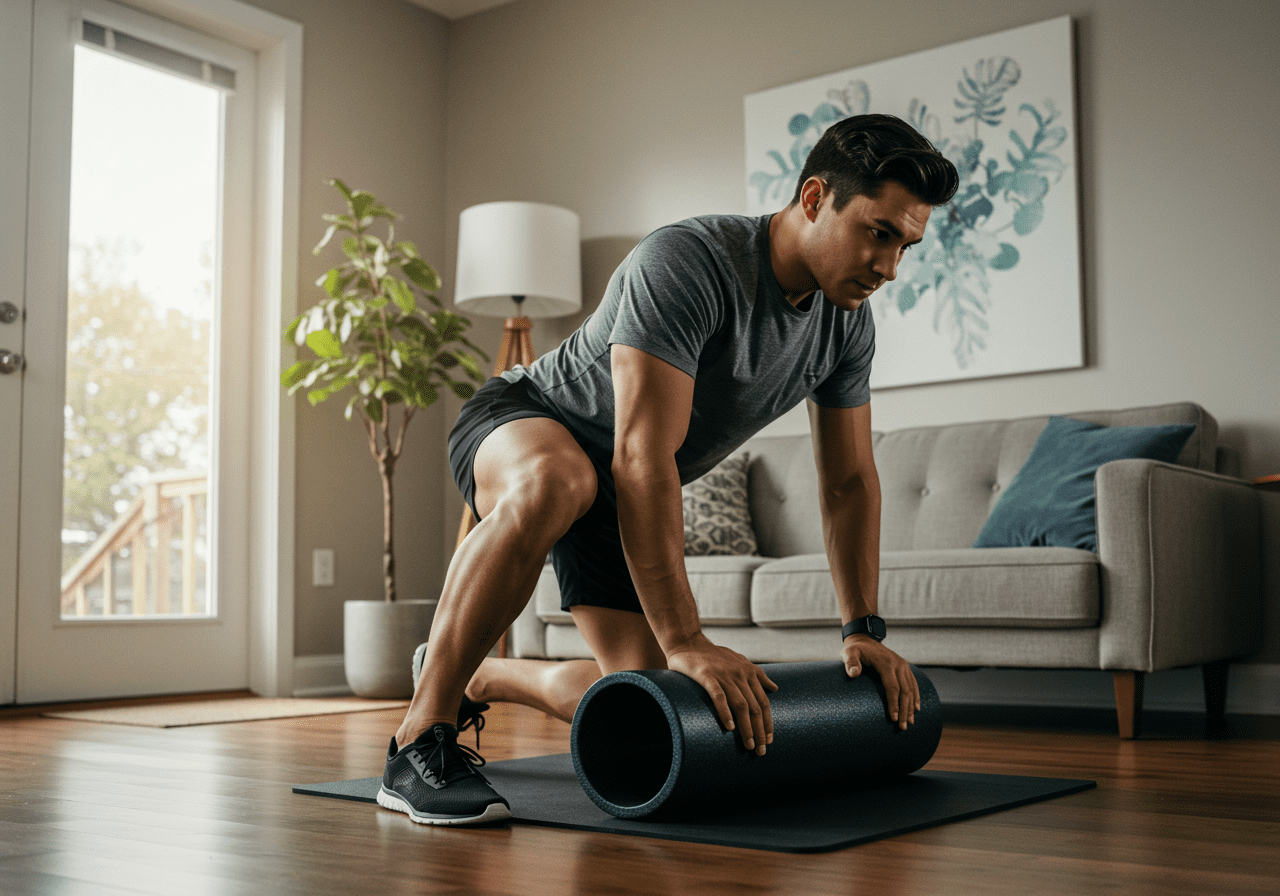
Warm-up — 5–8 minutes easy movement (bike or brisk walk), then 3 minutes mobility: ankle rocks, 90/90 hip switches, and two light goblet squat holds.
Stance & setup: Start shoulder‑width with toes slightly out. Build a tripod foot (big toe, little toe, heel). Set rack at mid‑chest. Use safety pins at or just below bottom depth.
Grip & bar position: For back squats, pull shoulder blades down, hands as close as comfortable, bar on mid‑trap (high‑bar) or rear delts (low‑bar). Keep wrists neutral.
Brace 360°: Inhale through nose, expand ribs and belly into the belt (or your hands). Think “wrap the torso with air.” Hold that pressure as you unrack.
Unrack & walkout: Stand tall, step back with two short steps, then a tiny third to settle. Feet under hips, weight centered.
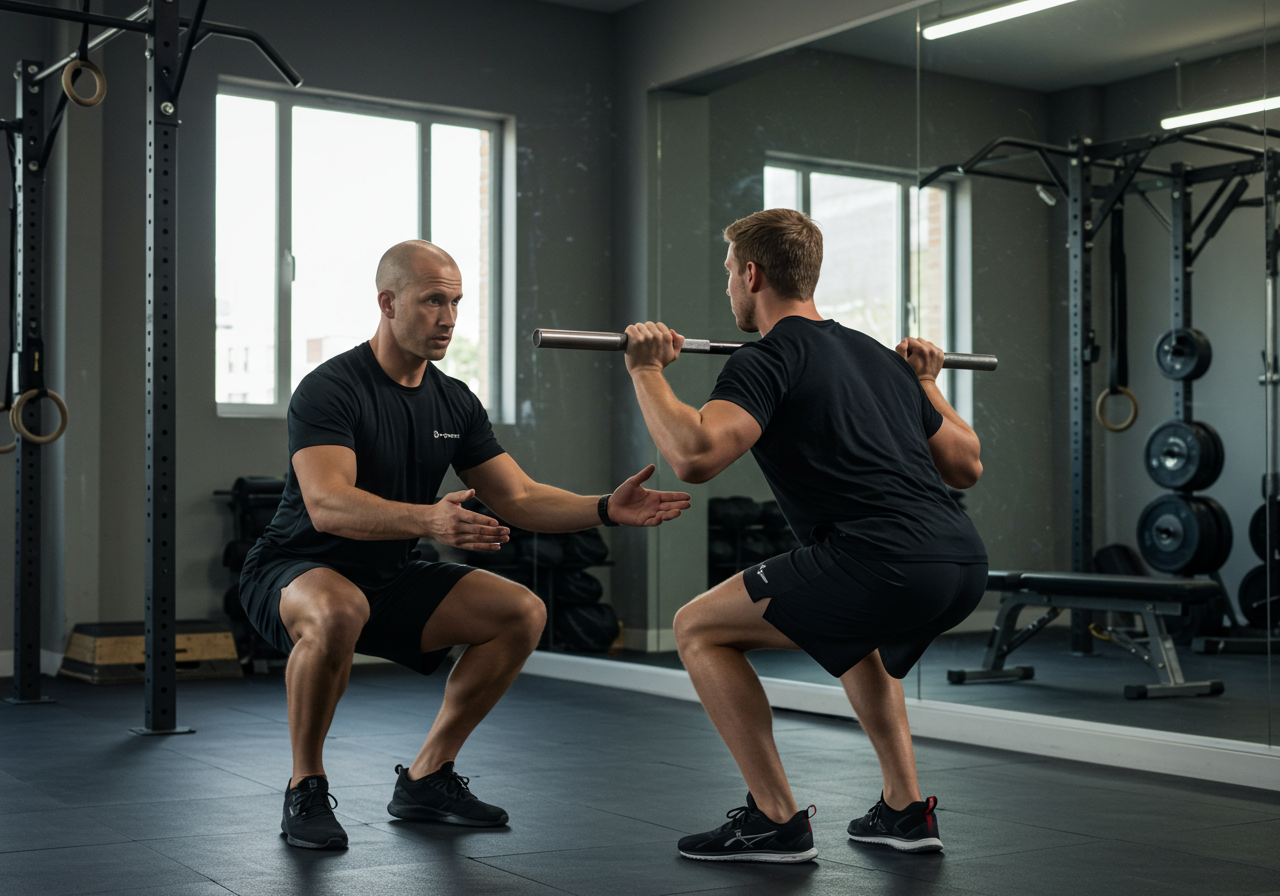
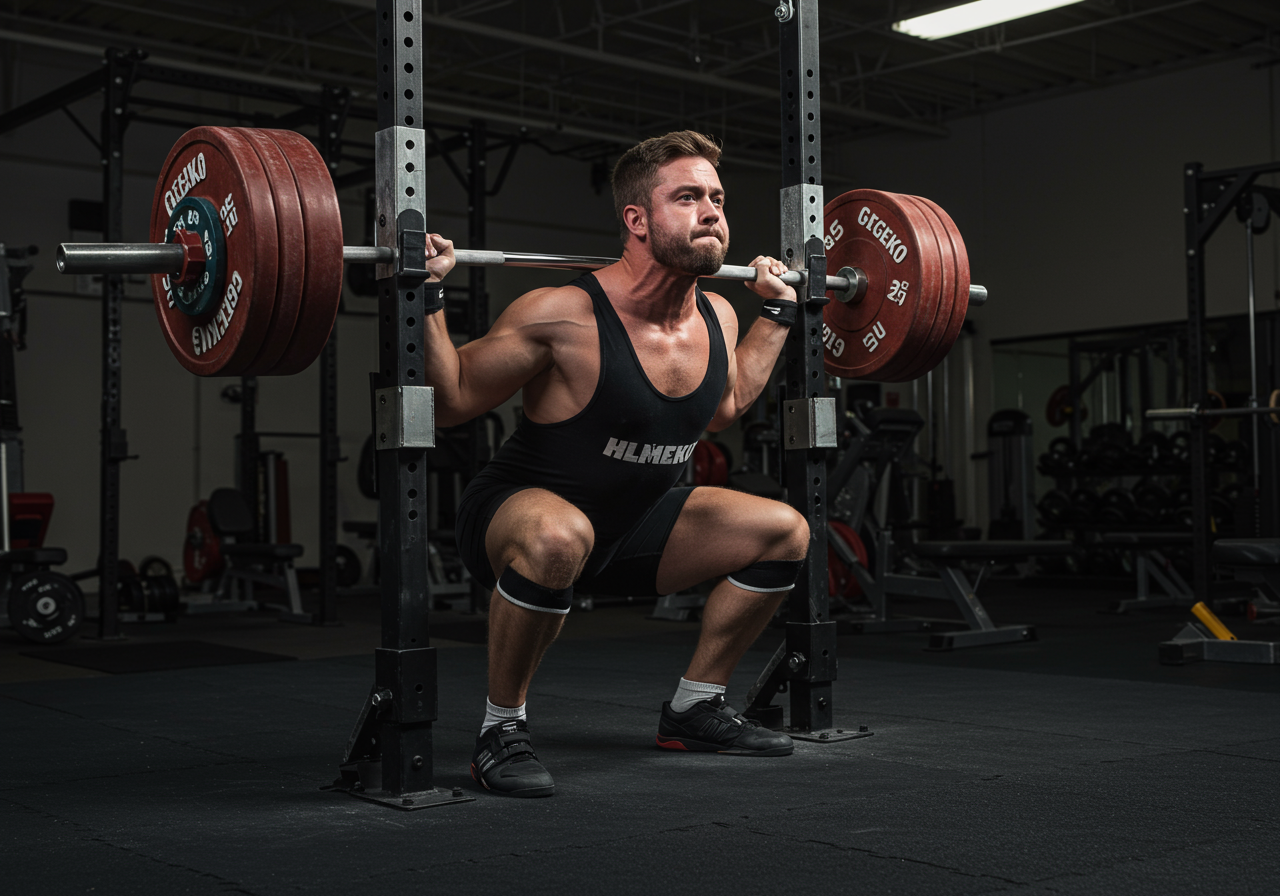
Descent cue: “Sit between the hips.” Knees track over toes. Keep ribs stacked over pelvis. Eyes fixed on a spot straight ahead or slightly down.
Bottom position: Stop at your current control depth. Preserve a neutral spine. If pelvis tucks hard (“butt wink”), shorten depth temporarily and add hip/ankle mobility work.
Ascent cue: Drive through midfoot. Hips and chest rise together. Exhale through the sticking point while keeping tension.
Common mistakes and fast fixes
Heels lifting: Spread the floor and grip it; add ankle rocks or a small heel wedge if needed.
Knees caving (valgus): Think “knees follow big toes”; try a light miniband just above the knees for feedback.
Folding forward: Strengthen core with front‑loaded squats and pauses; check stance is not too narrow.
Butt wink early: Shorten range to pain‑free depth, add hip capsule mobilizations and box squats at a maintainable depth.
Losing brace: Reset breath at the top; use 2–3 second eccentrics to own the pattern.
Neck cranked up: Keep a neutral gaze; think “long neck, heavy shoulders.”
Skill and mobility micro‑circuit (4–6 minutes)
Goblet squat hold x 20–30 seconds, focus on tripod foot and knees out.
Wall ankle dorsiflexion rocks x 8/side.
Paused bodyweight squat x 5 (2‑sec pause at bottom depth you can control).
Loading & effort — Start at RPE 6–7 (2–4 reps in reserve). Add 2.5–5 kg when all sets feel smooth and bar path stays vertical. Rest 2–3 minutes between working sets.
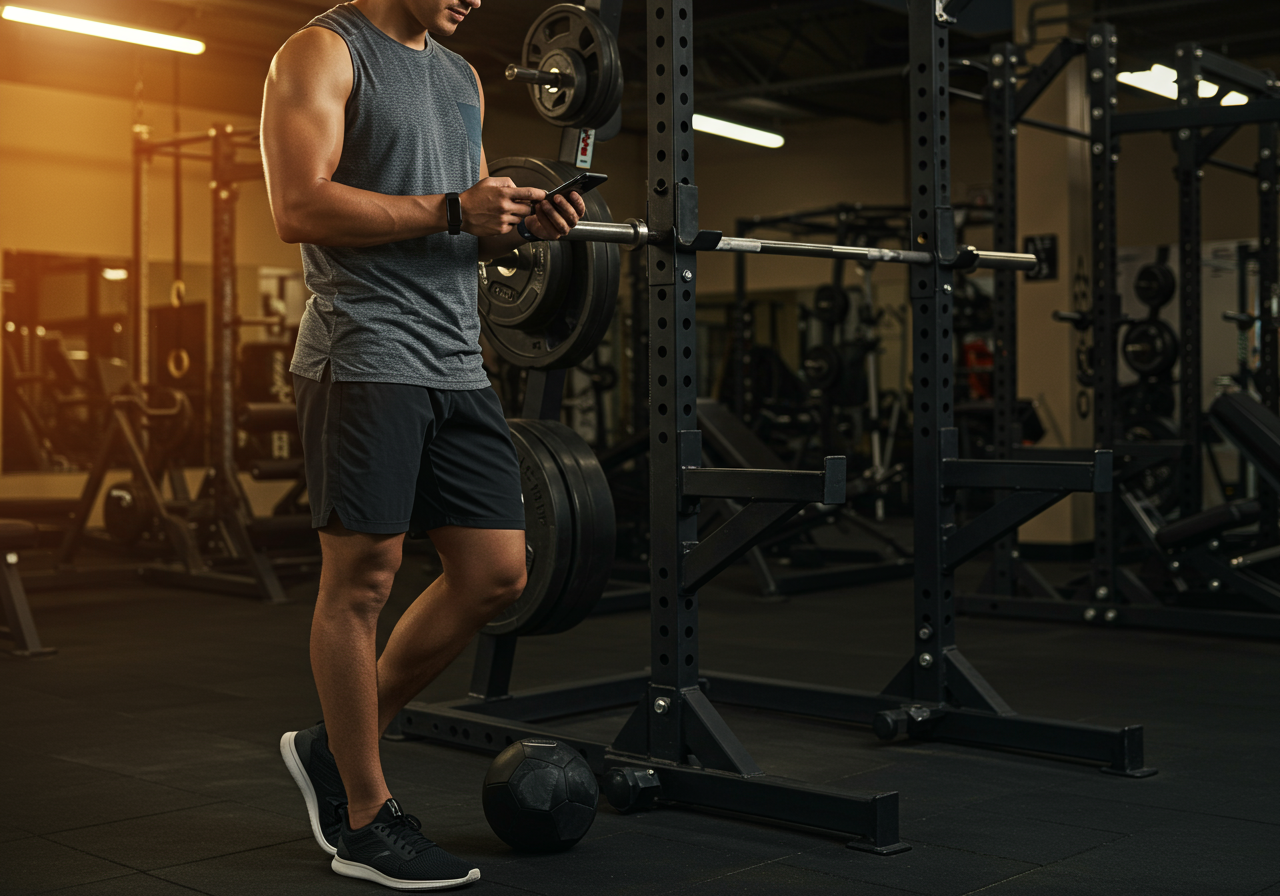
Tools — Film front‑quarter and true side angles. Apps like Coach’s Eye or your phone’s slow‑mo help. Log RPE, reps, and bar speed feel. I use Strava or Garmin for cardio days and MyFitnessPal to ensure enough protein.
Nutrition & recovery — Aim protein 1.6–2.2 g/kg/day, carbs around training, creatine monohydrate 3–5 g/day (if appropriate), and 7–9 hours sleep. Hydrate: clear urine by midday is a simple check.
Safety — Pain that sharpens or lingers needs a form check and, if necessary, a licensed clinician’s input. Train in a rack with safeties.
Twelve Weeks from Goblet Squats to Advanced Loading
Use three sessions weekly: A (Squat focus + pull), B (Squat variation + push), C (Front squat + posterior chain). Keep two Zone 2 cardio sessions (20–30 minutes) on non‑lifting days to support work capacity.
Caption: 8‑week squat mastery progression (RPE = perceived effort; add 2.5–5 kg when all sets move well).
Week 1: Goblet Squat 4x8 @ RPE 6; Paused BW Squat 3x6; DB RDL 3x10

Week 2: Goblet Squat 5x6 @ RPE 7; Box Squat (to solid depth) 3x8 light; Plank 3x30s

Week 3: Front Squat 4x6 @ RPE 6–7; Tempo 3-0-1 Goblet 3x8; Calf Raises 3x12

Week 4: Front Squat 5x5 @ RPE 7; Split Squat 3x8/side; Back Extensions 3x12 (easy)

Week 5: Back Squat (high-bar) 4x5 @ RPE 7; Paused Back Squat 3x3 @ RPE 6; Rows 3x8

Week 6: Back Squat 5x4 @ RPE 7–8; Front Squat 3x3 @ RPE 6; Hamstring Curls 3x10

Week 7: Back Squat 4x3 @ RPE 8; Heeled (wedge) Squat 3x6 light for ankle mobility; Core carry 3x30m

Week 8: Back Squat 3x2 @ RPE 8, then 1–3 technique singles @ RPE 7; Easy accessories only
Beginner path: Stay with goblet and box squats until knees track and depth is stable. Film every session. Front squat only when the torso stays tall under load.
Intermediate path: Alternate front and back squat weekly. Add pauses or tempos to fix specific weak zones. Small plates (0.5–1.25 kg) keep momentum.
Advanced path: Rotate variations by block: high‑bar, low‑bar, front, and pause squats. Use RPE 7–9 sparingly, keep volume sustainable, and schedule a deload every 4–6 weeks.
Weekly structure example — A: Squat + horizontal pull; B: Front or box squat + press; C: Squat variation + hinge. Cardio: 2 x 25 min Zone 2; optional 6 x 30‑second brisk repeats once weekly if recovery is solid.
Outcome checks — Depth consistent on video, bar path closer to midfoot, fewer missed reps, and stable RPE. In similar cohorts, these checks aligned with steady load increases without nagging knee discomfort.
Track RPE, Manage Fatigue, and Navigate Plateau Fixes
Frequency: Squat 2–3 days per week with at least one rest day between hard squat sessions. Keep most work at RPE 6–8; finish sessions feeling like you could do one more set.
Monitoring: Track sets, reps, RPE, and a brief note like “knees caved set 3.” Weekly wins: depth, speed, or stability. Optional: HRV or morning readiness to flag fatigue.
Plateau fixes: Reduce top set by 5–10% for two weeks, add pause squats, and increase protein by ~10% at meals. Micro‑load the bar and sharpen sleep consistency.
Overuse signs: Persistent joint ache, sleep disruption, or motivation drop. Respond with a deload week, extra Zone 2 instead of more volume, and a technique review.
Pain navigation: If sharp pain persists or radiates, pause heavy lifting and consult a clinician. Short‑term modifications: box squats, reduced range, or front squats; stay within a calm, controlled pattern.
Client Ben: “The ‘knees follow toes’ cue and a small heel wedge ended my knee pinch. Two weeks later, squats felt smooth again.”
Recovery & nutrition: Eat protein at each meal, hydrate, and place carbs near training. A low‑stim pre‑session snack and a post‑lift meal support recovery. Gentle walks the day after squats enhance blood flow.
Next steps: Download my squat checklist and RPE log, film two angles next session, and re‑test your cues.
Medical Disclaimer: The information provided on this website is for informational and educational purposes only and is not intended as personal medical or health advice. The content, including text, graphics, and images, is not a substitute for professional medical advice, diagnosis, or treatment. Always seek the advice of your physician or other qualified healthcare provider…
Medical Disclaimer: The information provided on this website is for informational and educational purposes only and is not intended as personal medical or health advice. The content, including text, graphics, and images, is not a substitute for professional medical advice, diagnosis, or treatment. Always seek the advice of your physician or other qualified healthcare provider…
Medical Disclaimer: The information provided on this website is for informational and educational purposes only and is not intended as personal medical or health advice. The content, including text, graphics, and images, is not a substitute for professional medical advice, diagnosis, or treatment. Always seek the advice of your physician or other qualified healthcare provider…
Medical Disclaimer: The information provided on this website is for informational and educational purposes only and is not intended as personal medical or health advice. The content, including text, graphics, and images, is not a substitute for professional medical advice, diagnosis, or treatment. Always seek the advice of your physician or other qualified healthcare provider…
Medical Disclaimer: The information provided on this website is for informational and educational purposes only and is not intended as personal medical or health advice. The content, including text, graphics, and images, is not a substitute for professional medical advice, diagnosis, or treatment. Always seek the advice of your physician or other qualified healthcare provider…
Medical Disclaimer: The information provided on this website is for informational and educational purposes only and is not intended as personal medical or health advice. The content, including text, graphics, and images, is not a substitute for professional medical advice, diagnosis, or treatment. Always seek the advice of your physician or other qualified healthcare provider…