Medical Disclaimer: The information provided on this website is for informational and educational purposes only and is not intended as personal medical or health advice. The content, including text, graphics, and images, is not a substitute for professional medical advice, diagnosis, or treatment. Always seek the advice of your physician or other qualified healthcare provider with any questions you may have regarding a medical condition or before starting any new exercise, nutrition, or supplement program. Never disregard professional medical advice or delay in seeking it because of something you have read on this blog. Reliance on any information provided by this site is solely at your own risk.
Quick Routine to Ease Stiffness and Improve Movement
Foam rolling and myofascial release help beginners ease stiffness, move better, and warm up quickly. Today you’ll learn a complete, staged routine you can keep for life.
Roll each major muscle 30–60 seconds, 5–10 minutes total, then perform active mobility for those areas.
What to expect: clear steps, beginner-to-advanced progressions, common mistakes to avoid, and how to track whether it’s actually working. I’ll share routines I use with clients and in my own training weeks, including how I pair rolling with lifting, running, and recovery.
How Fascia Works and What Research Actually Shows
Fascia is a connective web around your muscles. Gentle pressure from a roller or ball stimulates mechanoreceptors and can temporarily reduce muscle tone, easing the sensation of tightness. Practically, that means easier joint motion and a calmer nervous system before you train.
In peer‑reviewed research, foam rolling tends to produce short‑term increases in range of motion and small reductions in soreness without harming strength. Performance changes vary by person, so I treat it as a complement to strength and mobility, not a magic fix.
Tools compared in practice: a soft roller spreads pressure (great for beginners); a firm roller or peanut reaches deeper; a lacrosse ball targets small areas like glutes or feet; massage guns add vibration but can cause people to rush. I prefer slow, controlled pressure with breathing—simple, repeatable, and easy to dose.
Client feedback mirrors the literature: better ease of movement and less next‑day tightness. A few clients felt no benefit until we shortened sessions and followed rolling with 2–3 active mobility drills; then their warm‑ups felt purposeful rather than sleepy.
Six-Minute Rollout Sequence with Breathing and Timing Cues
Set a timer for 6–10 minutes. Breathe slowly through your nose. Move at 1–2 cm/second. On tender spots, pause and soften your breath for 20–30 seconds, then move on.
Scan: Stand tall. Reach overhead, perform a bodyweight squat, and do a calf knee‑to‑wall test. Notice sticky areas.
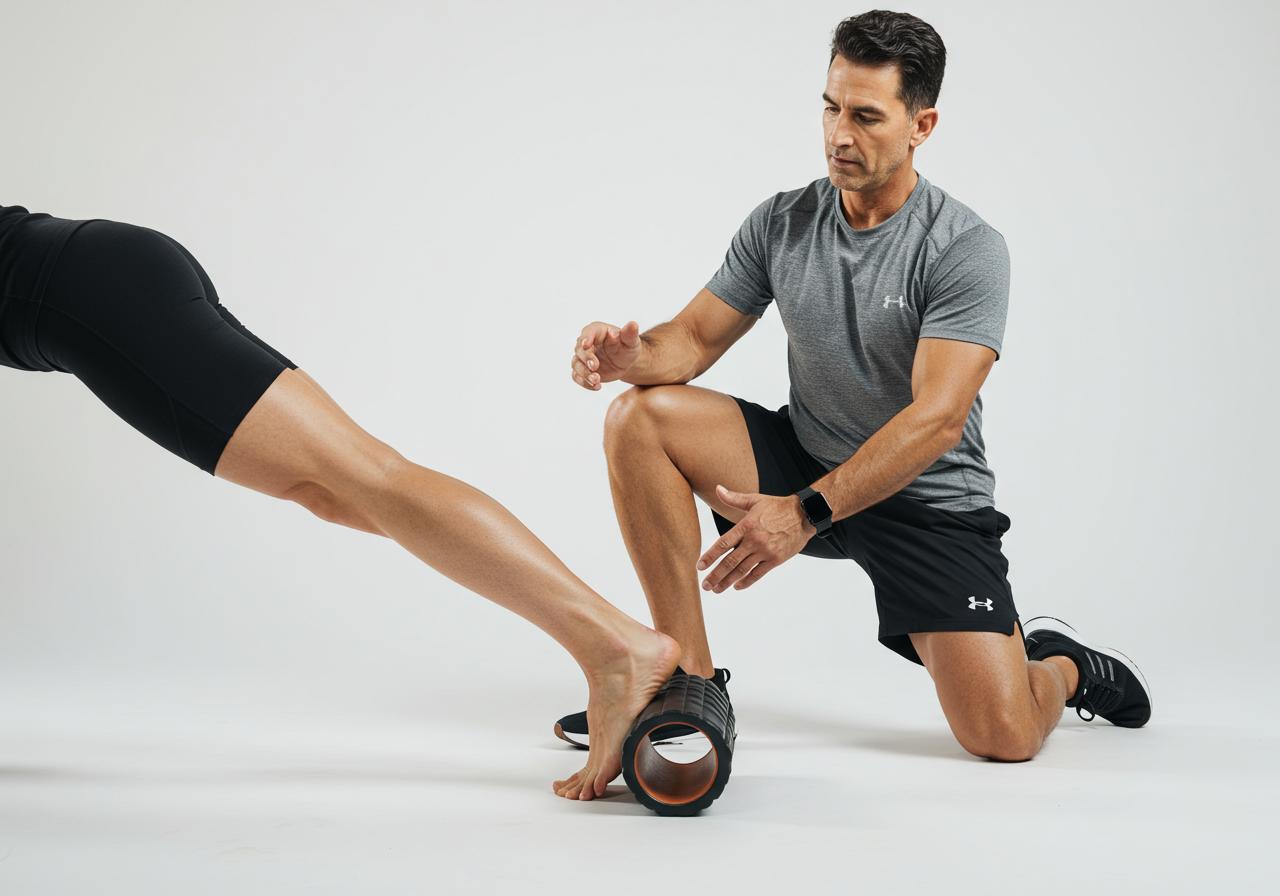
Calves: Sit with one calf on the roller. Roll from Achilles to below the knee, rotating inward/outward. 30–60 seconds per side.
Quads: Face down, roller under thighs. Slow passes from just above the knee to hip crease. 60 seconds each thigh; add a few knee bends while holding pressure.
Adductors (inner thigh): One leg out to the side, roller along inner thigh. Small, slow sweeps. 30–45 seconds.
Glutes/piriformis: Sit on a ball or small roller, cross one ankle over the opposite knee. Explore outer glute. 45–60 seconds per side.
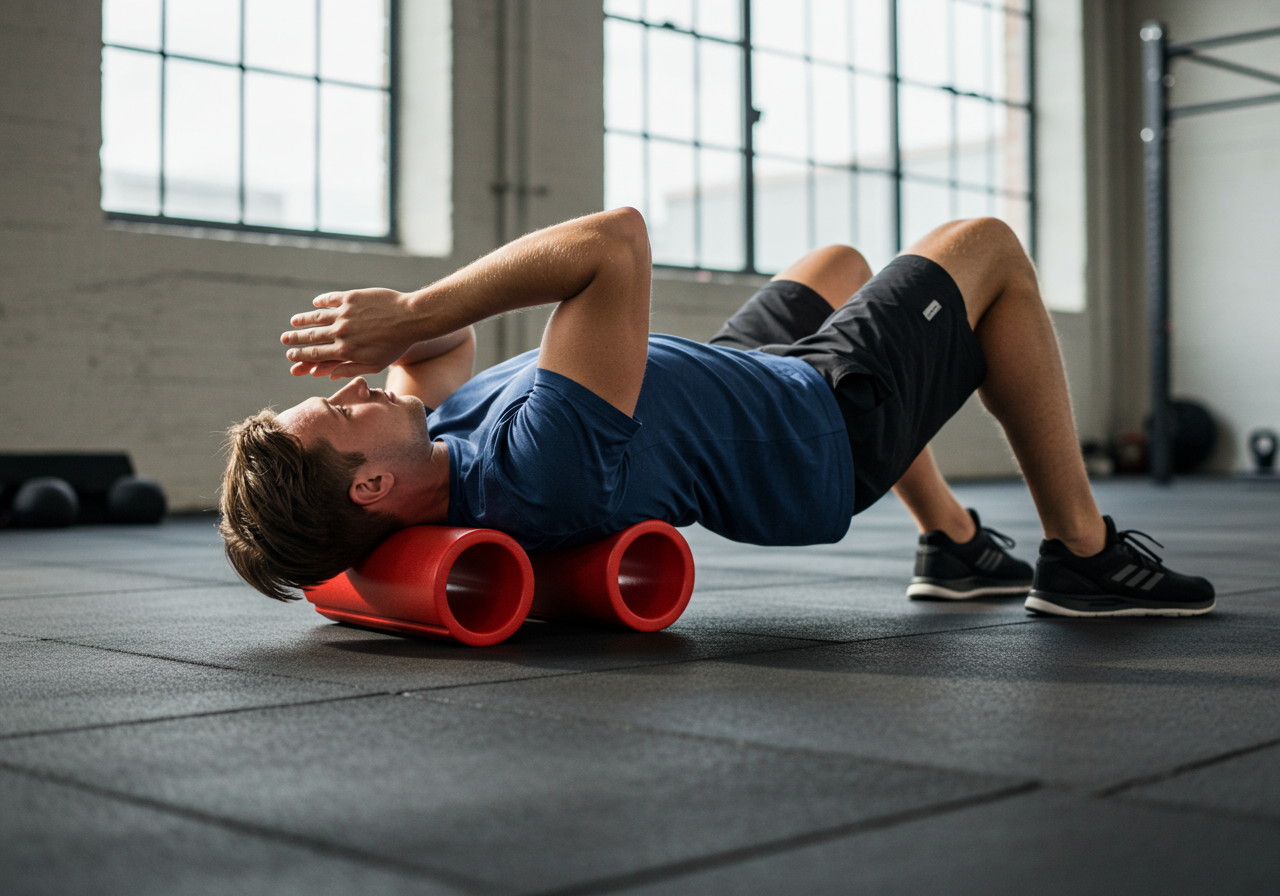
Thoracic spine (mid‑back): Lie with the roller across your upper back. Support your head, lift hips, and make 3–5 slow passes. Pause and take 3 deep breaths at stiff spots.
Lats: Side‑lying, roller under armpit area. Gentle, small movements. 30–45 seconds per side.
Feet (optional): Stand and roll a ball under the arch for 60 seconds per foot. Keep pressure tolerable.
Lock it in: Immediately do 1–2 mobility drills that match what you rolled—e.g., ankle rocks after calves, couch stretch after quads, or cat‑camel and T‑spine rotations after back.
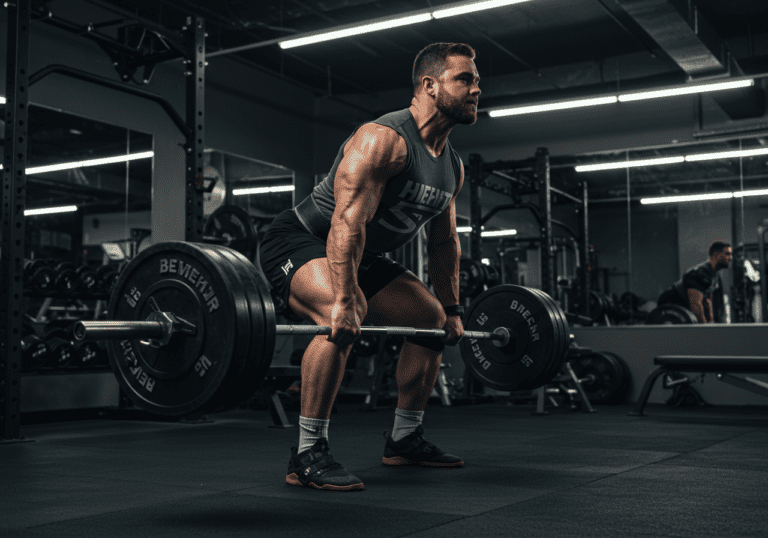
Pre‑lift example (7–9 minutes): calves, quads, glutes, T‑spine, then 10 controlled bodyweight squats and band pull‑aparts. My experience: squat warm‑ups feel smoother, and I reach depth with less cueing.
Post‑run example (5–7 minutes): calves, quads, glutes; finish with ankle circles and hip openers. After harder intervals (logged on Strava), a short session the next morning often reduces that wooden‑leg feeling without making me sluggish.
Progress tracking: record a quick knee‑to‑wall distance, comfortable overhead reach, and a 0–10 soreness rating in your training app (Garmin, Fitbit, or Notes). Look for consistent small improvements across 1–3 weeks.
Testimonial: “Two weeks of short sessions before my 5K workouts and my hips felt less ‘sticky.’ The first mile stopped feeling like a fight.” — Ana, beginner runner
Four-Week Plan from Gentle Pressure to Targeted Tools
Start light, stay consistent, then get precise. The goal is to need less time as you learn which areas respond best.
Week 2: 8–10 minutes, add 1–2 mobility drills after each area.
Week 3: 8–12 minutes, 45–60 seconds on key spots; begin using a firmer tool on one area.
Week 4: Maintain time, reduce areas to the 2–3 that impact your lifts/runs most.
Plain‑text table — rollout frequency and focus by level
Caption: Weekly rollout progression plan.

Level | Frequency | Session Time | Tools | Focus

Beginner | 3x/week | 6–10 min | soft roller | calves, quads, glutes, T‑spine + 1 mobility drill

Intermediate | 4x/week | 8–12 min | firm roller + ball | targeted areas tied to your main lifts/runs; 2 mobility drills

Advanced | Daily micro 3–5 min + 2 longer 8–10 min | mixed tools | short pre‑session reset; longer sessions on hardest training days
Before strength: keep it short so you don’t get sleepy—2–4 minutes on your top limiter, then mobility and ramp‑up sets. After endurance: a longer, soothing pass can help reduce perceived stiffness.
Case insight: In practice blocks with my lifters, the best results came from trimming the menu. When we focused on the two areas that most limited their squat or overhead work, their warm‑up time shrank and technique settled faster.
If you plateau: switch the order (e.g., mobility first, then quick roll), change tool density, or reduce total time for a week. Over‑rolling can irritate tissue—less can be more.
Session Frequency, Lift-Day Pairing, and Red-Flag Warnings
Frequency: 3–5 short sessions weekly work well for most beginners. Keep pressure at a 5–7/10—tolerable, not grimacing.
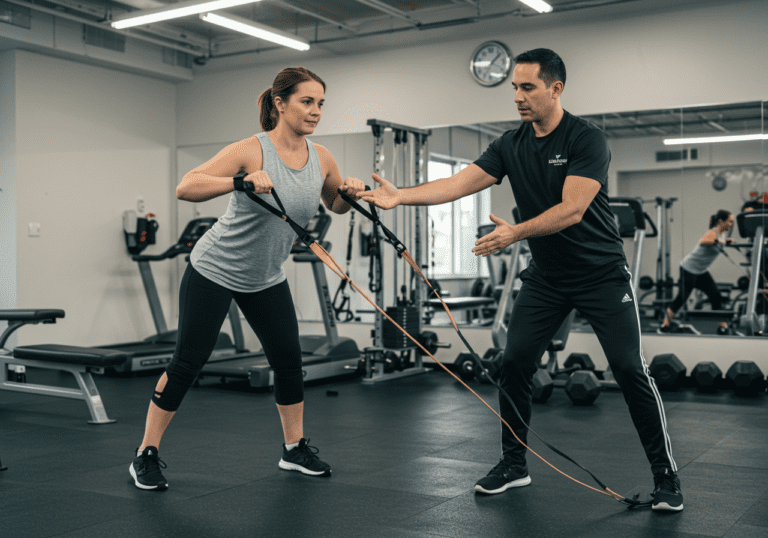
Pairing: roll first, then immediately move that joint—ankle rocks, hip openers, or T‑spine rotations. On heavy lift days, keep rolling brief.
Troubleshooting: bruising or lingering soreness means lighten pressure and cut time by 30–50%. If nothing changes after 2–3 weeks, swap tools or address a different area.
Safety: avoid bony points, the front of the neck, or aggressive pressure directly on the IT band—target surrounding muscles instead. If you have acute injury, suspected DVT, uncontrolled hypertension, or numbness/tingling, consult a clinician first.
Recovery inputs: aim for 7–9 hours of sleep, protein around 1.6–2.2 g/kg/day, steady hydration, and gentle walking on off days. I track HRV/readiness (Garmin) and use light mobility on lower‑readiness mornings.
Real‑world lesson: I once over‑rolled my calves after a long run and felt more tender the next day. Now I cap post‑endurance sessions at 6–8 minutes and prioritize breathing.
Next steps: Save this routine in your notes. Track three metrics (knee‑to‑wall, overhead reach comfort, soreness) for four weeks. If your warm‑ups feel smoother and training quality improves, keep it. If not, simplify to two target areas and retest.
Medical Disclaimer: The information provided on this website is for informational and educational purposes only and is not intended as personal medical or health advice. The content, including text, graphics, and images, is not a substitute for professional medical advice, diagnosis, or treatment. Always seek the advice of your physician or other qualified healthcare provider…
Medical Disclaimer: The information provided on this website is for informational and educational purposes only and is not intended as personal medical or health advice. The content, including text, graphics, and images, is not a substitute for professional medical advice, diagnosis, or treatment. Always seek the advice of your physician or other qualified healthcare provider…
Medical Disclaimer: The information provided on this website is for informational and educational purposes only and is not intended as personal medical or health advice. The content, including text, graphics, and images, is not a substitute for professional medical advice, diagnosis, or treatment. Always seek the advice of your physician or other qualified healthcare provider…
Medical Disclaimer: The information provided on this website is for informational and educational purposes only and is not intended as personal medical or health advice. The content, including text, graphics, and images, is not a substitute for professional medical advice, diagnosis, or treatment. Always seek the advice of your physician or other qualified healthcare provider…
Medical Disclaimer: The information provided on this website is for informational and educational purposes only and is not intended as personal medical or health advice. The content, including text, graphics, and images, is not a substitute for professional medical advice, diagnosis, or treatment. Always seek the advice of your physician or other qualified healthcare provider…
Medical Disclaimer: The information provided on this website is for informational and educational purposes only and is not intended as personal medical or health advice. The content, including text, graphics, and images, is not a substitute for professional medical advice, diagnosis, or treatment. Always seek the advice of your physician or other qualified healthcare provider…