Medical Disclaimer: The information provided on this website is for informational and educational purposes only and is not intended as personal medical or health advice. The content, including text, graphics, and images, is not a substitute for professional medical advice, diagnosis, or treatment. Always seek the advice of your physician or other qualified healthcare provider with any questions you may have regarding a medical condition or before starting any new exercise, nutrition, or supplement program. Never disregard professional medical advice or delay in seeking it because of something you have read on this blog. Reliance on any information provided by this site is solely at your own risk.
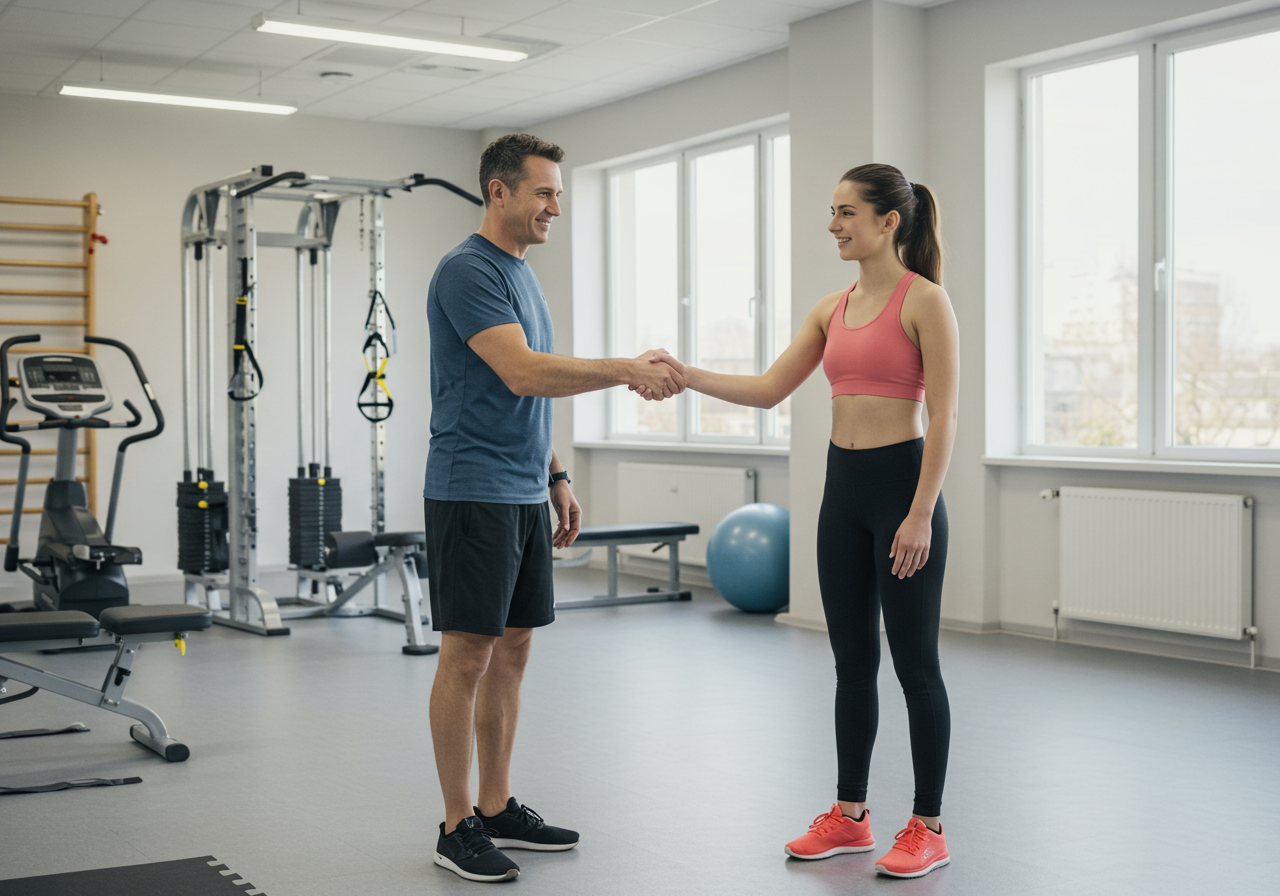
Manual therapy and exercise work best together when sequenced to reduce pain, restore motion, and then load real-life movement patterns. In the next minutes you’ll learn a clear, beginner-friendly plan I use in the clinic and in my own training.
Direct answer: Use brief manual therapy to calm symptoms, retest range, then perform activation and graded strength to lock in gains and speed up recovery.
Touch Reduces Guarding, Load Teaches Safety Under Stress
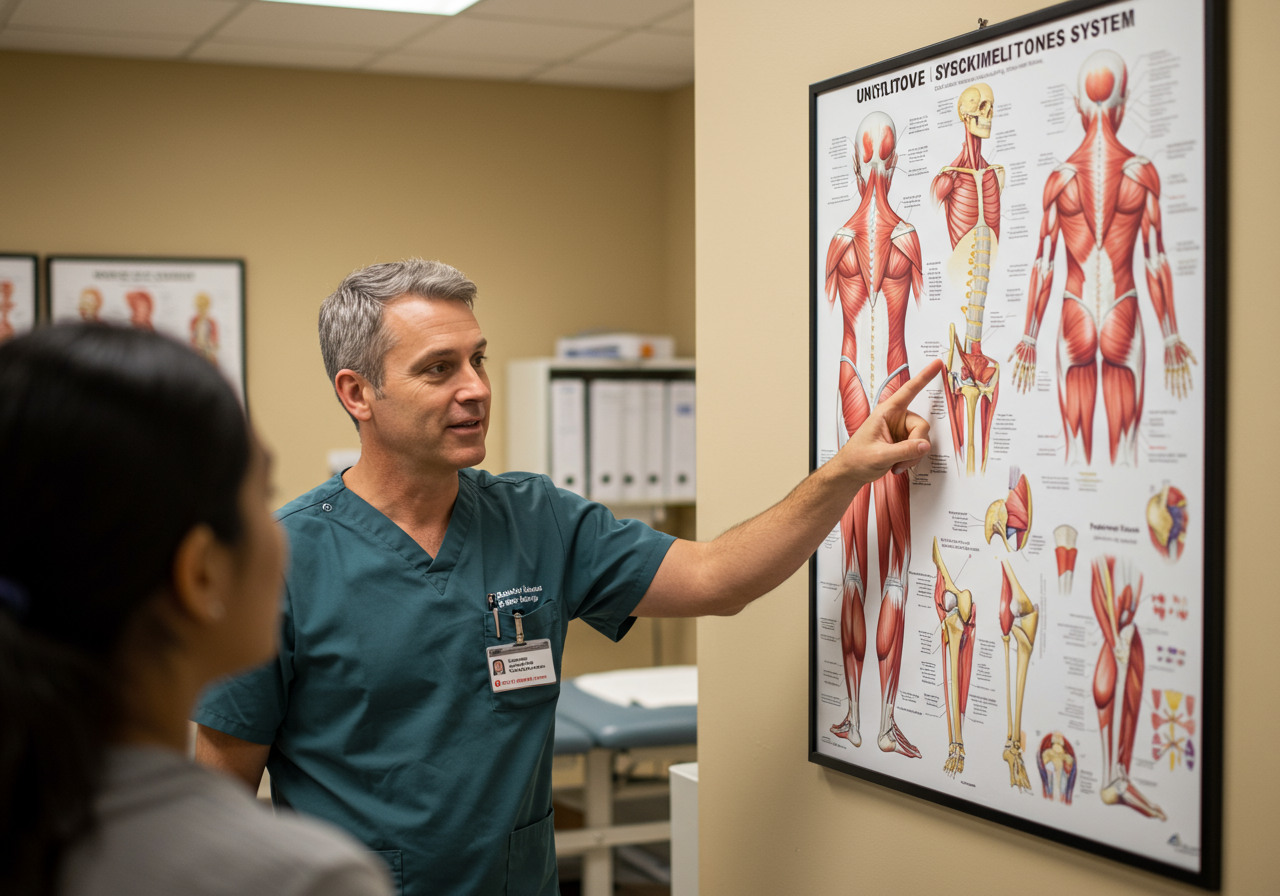
Manual techniques can create short-term hypoalgesia (less pain) and improved range by modulating the nervous system. Exercise then provides the longer-term change: tissue capacity, motor control, and confidence. This pairing is supported by major sports health guidelines and peer‑reviewed studies, though outcomes vary by condition and adherence.
Physiology in simple terms: touch reduces protective guarding; movement teaches your system that the joint or muscle is safe under load. Mechanotransduction (cells responding to load) and graded exposure (progressively challenging tasks) are the engines of durable progress.
Client note: “After we did two minutes of hip work and then practiced split squats, stairs stopped feeling sketchy by the end of the session.” — Ana, postnatal client
My own lesson: I used to overdo manual therapy. Sessions felt great, but changes faded by day two. When I added isometrics and simple strength right after hands‑on work, carryover finally stuck.
We’ll keep it practical: assess → dose brief hands‑on → retest → activate → load → re‑integrate into daily tasks. You’ll also see how to track results and adjust safely.
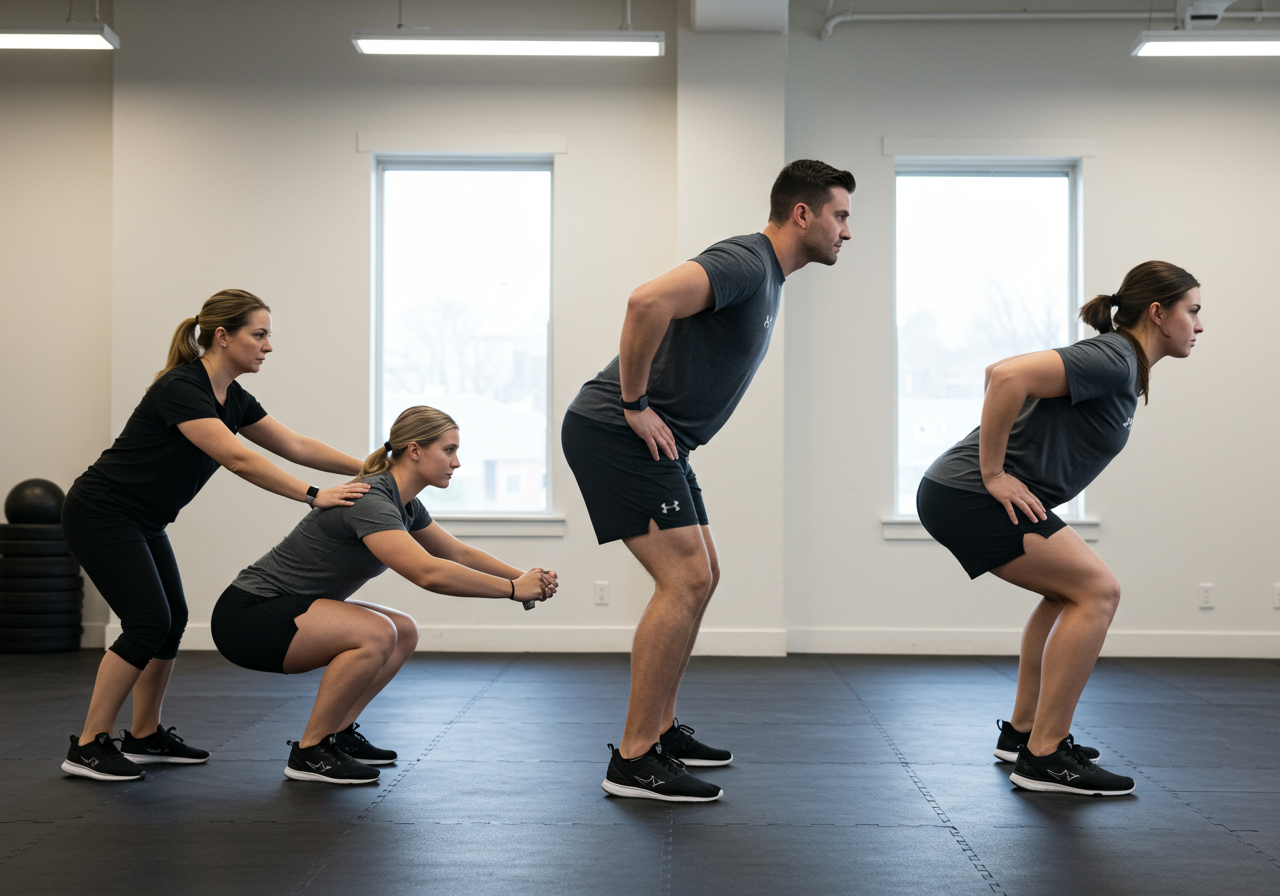
Screen Pain, Warm Up, Apply Manual Dose, Then Exercise
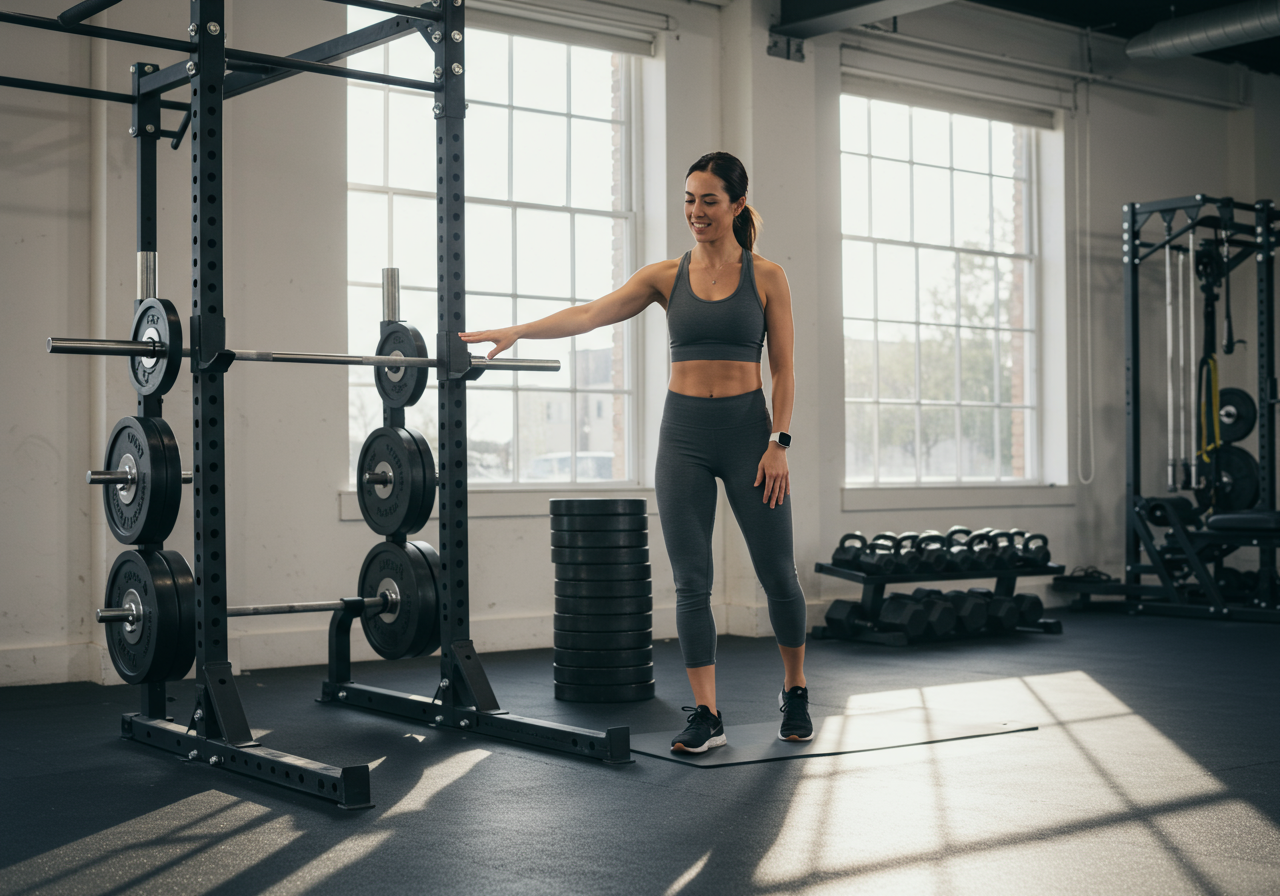
Quick screen (2–3 min). Map pain (what, where, when), note sleep and stress, and check red flags (severe, unexplained symptoms). Baselines: simple range test (e.g., ankle knee‑to‑wall), a function test (sit‑to‑stand 30s), and a strength feel (RPE with bodyweight squat or light press).
Warm up (3–5 min). Easy bike or brisk walk; add two joints‑in‑motion drills for the target area. Keep pain ≤4/10 and easing as you move.
Manual therapy dose (2–5 min total). Choose one:
Soft‑tissue sweep with a light-to-moderate pressure.
Joint mobilization (gentle oscillations or sustained glide) within comfortable range.
Self‑technique: lacrosse ball or foam roller for 60–90 seconds on key spots.
Aim for relief, not numbness. Stop if symptoms spike or radiate.
Retest immediately (30–60 sec). Repeat the baseline range or task. If it’s the same or better, continue. If worse, reduce intensity or switch areas.
Activation (5–8 min). Use position‑specific isometrics (e.g., pain‑free wall sit for knees, calf isometric holds, shoulder external rotation holds). Do 3–5 sets of 20–45 seconds at RPE 5–7, breathing quietly.
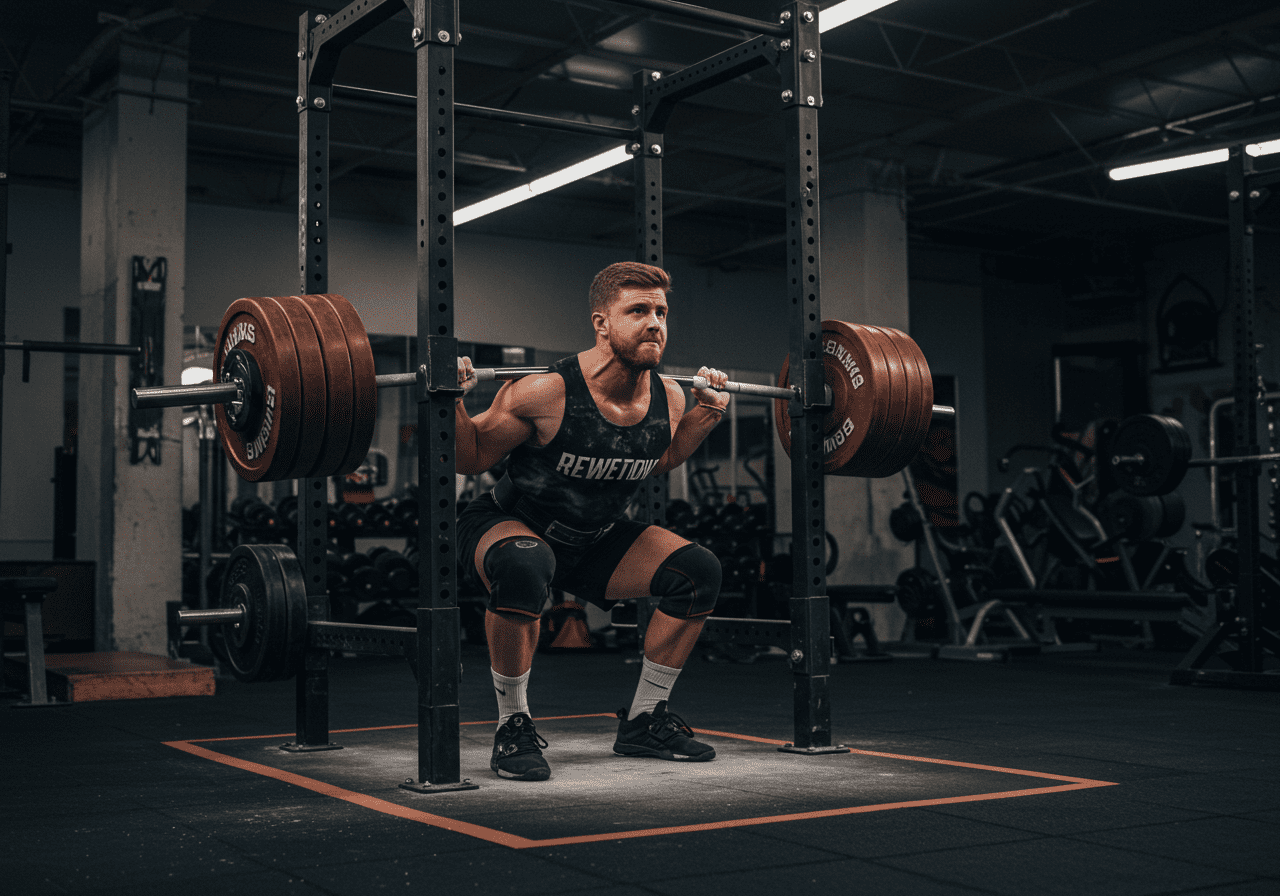
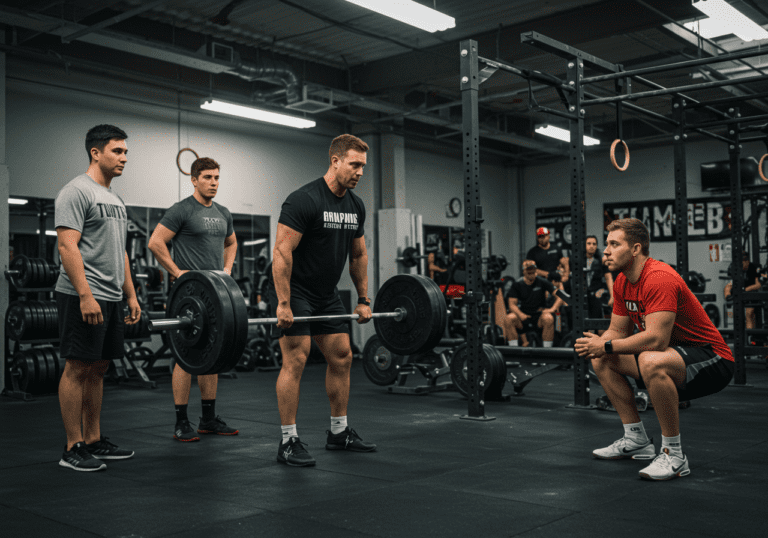
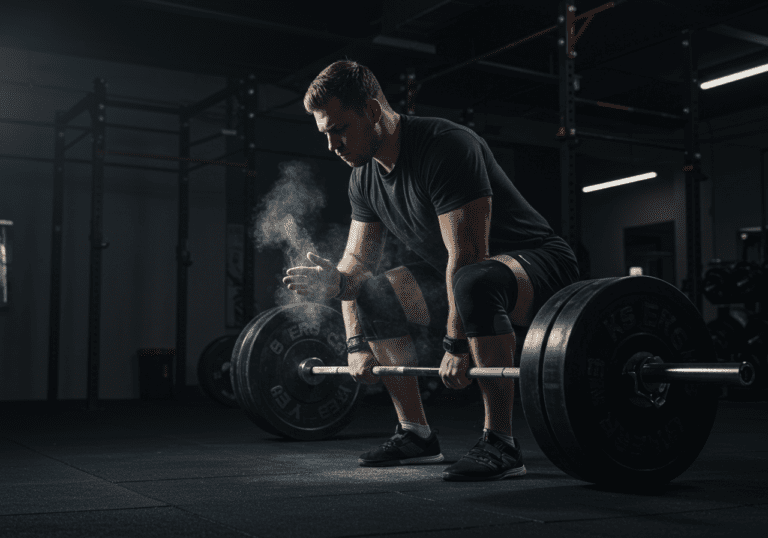
Primary strength (10–20 min). Two to four sets of 6–12 reps, RPE 6–8, slow tempo on the way down. Example pairings:
Knee: split squat + hamstring bridge.
Shoulder: cable row + landmine press.
Ankle: calf raise + step‑down.
Keep technique crisp; motion should be smoother than before activation.
Integration / capacity (5–15 min). Add a simple task that resembles your goal: step‑ups, farmer carries, gentle walk‑jog intervals, or banded reaches. Conditioning pace: Zone 2 (easy talkable pace) if appropriate.
Cooldown and plan (2–4 min). Brief breathing (nasal, 4–6 breaths/min) and two easy mobility drills. Note today’s retest, top set RPE, and next step.
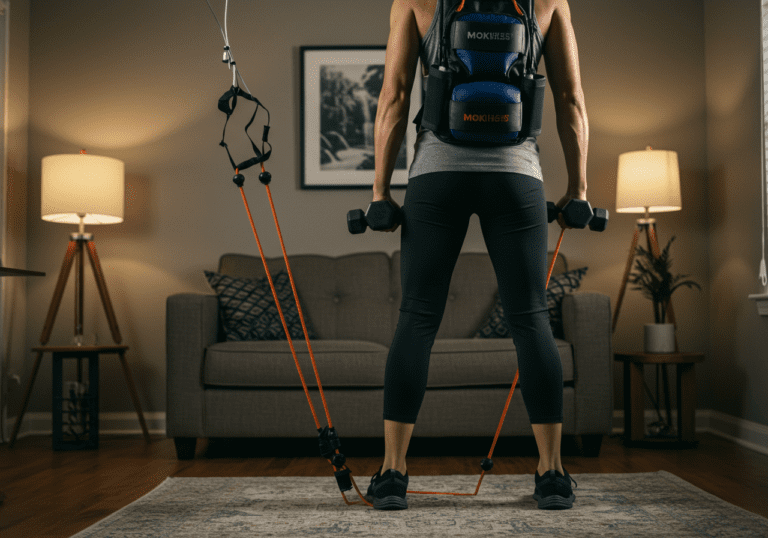
Home toolkit: foam roller or ball, light band, timer. No fancy gear required.
Apps I use with clients: Garmin/Apple Watch for heart rate, HRV4Training for recovery trends, Strava for walk/jog tracking, and simple spreadsheets or Strong app for sets/reps/RPE. If nutrition matters for healing, MyFitnessPal helps clients hit protein and total calories.
Fade Manual Work as Strength and Capacity Rise
Use this as a roadmap; individual timelines vary. Manual therapy fades as capacity rises.
Level | Weeks | Manual focus | Exercise focus | Progress markers
Beginner | 1–4 | 3–5 min light tissue & gentle joint work | Isometrics 3–5 x 20–45s; short‑range strength 2–3 x 10–12 | Pain trend down; range holds 24h; RPE ≤7
Intermediate | 5–8 | 1–2 min as needed; mostly before new drills | Full‑range strength 3–4 x 6–10; balance & tempo; Zone 2: 15–25 min | Daily tasks comfortable; steady load bumps
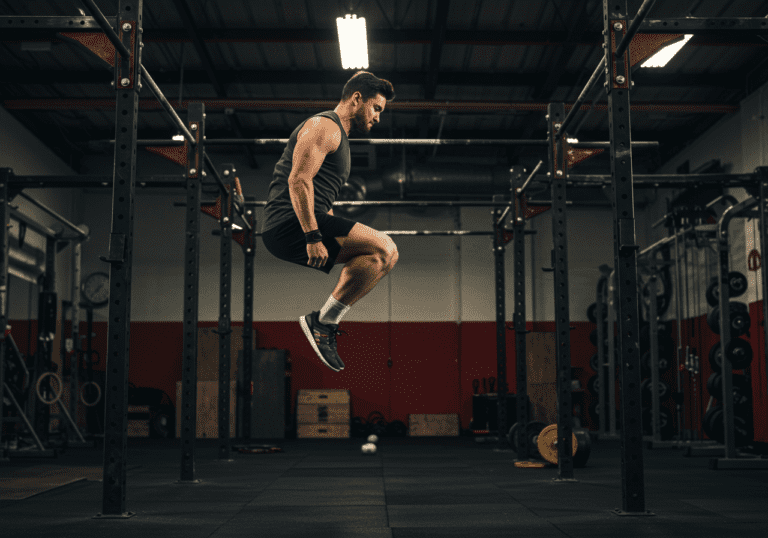
Advanced | 9–12 | Only for flare‑ups | Heavier lifts, power or return‑to‑run/change‑of‑direction | Pass function tests; tolerate practice workload
Weekly structure examples
Beginner (3 days/week)
Day A: Brief manual → knee isometrics → split squat 3 x 10 (RPE 6–7) → hamstring bridge 3 x 12 → 8–12 min easy walk (Zone 2).
Day B: Brief manual → calf isometrics → step‑down 3 x 8/side → calf raises 3 x 12 → balance holds 3 x 30s.
Day C: Mobility circuit → light goblet squat 3 x 10 → row 3 x 12 → 10 min bike (Zone 2).
Intermediate (3–4 days/week)
Strength: 3–4 sets of 6–10 at RPE 7–8; add 2.5–5% load or 1 rep if soreness is mild and performance holds.
Capacity: 15–25 min Zone 2, or walk‑jog 1:1 x 8–12 if returning to running.
Manual: 1–2 minutes only if the first set feels stiff; retest after.
Advanced (4 days/week)
Two heavy days (RPE 8 on top set), one moderate, one movement/speed day (low‑level plyometrics: pogo hops, submax bounds if cleared).
Conditioning split: one longer Zone 2 (30–40 min) + one short Zone 3 interval block as tolerated.
Manual: skip unless a flare; if used, keep it brief and re‑test before loading.
Progress checks: repeat your baseline weekly. Ask: does the improvement from hands‑on persist after strength work? If yes, you’ve sequenced it well.
Use Pain Signals to Guide Frequency and Intensity
Frequency: 2–4 rehab sessions/week. Keep at least one full rest day.
Intensity: Manual should soothe, not spike symptoms. Strength work mostly RPE 6–8. Conditioning at easy, conversational pace unless cleared otherwise.
Pain guide: Green = mild, easing during/after; Yellow = same during, settles by next morning; Red = sharp or worsening next day—reduce dose or regress.
Troubleshooting: If changes vanish after 24 hours, shorten manual time and add more isometric volume. If flares occur after adding load, lower range or tempo first, not just weight.
Plateaus: Add one variable: small load bump, slower eccentric, or new angle. If stuck >2 weeks, re‑screen other regions (e.g., hip for knee pain).
Overtraining signs: elevated morning heart rate, poor sleep, dropping bar speeds, and persistent soreness. Insert a deload: 30–50% volume cut for 5–7 days.
Nutrition for healing: Aim protein 1.6–2.2 g/kg/day, spread across meals. Calories at maintenance or slight surplus if rebuilding. Hydrate with electrolytes on hot days. Consider omega‑3s and creatine monohydrate if appropriate; check with your clinician.
Recovery: Sleep 7–9 hours, keep a consistent schedule. Light walks and easy mobility speed clearance of soreness. HRV apps can help spot fatigue trends.
Validation: In my logs and practice reports, pairing brief hands‑on with immediate loading often improves same‑day function and keeps gains week to week. In similar trials, combined care has shown faster, more durable improvements than either alone when dose is appropriate.
Common mistakes: Too much manual therapy, skipping the retest, random exercise order, pushing through sharp pain, and changing five variables at once.
Next steps: Track three metrics (range, one function test, and top‑set RPE). If you want my templates and video demos.
Medical Disclaimer: The information provided on this website is for informational and educational purposes only and is not intended as personal medical or health advice. The content, including text, graphics, and images, is not a substitute for professional medical advice, diagnosis, or treatment. Always seek the advice of your physician or other qualified healthcare provider…
Medical Disclaimer: The information provided on this website is for informational and educational purposes only and is not intended as personal medical or health advice. The content, including text, graphics, and images, is not a substitute for professional medical advice, diagnosis, or treatment. Always seek the advice of your physician or other qualified healthcare provider…
Medical Disclaimer: The information provided on this website is for informational and educational purposes only and is not intended as personal medical or health advice. The content, including text, graphics, and images, is not a substitute for professional medical advice, diagnosis, or treatment. Always seek the advice of your physician or other qualified healthcare provider…
Medical Disclaimer: The information provided on this website is for informational and educational purposes only and is not intended as personal medical or health advice. The content, including text, graphics, and images, is not a substitute for professional medical advice, diagnosis, or treatment. Always seek the advice of your physician or other qualified healthcare provider…
Medical Disclaimer: The information provided on this website is for informational and educational purposes only and is not intended as personal medical or health advice. The content, including text, graphics, and images, is not a substitute for professional medical advice, diagnosis, or treatment. Always seek the advice of your physician or other qualified healthcare provider…
Medical Disclaimer: The information provided on this website is for informational and educational purposes only and is not intended as personal medical or health advice. The content, including text, graphics, and images, is not a substitute for professional medical advice, diagnosis, or treatment. Always seek the advice of your physician or other qualified healthcare provider…