Medical Disclaimer: The information provided on this website is for informational and educational purposes only and is not intended as personal medical or health advice. The content, including text, graphics, and images, is not a substitute for professional medical advice, diagnosis, or treatment. Always seek the advice of your physician or other qualified healthcare provider with any questions you may have regarding a medical condition or before starting any new exercise, nutrition, or supplement program. Never disregard professional medical advice or delay in seeking it because of something you have read on this blog. Reliance on any information provided by this site is solely at your own risk.
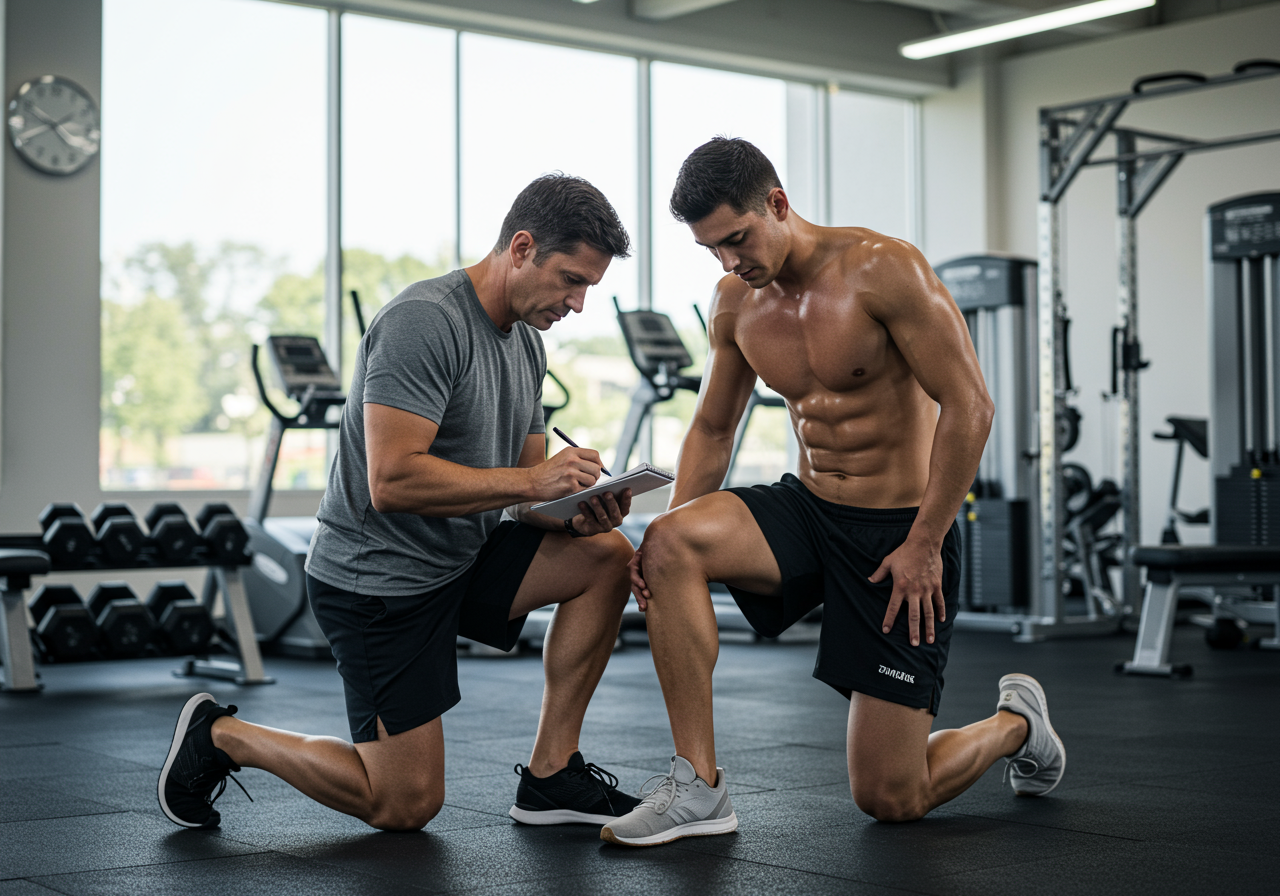
Early signs of tendinopathy are subtle, but you can learn to spot them and act early.
Early signs include morning stiffness, pinpoint tenderness, start-up pain that eases, and load-specific ache; reduce aggravating load and begin isometric holds.
In this guide you’ll learn a simple symptom screen, immediate pain-calming drills, safe load management, strength rebuild progressions (beginner to advanced), and how to track recovery so you return stronger, not sorer.
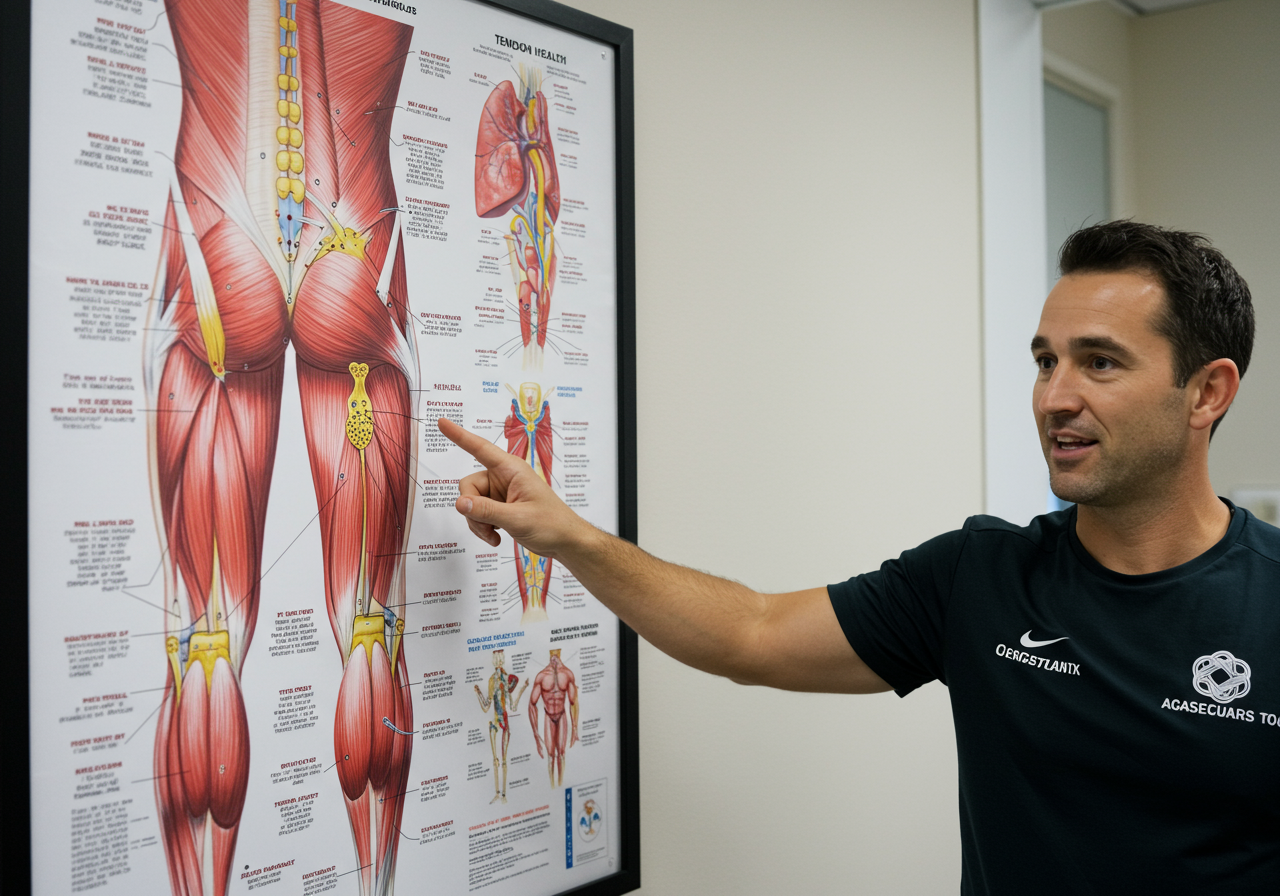
Progressive Loading Beats Rest for Tendon Recovery
Tendons don’t like sudden spikes in force or volume. When overloaded, they often become reactive—stiff and sore in the morning, sore at the start of activity, then warming up as you move. If you catch it now, a short deload plus smart loading can settle symptoms quickly; if ignored, it may drift toward chronic irritation.
In sports medicine literature, early symptom-guided loading outperforms pure rest. Tendons adapt best to progressive tension over weeks, not complete offloading. Isometric holds can blunt pain for some people, while heavy slow resistance builds long-term capacity. I’ve seen this repeatedly with new runners and lifters in my coaching practice.
Quick proof from the field: a desk-worker turned 5K runner messaged me, “Two weeks of your holds and slow calf raises cut my morning ache from 4/10 to 1/10.” Another client with patellar irritation said, “I kept cycling easy, did the isometrics, and my stairs stopped hurting in nine days.” Individual responses vary, but early action consistently shortens the detour.
Big picture: catching early signs preserves your training momentum, protects strength, and keeps your cardio habit intact while symptoms settle.
Screen Symptoms and Apply the 48-Hour Rule
1) Quick symptom screen (2 minutes):
Morning check: stiffness or ache in the tendon area on first steps?
Pinpoint tenderness if you press along the tendon?
Start-up pain that eases as you warm up, then returns after?
Load-specific ache during hops, stairs, or after speed/plyos?
2) Use the 48-hour rule: If pain or stiffness lingers or spikes for more than 48 hours after a session, reduce the aggravating load next time (20–50%) and keep non-provocative work.
3) Load audit (5 minutes): Open your training app (Strava or Garmin) and scan for sudden jumps—pace, hills, plyos, or long sets to failure. On strength days, review RPE notes and volume spikes. Remove the single biggest irritant first.
4) Stoplight guide for today’s session:
Green: mild discomfort ≤2/10 that doesn’t worsen during or the next morning—proceed.
Yellow: 3–4/10 or slow build—reduce volume or intensity now.
Red: ≥5/10 or sharp pain—stop the provocative drill and switch to alternatives.
5) 7-day reset plan (pain-calming + capacity):
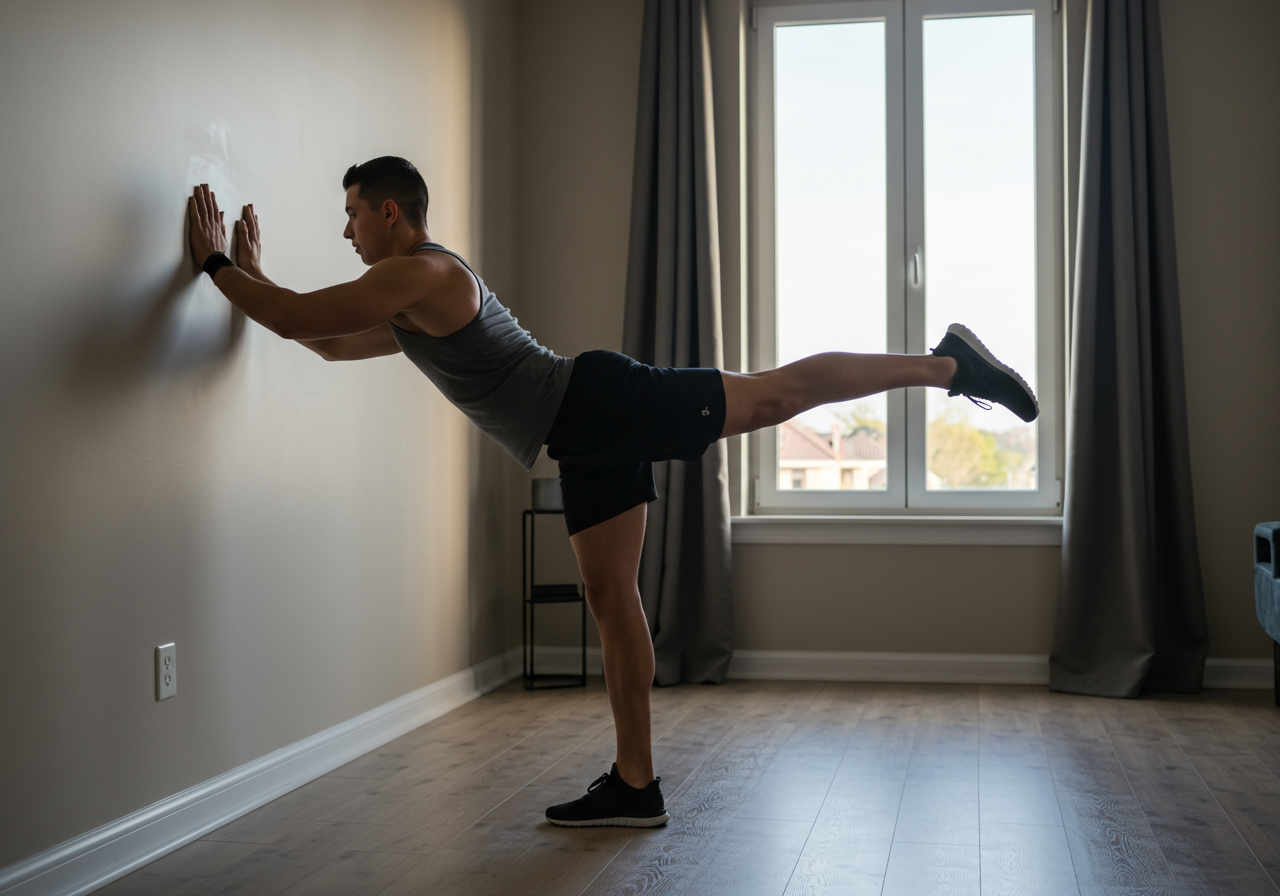
Isometric relief: 4–5 holds of 45–60 seconds, pain-tolerable (0–3/10), 1–2x/day.
Examples: Achilles—midfoot calf raise hold; Patellar—wall-sit or leg extension mid-range; Lateral elbow—wrist extensor hold against band.
Tempo walks/cycling: 15–30 minutes in Zone 1–2 (easy breathing) to keep circulation up without flaring symptoms.
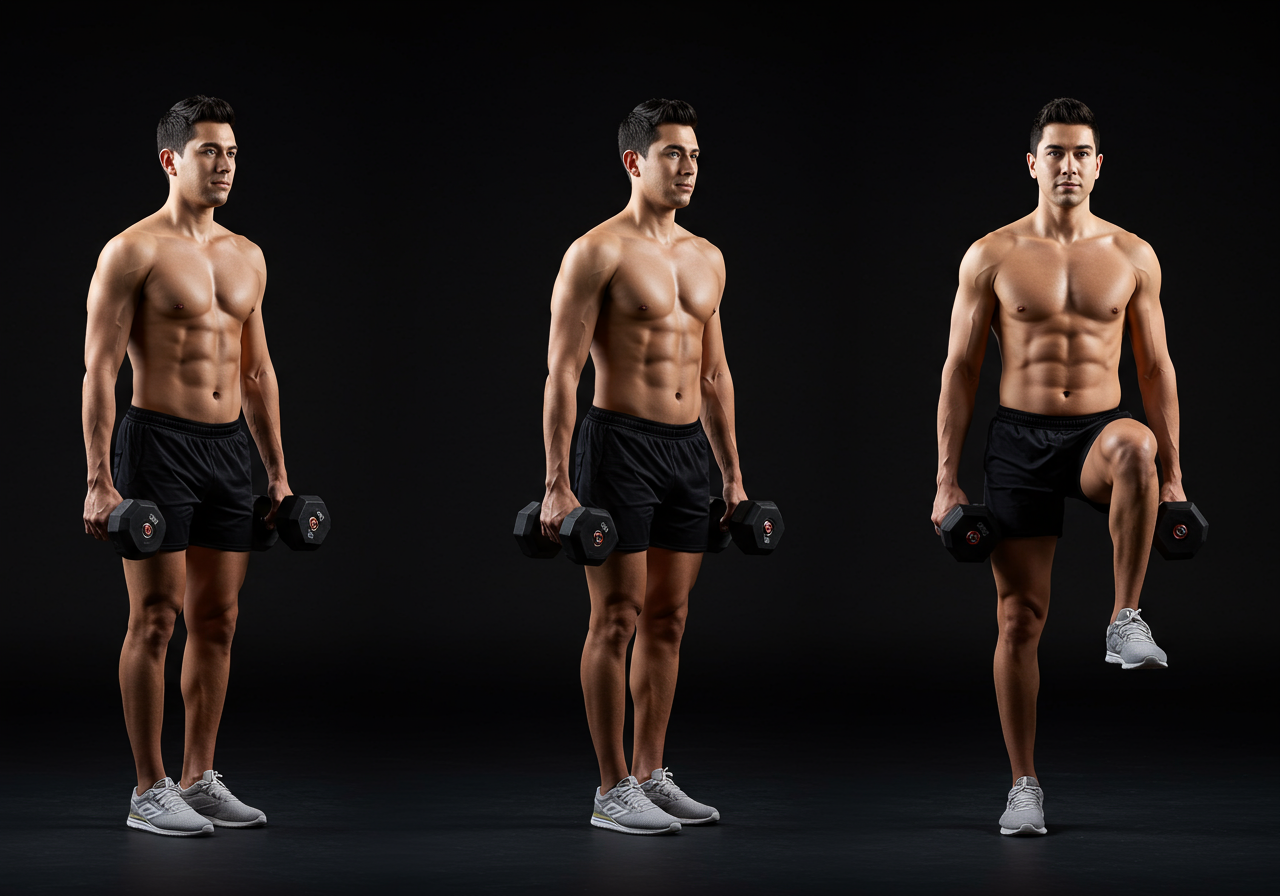
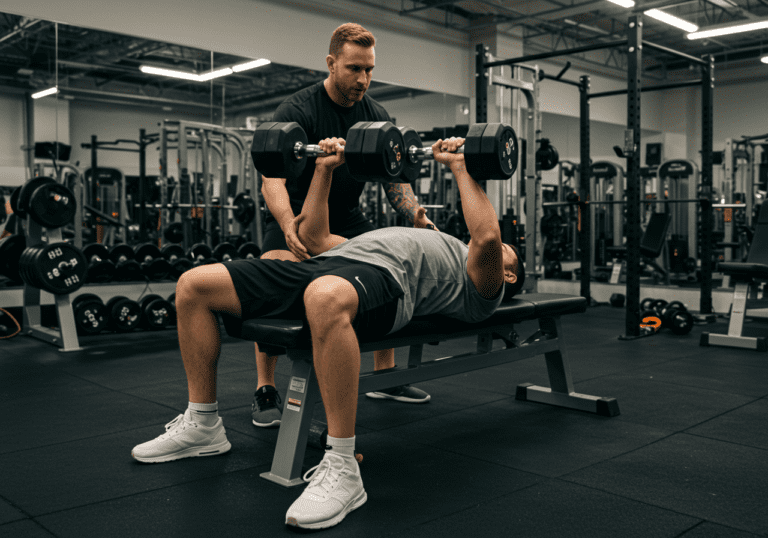
6) Build controlled strength (once pain calms during holds):
Slow isotonic work 2–3x/week: 3–4 sets of 8–12 with 3–4 second lowers; keep pain ≤3/10.
Progress load or range gradually; prioritize quality over quantity.
7) Tendon-specific cues:
Achilles: perform raises with knee-straight and knee-bent to hit gastroc and soleus; avoid ballistic hops early.
Patellar: emphasize controlled squats, split squats, leg press; manage deep angles if they provoke symptoms.
8) Quick pain-calming block (10–15 minutes): Warm-up — 5 minutes easy spin or walk (Zone 1–2). Isometrics — 4 x 45–60 seconds holds, 2 minutes rest, pain ≤3/10. Breathing — 2 minutes slow nasal breathing to dial down tone.
9) Nutrition & recovery: Aim for 1.6–2.2 g/kg/day protein, colorful produce, and sufficient calories to support tissue repair. Hydrate. If you use MyFitnessPal, track protein for two weeks to confirm consistency. Prioritize 7–9 hours of sleep and a 10–15 minute wind-down routine.
10) Track it: In your log, note pain on waking (0–10), during exercise, and the next day. I use Garmin for activity and a simple “AM tendon score” in the notes. If AM scores trend downward for a week, you’re moving in the right direction.
Example from my training log: After a mild elbow flare, I swapped heavy barbell rows for chest-supported rows (RPE 6–7), kept Zone 2 rides at 120–130 bpm, and added 5 x 45s wrist extensor holds. Pain during lifting dropped from 3/10 to 1/10 in 10 days.
Eight-Week Plan from Isometrics to Sport-Specific Drills
Use pain ≤3/10 during and next morning as your green light. Progress only when the 48-hour rule holds.
8-week progression overview
Caption: Plain-text weekly plan for rebuilding tendon capacity.
Week 1–2: Deload irritants 20–50%; isometrics 4–5 x 45–60s daily; Zone 1–2 cardio 20–30 min, most days. Week 3–4: Add slow isotonic work 3x/week (3–4 x 8–12, 3–4s lowers); light technique drills; keep cardio easy. Week 5–6: Heavy slow resistance 2–3x/week (tempo 4-0-4, RPE 7); reintroduce moderate intervals sparingly; optional light hops if pain-free next day. Week 7: Increase HSR load slightly; add low-amplitude plyos or short strides; sport skill work at submax speeds. Week 8: Full-range strength at RPE 7–8, sport-specific drills near normal; test tolerance with a single faster session.
Beginner template (2–3 days/wk): Day A: Isometric holds + split squats + hip hinge. Day B: Holds + step-downs + calf raises (knee-bent and straight). Keep cardio easy between days.
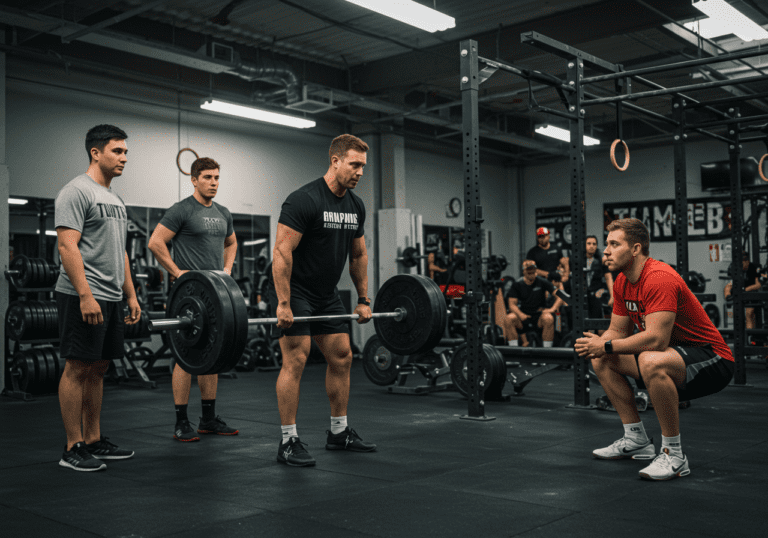
Intermediate (3–4 days/wk): Two HSR lower-body days, one upper-body support day, plus one cardio interval day (only if AM pain stays low). Keep jumps minimal until week 6–7.
Advanced or returning athlete: Rotate HSR, power drills, and sport-specific work. One high, one moderate, and one recovery day each week. If AM pain creeps up, shift the week back to the previous step.
What results look like (field examples, individual results vary):
Client Luis, recreational runner: morning Achilles pain from 5/10 to 1–2/10 by week 3; returned to 10 km runs by week 5 at comfortable pace. He tracked with Strava and noted fewer post-run aches.
My elbow case: 3 weeks of holds + HSR restored pain-free pull-ups; grip training returned in week 4 with neutral handles.
Avoid Speed Work and Track Next-Day Soreness
Frequency & intensity: Isometrics can be done daily at first; strength 2–3x/week with 48 hours between. Keep cardio mostly easy (Zone 1–2) until morning scores stabilize.
Common mistakes: Jumping back to speed too soon; stretching aggressively into sharp tendon pain; chasing PRs during rehab; ignoring next-day soreness data; changing too many variables at once.
Troubleshooting:
Plateau: hold volume steady for a week, vary tempo, and ensure sleep and protein are on point.
Overtraining signs: rising resting HR, poor sleep, irritable mood—lower total stress and add a full rest day.
Motivation dip: keep sessions short (20–30 minutes), stack them with a habit (morning coffee), and celebrate “AM pain score wins.”
When to get help: Sudden sharp pain or swelling, numbness, night pain, or persistent worsening over 2–3 weeks—see a qualified clinician. Imaging is rarely step one unless red flags are present, but a clinician can individualize load and rule out other issues.
Recovery & nutrition add-ons: Stay protein-consistent (1.6–2.2 g/kg), include vitamin C–rich produce with collagen-containing foods if already part of your diet, and limit alcohol during heavier rehab. Gentle heat before sessions and brief cold after can be used for comfort if helpful.
Simple call to action: Save this plan, track AM scores for two weeks, and adjust with the 48-hour rule. If you want my weekly checklists.
Medical Disclaimer: The information provided on this website is for informational and educational purposes only and is not intended as personal medical or health advice. The content, including text, graphics, and images, is not a substitute for professional medical advice, diagnosis, or treatment. Always seek the advice of your physician or other qualified healthcare provider…
Medical Disclaimer: The information provided on this website is for informational and educational purposes only and is not intended as personal medical or health advice. The content, including text, graphics, and images, is not a substitute for professional medical advice, diagnosis, or treatment. Always seek the advice of your physician or other qualified healthcare provider…
Medical Disclaimer: The information provided on this website is for informational and educational purposes only and is not intended as personal medical or health advice. The content, including text, graphics, and images, is not a substitute for professional medical advice, diagnosis, or treatment. Always seek the advice of your physician or other qualified healthcare provider…
Medical Disclaimer: The information provided on this website is for informational and educational purposes only and is not intended as personal medical or health advice. The content, including text, graphics, and images, is not a substitute for professional medical advice, diagnosis, or treatment. Always seek the advice of your physician or other qualified healthcare provider…
Medical Disclaimer: The information provided on this website is for informational and educational purposes only and is not intended as personal medical or health advice. The content, including text, graphics, and images, is not a substitute for professional medical advice, diagnosis, or treatment. Always seek the advice of your physician or other qualified healthcare provider…
Medical Disclaimer: The information provided on this website is for informational and educational purposes only and is not intended as personal medical or health advice. The content, including text, graphics, and images, is not a substitute for professional medical advice, diagnosis, or treatment. Always seek the advice of your physician or other qualified healthcare provider…