Medical Disclaimer: The information provided on this website is for informational and educational purposes only and is not intended as personal medical or health advice. The content, including text, graphics, and images, is not a substitute for professional medical advice, diagnosis, or treatment. Always seek the advice of your physician or other qualified healthcare provider with any questions you may have regarding a medical condition or before starting any new exercise, nutrition, or supplement program. Never disregard professional medical advice or delay in seeking it because of something you have read on this blog. Reliance on any information provided by this site is solely at your own risk.
Home gym on a budget is absolutely possible for strength training with smart planning. In this guide, you’ll learn what to buy, how to set up, and a progressive plan to get stronger without overspending.
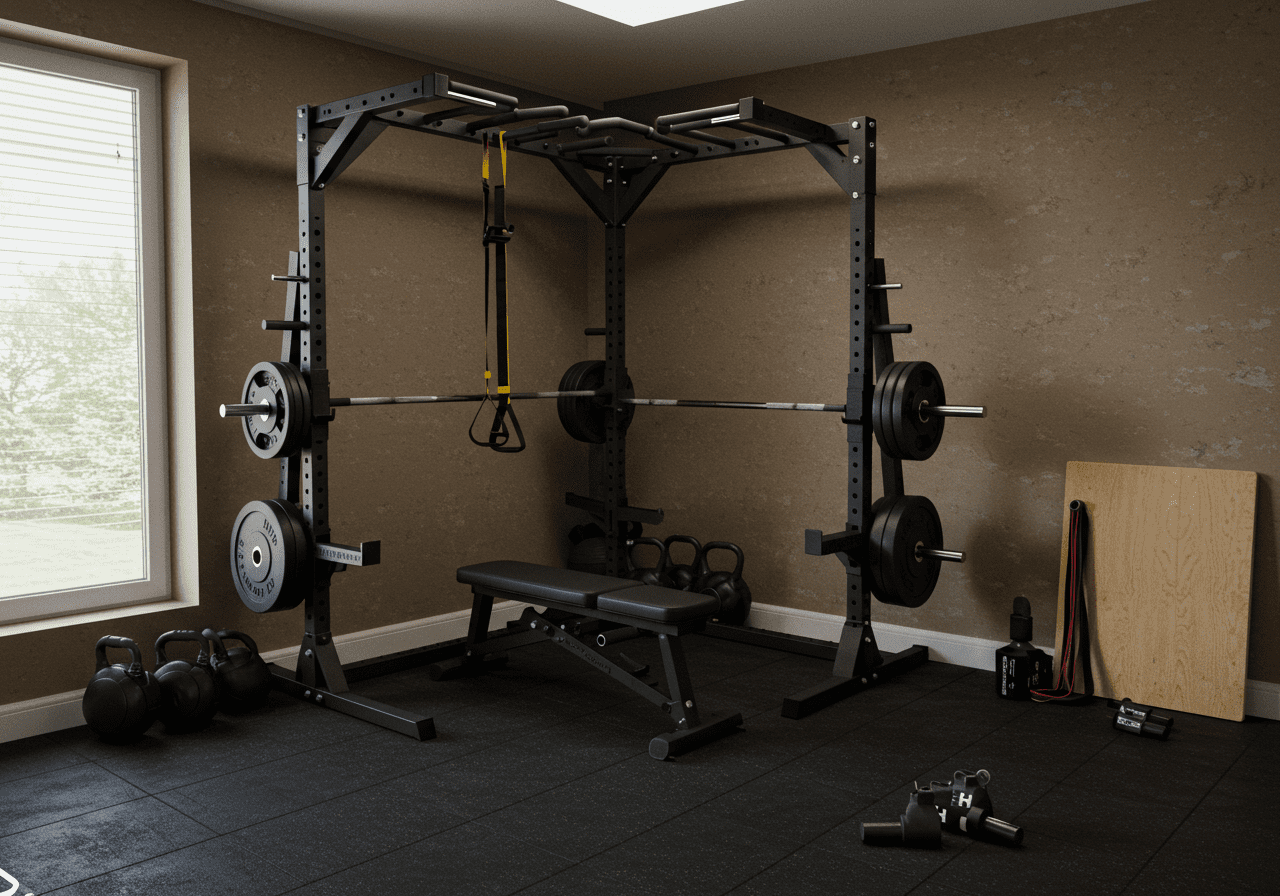
The cheapest effective setup is a rack with safeties, barbell and plates or adjustable dumbbells, a bench, bands, and rubber flooring. You’ll also get load progression rules, recovery tips, and real-world logging habits I use with clients and in my own garage space.
Strength training drives muscle, bone density, and metabolic health. A home space lowers travel friction and often boosts adherence—one of the strongest predictors of progress. In practice reports and peer-reviewed guidance, consistent progressive overload with safe technique produces reliable gains for novices.
I built a 6×8 ft corner gym after my old commute derailed workouts. Within three months, my 5‑rep goblet squat rose from 28 kg to 36 kg while training three days weekly. Many clients saw similar early wins when setup and logging were simple.
Budget builds also stretch far: a used rack with safeties plus a flat bench and barbell can cost less than a few months of some commercial memberships. When noise or space is a concern, adjustable dumbbells and bands still cover the big movement patterns—squat, hinge, push, pull, carry.
Client note: “I stopped skipping sessions. With everything five steps away, I hit three workouts weekly and finally saw steady arm and leg strength,” wrote Ana, 42. Your results depend on consistency, sleep, and nutrition—but the home setup removes big obstacles.
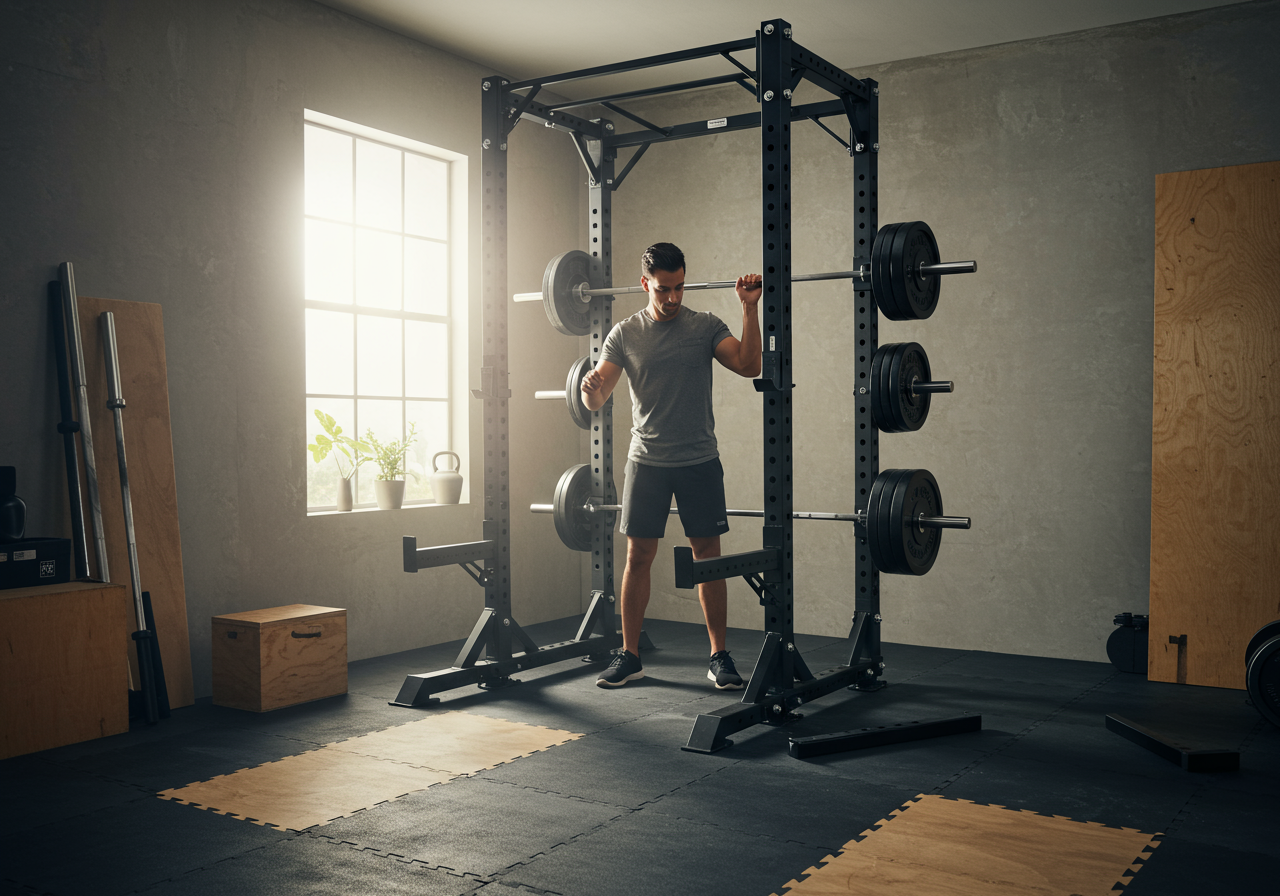
1) Measure and plan. Use painter’s tape to mark a 6×8 ft footprint if possible. Check ceiling height for overhead presses (ideally 7.5 ft+). Locate wall studs for rack anchoring (if wall-mounted) and plan a safe bar path.
2) Budget smart. Prioritize safety and load capacity: rack with safeties or sturdy stands, a reliable bench (flat is fine), flooring, then iron. Look for used deals from local marketplaces, gym closures, or university auctions.
3) Choose starter gear (good-better-best tiers). – Rack: fold‑away wall rack or 4‑post with safety arms. If space is tight, robust stands placed inside resistance bands can work, but avoid ultralight stands without safeties. – Load: adjustable dumbbells (up to 24–40 kg per hand) or a used 20 kg bar with plates (bumper or iron). Microplates (0.5–1 kg) help progression. – Bench: flat, 400+ lb rating. Adjustable is optional. – Bands: light–heavy loop bands for warm‑ups, assistance, and accessories. – Flooring: 3/4″ rubber stall mats or interlocking tiles to protect floors and reduce noise.
4) Layout for flow and safety. Center the rack to allow full depth squats and safe bailouts. Store plates vertically near hip height. Keep a clear 2–3 ft aisle on each side. Anchor the bench in the rack for pressing when possible.
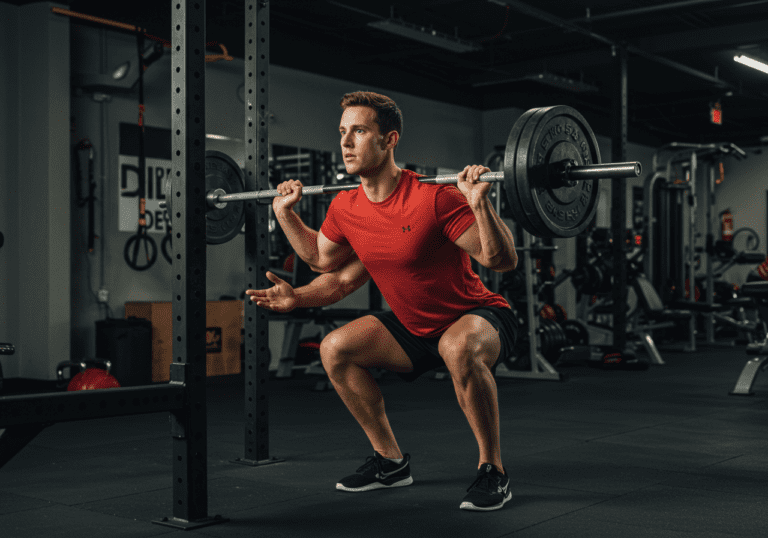
5) Session structure (45–60 minutes). – Warm‑up — 5–8 minutes: brisk step-ups, rope, or bike in easy Zone 1–2, plus 4–6 mobility drills (hips, T‑spine, shoulders). – Prime — 1–2 sets each: bodyweight squat, hip hinge with dowel, plank with diaphragmatic breathing, band pull‑aparts. – Main lifts — 2–3 movements: squat pattern, hinge, and push/pull. Start 3×6–10 reps at RPE 6–7 (2–4 reps in reserve). – Accessories — 2–3 targeted sets: split squat, single‑arm row, hamstring curl (band), carry or suitcase hold, core anti‑rotation. – Optional finisher — 6–10 minutes: EMOM kettlebell deadlifts + pushups, or farmer carries.
6) Two simple full‑body templates. – Day A: Goblet squat or back squat; Romanian deadlift; Floor press or bench press; One‑arm row; Side plank. – Day B: Split squat; Hip hinge (KB deadlift or rack pull); Overhead or incline press; Pull‑ups/band‑assisted or inverted rows; Carries.
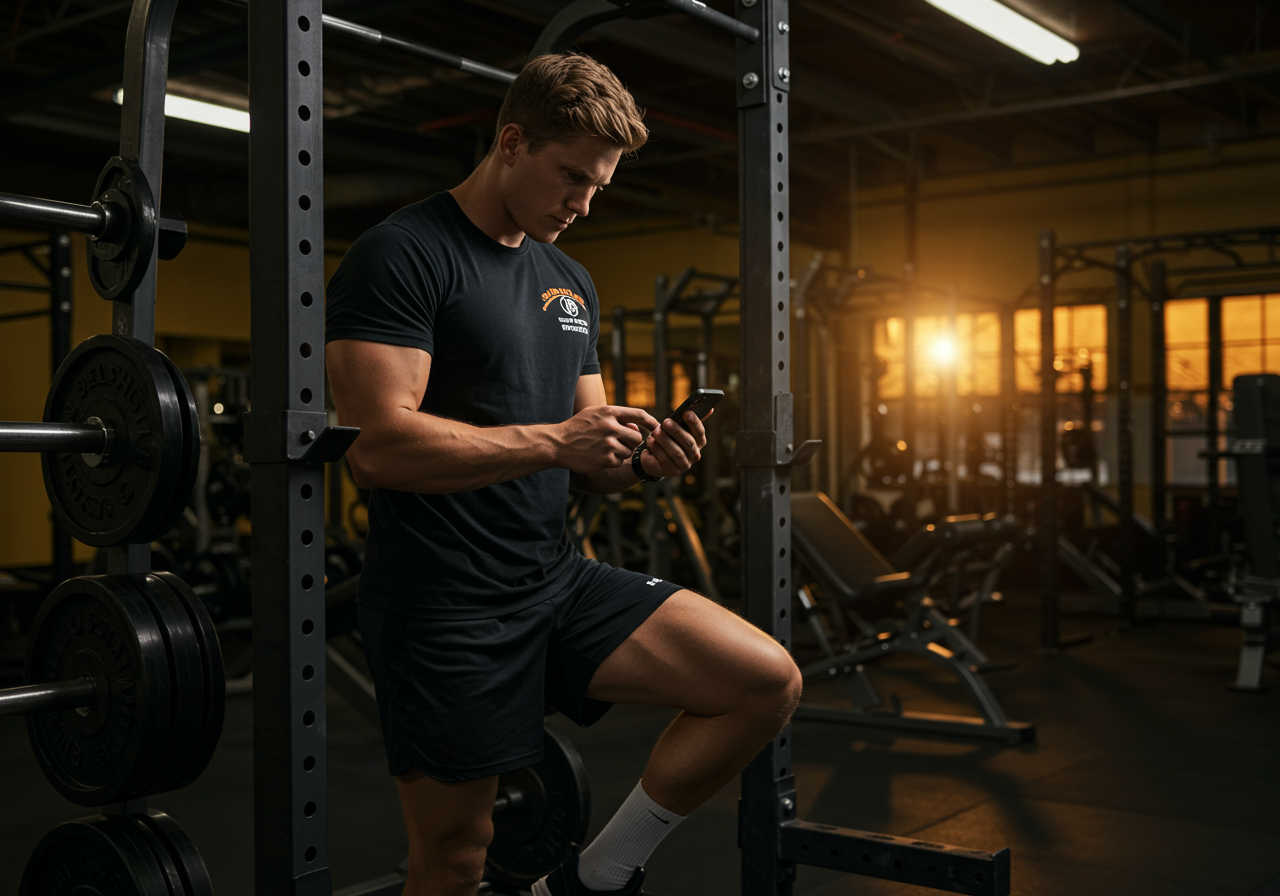
7) Tracking and tools. Log sets, reps, and RPE in Strong, HeavySet, or a simple Google Sheet. Weigh plates and dumbbells if second‑hand to confirm loads. For nutrition, MyFitnessPal helps hit protein goals. A smartwatch or Fitbit aids step counts and sleep tracking.
8) Nutrition and recovery basics. Aim for 1.6–2.2 g/kg/day protein, 25–35 g fiber, and mostly whole foods. Hydrate (2–3 L/day) and sleep 7–9 hours. Creatine monohydrate (3–5 g/day) is low‑cost and widely supported. I schedule a short mobility circuit on rest days to stay limber.
Common mistakes I made early: buying a wobbly bench to “save” $30 (bad idea), skipping microplates (progress stalled), and neglecting rubber flooring (loud, scuffed floors). Spend where safety and longevity matter.
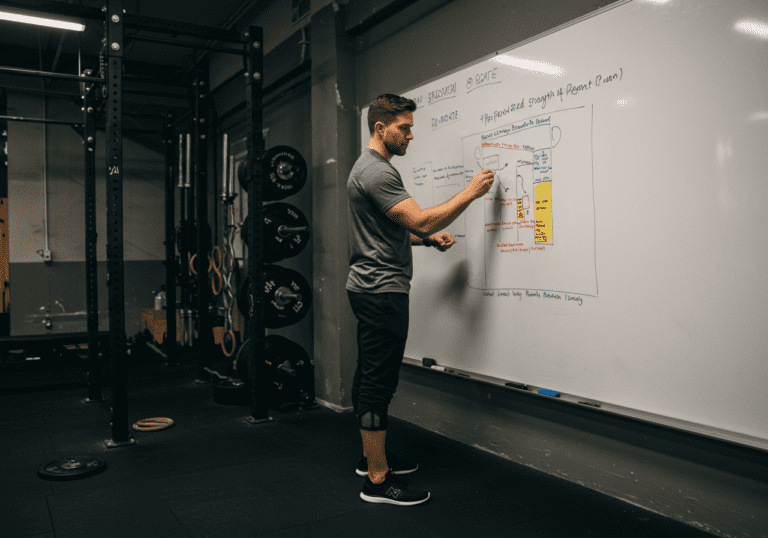
Eight-Week Build from Bands to Barbell Lifts
Table — 8‑week build: training stress and gear upgrades from minimal to barbell‑focused. Weeks 1–2: 3 days/week full‑body; 3×8 @ RPE 6–7; goblet squat, DB RDL, push, row, carries; buy bands + flooring. Weeks 3–4: 3 days/week; 3×6–8 @ RPE 7; add a second hinge (hip thrust or rack pull); pick up adjustable DBs or first bar + 60–80 kg plates. Week 5 (intro rack): 3×5–6 @ RPE 7–8; install rack/safeties; start barbell squat or bench inside rack; accessories 2×10–12. Week 6: 3×5 on squat/press; 3×6–8 hinge; add chin‑up progression or inverted rows; introduce microplates for 1–2% jumps. Week 7: Top set @ RPE 8 then 2 back‑off sets at −10% load; rotate grip/stance if joints feel cranky; maintain 1–2 conditioning finishers/week. Week 8 (re‑test): Technique video check; optional 3‑rep best with perfect form; deload next week: cut volume ~40% while reinforcing form.
Load rules: add 1–2.5 kg per session on barbell lifts while RPE ≤8 and reps stay in range. If you miss reps two sessions in a row, repeat the load or reduce 2–5%.
Beginner → Intermediate → Advanced cues: – Beginner: steady 3×8 with DBs; focus on bracing, depth, and symmetrical reps. – Intermediate: barbell main lifts, microplate jumps, top‑set + back‑offs, 8–10 hard sets/muscle/week. – Advanced (space still small): rotate specialty variations (paused squat, deficit RDL), manage fatigue with planned deloads every 4–8 weeks, and consider a second bar or heavier DB add‑ons.
Validation and expectations: In client logs, novices commonly add 10–20 kg to lower‑body patterns over 6–8 weeks when sleep and protein are consistent. Individual results vary—progress slows as loads climb, but adherence keeps the curve moving.
Program Frequency, Troubleshoot Plateaus, Lift with Safeties
Frequency and intensity: Start with 3 full‑body sessions/week, 45–60 minutes each. Keep most work at RPE 6–8. Rest 90–150 seconds on compounds, 45–75 seconds on accessories. Deload every 4–8 weeks or when Session‑RPE >7 for more than a week.
Troubleshooting plateaus: use microplates; switch a variation (e.g., from high‑bar to box squat for two weeks); add a back‑off set; or extend rest periods. For motivation dips, set a simple streak goal (12 sessions/month) and share on Strava or with a training buddy. If elbows or knees ache, reduce load 5–10%, emphasize tempo control, and add extra warm‑up sets.
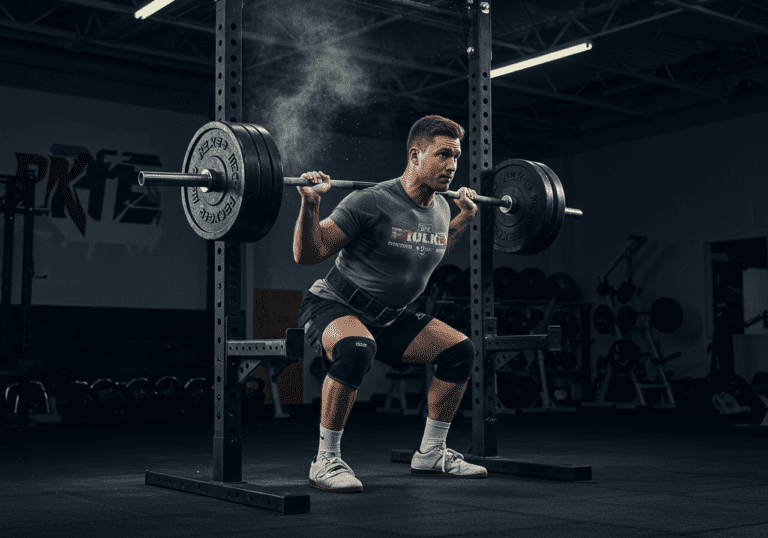
Safety: Always lift inside safeties when squatting/benching. Learn a proper brace—big breath into your belly and sides, ribs down—before each rep. Keep floors dry, and store plates securely. If pain changes your movement pattern or lingers >72 hours, stop and consult a qualified professional.
Recovery: Sleep 7–9 hours, keep protein high, and walk daily. Use light mobility flows on off days. Creatine and caffeine are budget‑friendly, evidence‑supported aids; avoid overreliance on pre‑workouts.
Next steps: Save for a second bar or heavier plates, add a pull‑up bar, and consider a simple timer or wall mirror for technique.
Medical Disclaimer: The information provided on this website is for informational and educational purposes only and is not intended as personal medical or health advice. The content, including text, graphics, and images, is not a substitute for professional medical advice, diagnosis, or treatment. Always seek the advice of your physician or other qualified healthcare provider…
Medical Disclaimer: The information provided on this website is for informational and educational purposes only and is not intended as personal medical or health advice. The content, including text, graphics, and images, is not a substitute for professional medical advice, diagnosis, or treatment. Always seek the advice of your physician or other qualified healthcare provider…
Medical Disclaimer: The information provided on this website is for informational and educational purposes only and is not intended as personal medical or health advice. The content, including text, graphics, and images, is not a substitute for professional medical advice, diagnosis, or treatment. Always seek the advice of your physician or other qualified healthcare provider…
Medical Disclaimer: The information provided on this website is for informational and educational purposes only and is not intended as personal medical or health advice. The content, including text, graphics, and images, is not a substitute for professional medical advice, diagnosis, or treatment. Always seek the advice of your physician or other qualified healthcare provider…
Medical Disclaimer: The information provided on this website is for informational and educational purposes only and is not intended as personal medical or health advice. The content, including text, graphics, and images, is not a substitute for professional medical advice, diagnosis, or treatment. Always seek the advice of your physician or other qualified healthcare provider…
Medical Disclaimer: The information provided on this website is for informational and educational purposes only and is not intended as personal medical or health advice. The content, including text, graphics, and images, is not a substitute for professional medical advice, diagnosis, or treatment. Always seek the advice of your physician or other qualified healthcare provider…