Medical Disclaimer: The information provided on this website is for informational and educational purposes only and is not intended as personal medical or health advice. The content, including text, graphics, and images, is not a substitute for professional medical advice, diagnosis, or treatment. Always seek the advice of your physician or other qualified healthcare provider with any questions you may have regarding a medical condition or before starting any new exercise, nutrition, or supplement program. Never disregard professional medical advice or delay in seeking it because of something you have read on this blog. Reliance on any information provided by this site is solely at your own risk.
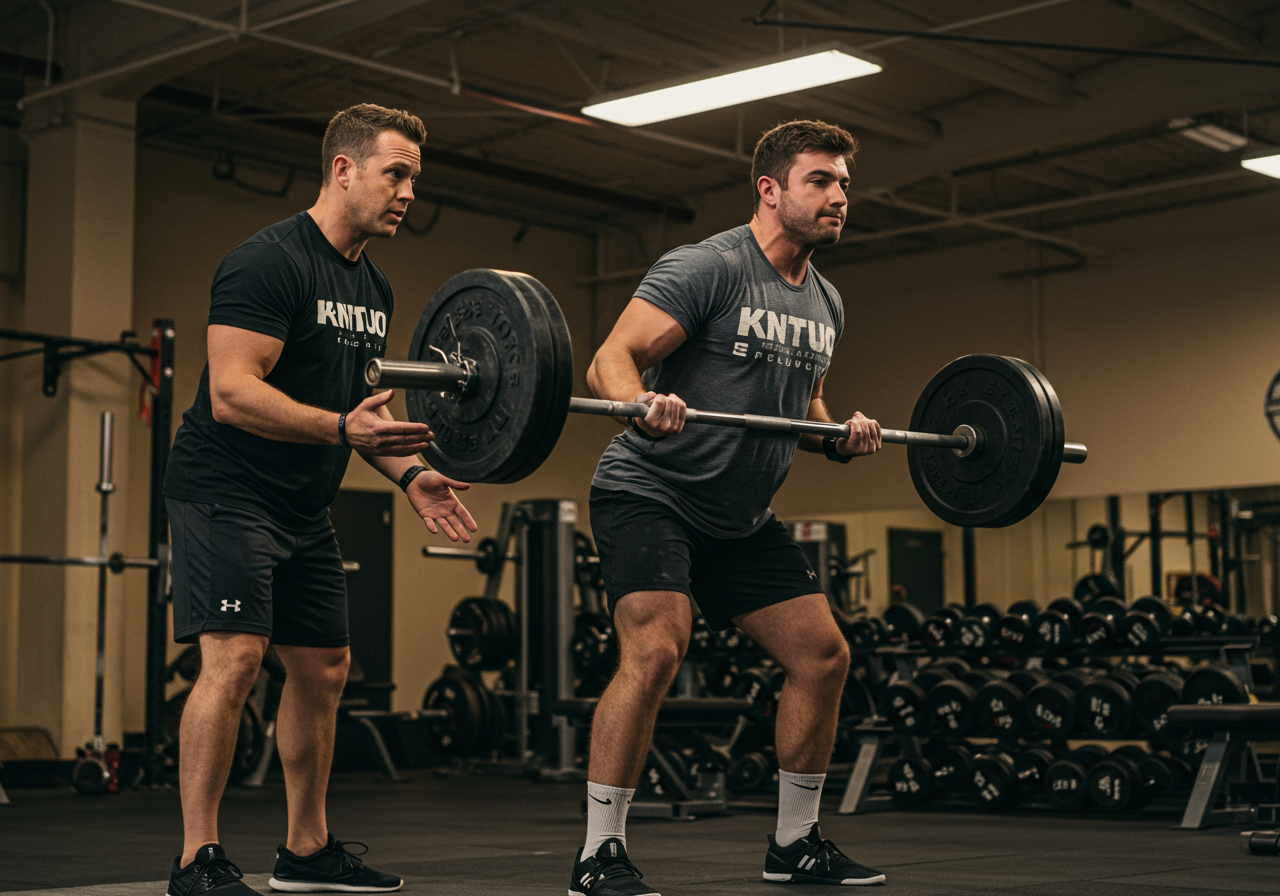
Deadlift technique is the backbone of pulling big weight without wrecking your back. Today you’ll learn a complete system: setup, bracing, weekly progressions, and risk controls.
The safest deadlift technique: hinge at hips, brace 360°, keep the bar close, stand tall, and lower under control.
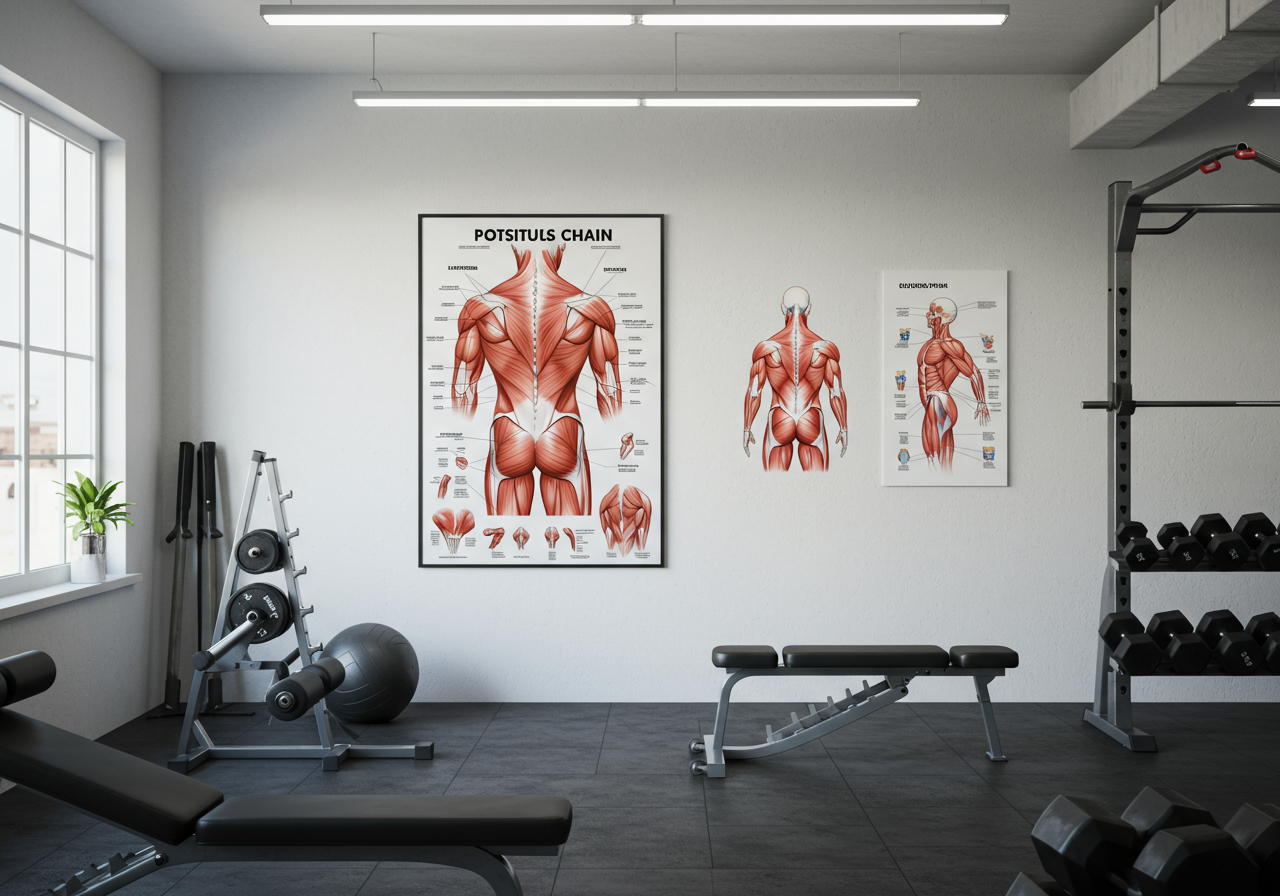
Deadlifts train the entire posterior chain—glutes, hamstrings, lats, and spinal erectors—while reinforcing hip hinge mechanics used in daily life. When you brace the trunk and keep the bar close to mid‑foot, you reduce shear on the spine and share the load across big movers. In practice, this means more strength with fewer tweaky reps.
Research and common coaching experience suggest that progressive loading with good bracing improves strength and tolerance to mechanical stress. Conversely, rushed setups, yanked pulls, and repeated rounded‑back max attempts often raise risk. A conservative approach (RPE‑guided loading, small steps) tends to outperform ego lifting over months.
Conventional vs. sumo vs. trap bar: conventional challenges the posterior chain and requires more torso inclination; sumo shortens range and can suit longer femurs or sensitive backs; trap bar keeps the load centered, often friendliest for beginners and athletes. Choose the style that lets you hinge cleanly and keep balance over mid‑foot.
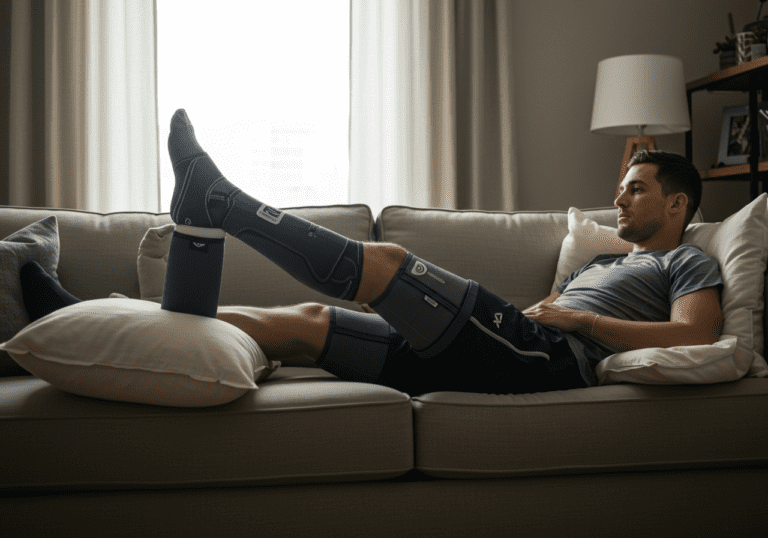
Client note: “Dialing in my brace and keeping the bar on my shins stopped my low‑back flare‑ups. I’m pulling stronger with calm reps now.”
How to Set Up and Execute Each Rep
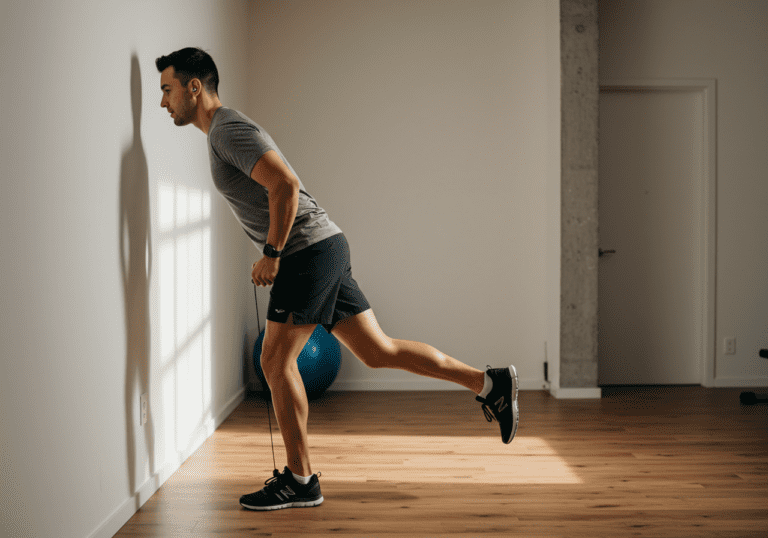
Warm‑up (8–10 min) — 5 min easy cardio (Zone 1–2; conversational pace), then dynamic hips/hamstrings (leg swings, 90/90, thoracic rotations). Add 2–3 ramp‑up sets of 3–5 reps, gradually approaching working weight.
Foot & Bar: Mid‑foot under the bar; shins about 2–3 cm away. In sumo, toes turn out slightly, shins near vertical.
Grip & Lats: Grip just outside legs (conventional). Squeeze the bar hard. Pull elbows toward pockets to engage lats—think “armpits to hips.” Mixed grip or straps are fine when loads are heavy, but vary grips to protect biceps and skin.
Brace 360°: Inhale through the nose, expand ribs and belly into the belt (or your hands), close the ribcage over the pelvis. Hold tension as if preparing for a light punch.
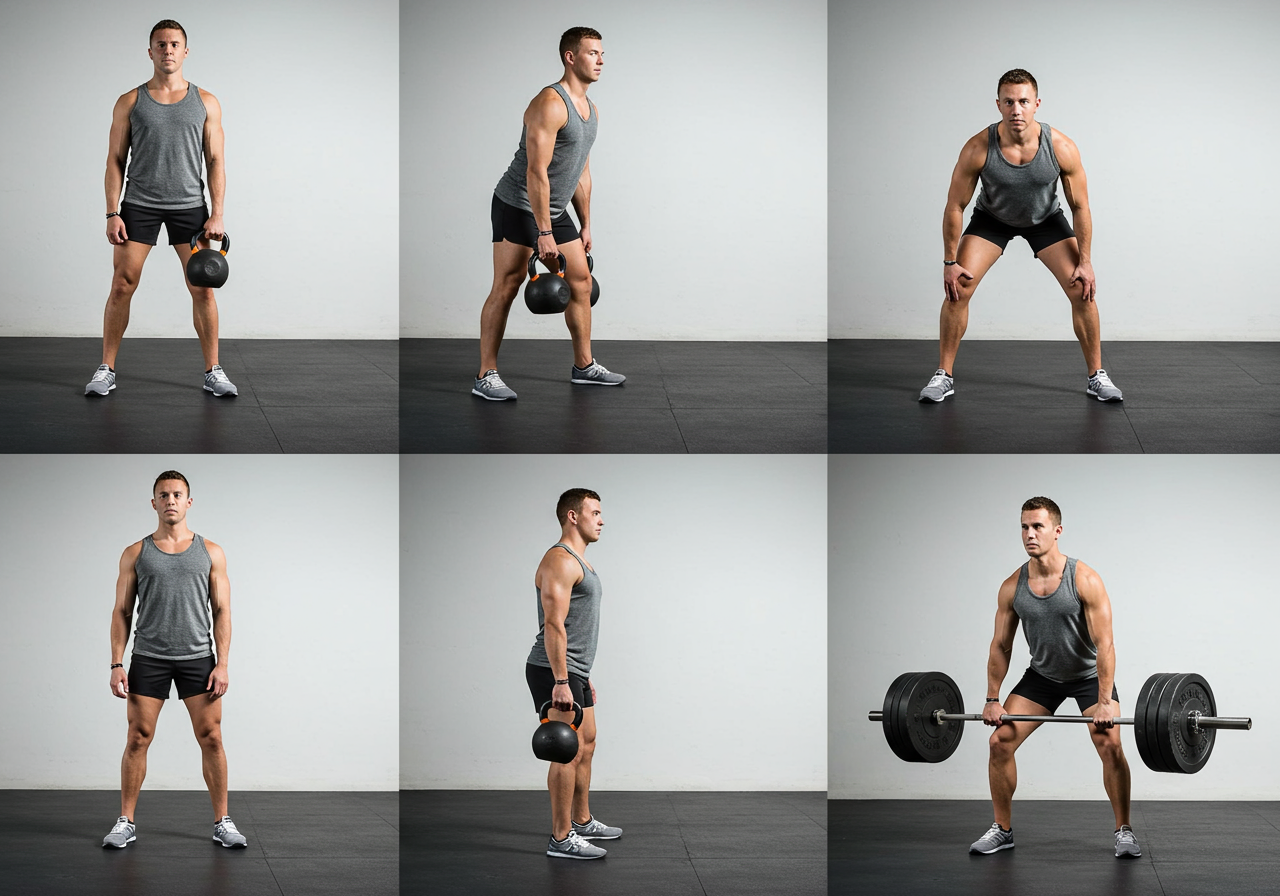
Wedge & Take Slack: Bend knees until shins touch the bar, then push the floor away. You should feel the plates “click” as you load the system before the bar leaves the ground.
Push, Don’t Yank: Drive through mid‑foot. Keep the bar close—graze the shins and thighs. Hips and shoulders rise together.
Lockout: Stand tall by squeezing glutes; don’t over‑lean back. Keep ribs stacked over pelvis.
Controlled Descent: Hips back first, guide the bar down your legs, then bend knees when the bar passes them. Reset between reps if needed.
Common cues that help: “Chest tall, ribs down,” “Screw feet into the floor,” “Bar to me,” “Long arms,” “Hips through, don’t overextend.”
Session template (45–60 min):
Main lift: 3–5 sets of 3–6 reps at RPE 6–8 (comfortable but solid). Rest 2–3 min.
Accessory hinge: Romanian deadlift or block pull — 3×6–10 at RPE 7.
Upper‑back: Chest‑supported row or single‑arm row — 3×8–12.
Core: Dead bug or side plank — 3×30–45 sec.
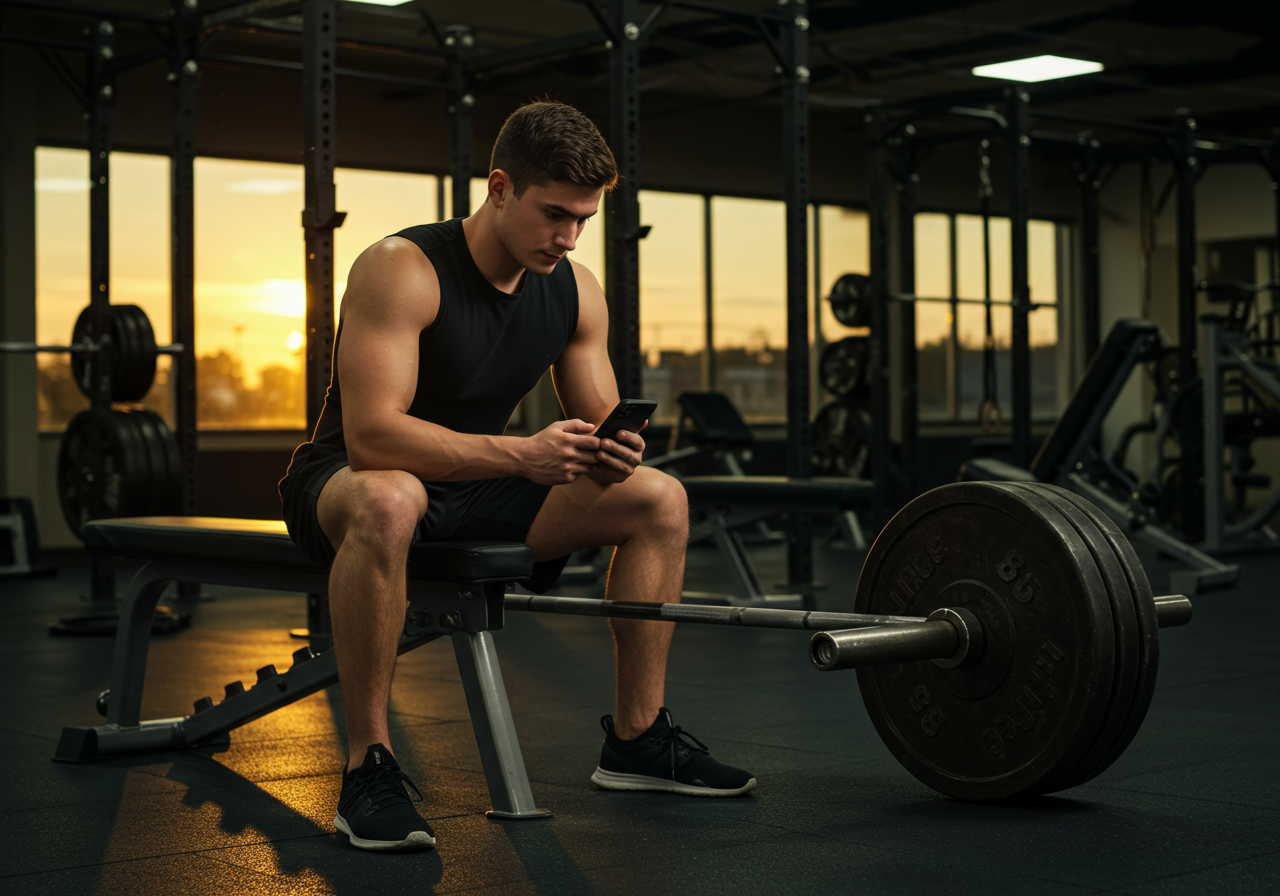
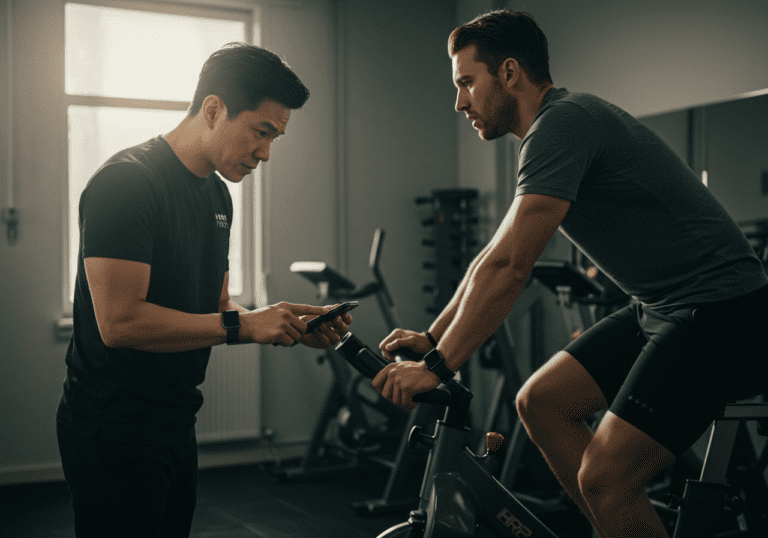
Tools I use with clients: video on phone (side and 45° angles), Strong or Google Sheets for logging, MyFitnessPal for protein tracking, and Garmin/Fitbit/Apple Watch for warm‑up heart rate checks. Aim for consistent rep speed and smooth bar path; small pauses off the floor can fix rushing.
Beginner to Advanced Progressions
Beginner (Weeks 1–8): Pull 1–2×/week. Prioritize clean reps at RPE 6–7. Add 2.5–5 kg only when the final set stays crisp.
Intermediate (Weeks 9–16): Add a second day with variation (RDL, paused, or trap bar). Wave volume (hard/easy weeks) and schedule a deload every 4–6 weeks.
Advanced (Ongoing): Use weekly undulation—one strength day (top single @ RPE 7–8, then 3×3–5 back‑off) and one volume or speed day (4–6×2–4, lighter and fast). Rotate lifts every 3–6 weeks to manage fatigue.
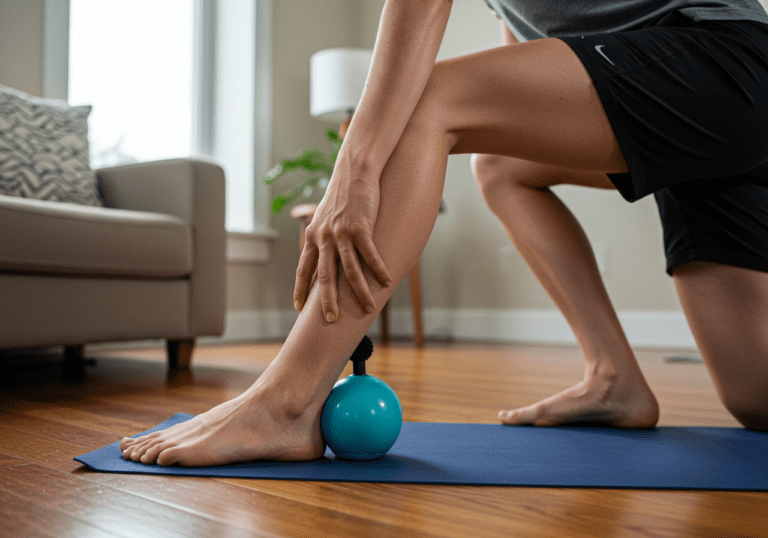
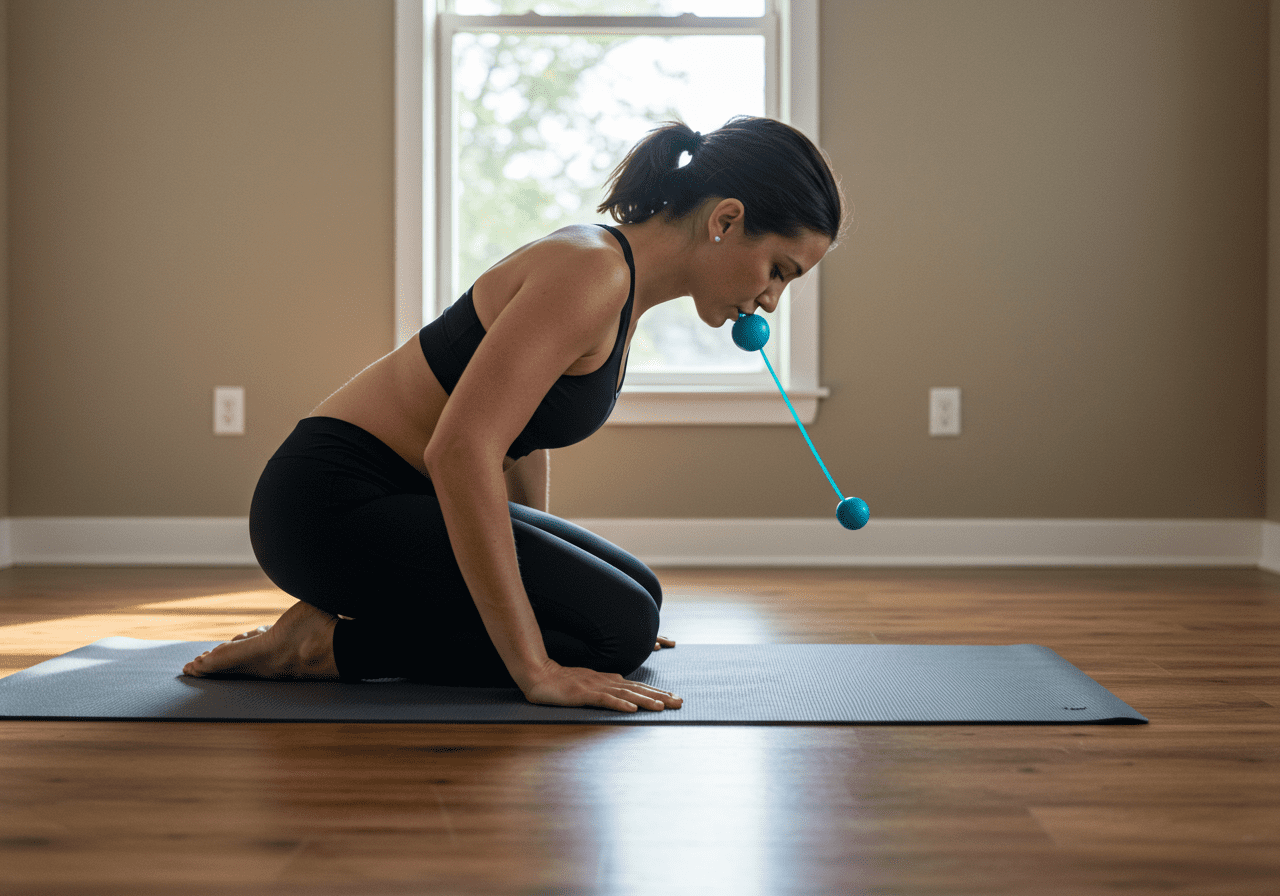
Cardio & mobility integration: Keep 1–2 Zone 2 cardio sessions (20–30 min cycling or brisk walk) on non‑pull days to aid recovery. Add 10 min of hip/hamstring/ankle mobility after lifting.
Plateau fixes: Add a paused variation (1–2 sec pause below knee), move stance 1–2 cm, strengthen upper‑back (rows, pulldowns), or reduce weekly top‑set intensity for two weeks. Many stall points resolve when sleep, food, and stress are dialed in.
Programming Tips and Safety
Frequency: Beginners: 1–2 deadlift days weekly. Intermediates/advanced: 2 days with different focuses. Keep reps smooth; stop a set if form slips.
Intensity & volume: Most work should live at RPE 6–8. Save attempts above RPE 9 for rare tests. Track total hard sets (8–14 weekly across hinge and accessories) to manage fatigue.
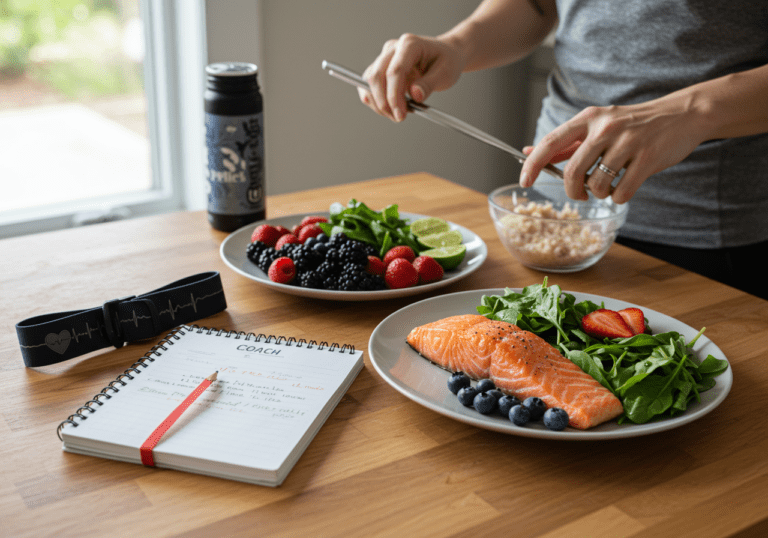
Recovery & nutrition: Protein 1.6–2.2 g/kg/day; hydrate with 30–40 ml/kg/day water; sleep 7–9 hours. Creatine monohydrate 3–5 g/day is well‑supported. Use MyFitnessPal to ensure protein is met, especially on training days. If leaning out, aim for a small calorie deficit; if building, a modest surplus with steady weight gain.
Safety checkpoints: Use flat shoes, set the bar over mid‑foot, brace 360°, and keep the bar close. If you feel sharp pain or numbness, stop and reassess. Video from the side and 45° angles—check spinal neutrality, bar path, and lockout.
Monitoring: Log sets, reps, RPE, and weekly notes (sleep, stress). A simple rule: if you cannot keep bar close or hold a brace, reduce load 5–10% and clean it up. Deload after 4–6 hard weeks.
Result validation: In practice, novices with consistent sleep and protein commonly add 10–25 kg to a conservative 5‑rep set in 8–12 weeks, with fewer back niggles. One client summed it up: “Better bracing made every rep feel the same—finally predictable.”
Next steps: Save the program, film two angles next session, and track RPE in your app. Want my deadlift checklist and logbook template?.
Medical Disclaimer: The information provided on this website is for informational and educational purposes only and is not intended as personal medical or health advice. The content, including text, graphics, and images, is not a substitute for professional medical advice, diagnosis, or treatment. Always seek the advice of your physician or other qualified healthcare provider…
Medical Disclaimer: The information provided on this website is for informational and educational purposes only and is not intended as personal medical or health advice. The content, including text, graphics, and images, is not a substitute for professional medical advice, diagnosis, or treatment. Always seek the advice of your physician or other qualified healthcare provider…
Medical Disclaimer: The information provided on this website is for informational and educational purposes only and is not intended as personal medical or health advice. The content, including text, graphics, and images, is not a substitute for professional medical advice, diagnosis, or treatment. Always seek the advice of your physician or other qualified healthcare provider…
Medical Disclaimer: The information provided on this website is for informational and educational purposes only and is not intended as personal medical or health advice. The content, including text, graphics, and images, is not a substitute for professional medical advice, diagnosis, or treatment. Always seek the advice of your physician or other qualified healthcare provider…
Medical Disclaimer: The information provided on this website is for informational and educational purposes only and is not intended as personal medical or health advice. The content, including text, graphics, and images, is not a substitute for professional medical advice, diagnosis, or treatment. Always seek the advice of your physician or other qualified healthcare provider…
Medical Disclaimer: The information provided on this website is for informational and educational purposes only and is not intended as personal medical or health advice. The content, including text, graphics, and images, is not a substitute for professional medical advice, diagnosis, or treatment. Always seek the advice of your physician or other qualified healthcare provider…
 Deadlift technique is the backbone of pulling big weight without wrecking your back. Today you’ll learn a complete system: setup, bracing, weekly progressions, and risk controls.