Medical Disclaimer: The information provided on this website is for informational and educational purposes only and is not intended as personal medical or health advice. The content, including text, graphics, and images, is not a substitute for professional medical advice, diagnosis, or treatment. Always seek the advice of your physician or other qualified healthcare provider with any questions you may have regarding a medical condition or before starting any new exercise, nutrition, or supplement program. Never disregard professional medical advice or delay in seeking it because of something you have read on this blog. Reliance on any information provided by this site is solely at your own risk.
Learning to reduce swelling and pain fast after a sprain or strain is teachable, and this guide gives you the exact steps and a plan.
Compress, elevate, cool briefly, and start pain-free movement within 24–48 hours to limit swelling and speed recovery.
You will learn a complete response system: what to do in the first hours, how to load safely, how to keep fitness while healing, and how to track progress so you can return with confidence.
Early Loading Aligns Collagen and Accelerates Tissue Repair
Swelling is fluid your body sends to protect and repair tissue. Too much stagnates movement and slows healing. Compression and elevation help the lymphatic system clear that fluid. Brief cooling can mute pain so you can move earlier, though it is for comfort, not cure.
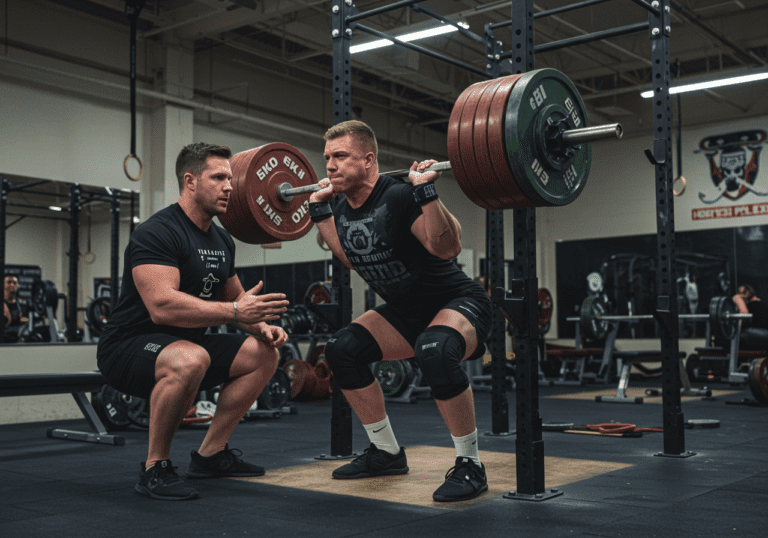
Early, symptom-guided loading encourages collagen fibers to align along stress lines. In practice and in peer‑reviewed work, this approach tends to restore strength and range faster than prolonged rest. I have used this playbook with recreational runners and desk workers alike; most reported steadier improvement and fewer setbacks when we emphasized compression, daily motion, and gradual resistance.
Medication has a role, but anti‑inflammatories may blunt aspects of healing if overused early; check with your clinician. Acetaminophen can reduce pain without altering inflammation pathways. When in doubt, follow major sports health guidelines and individual medical advice.
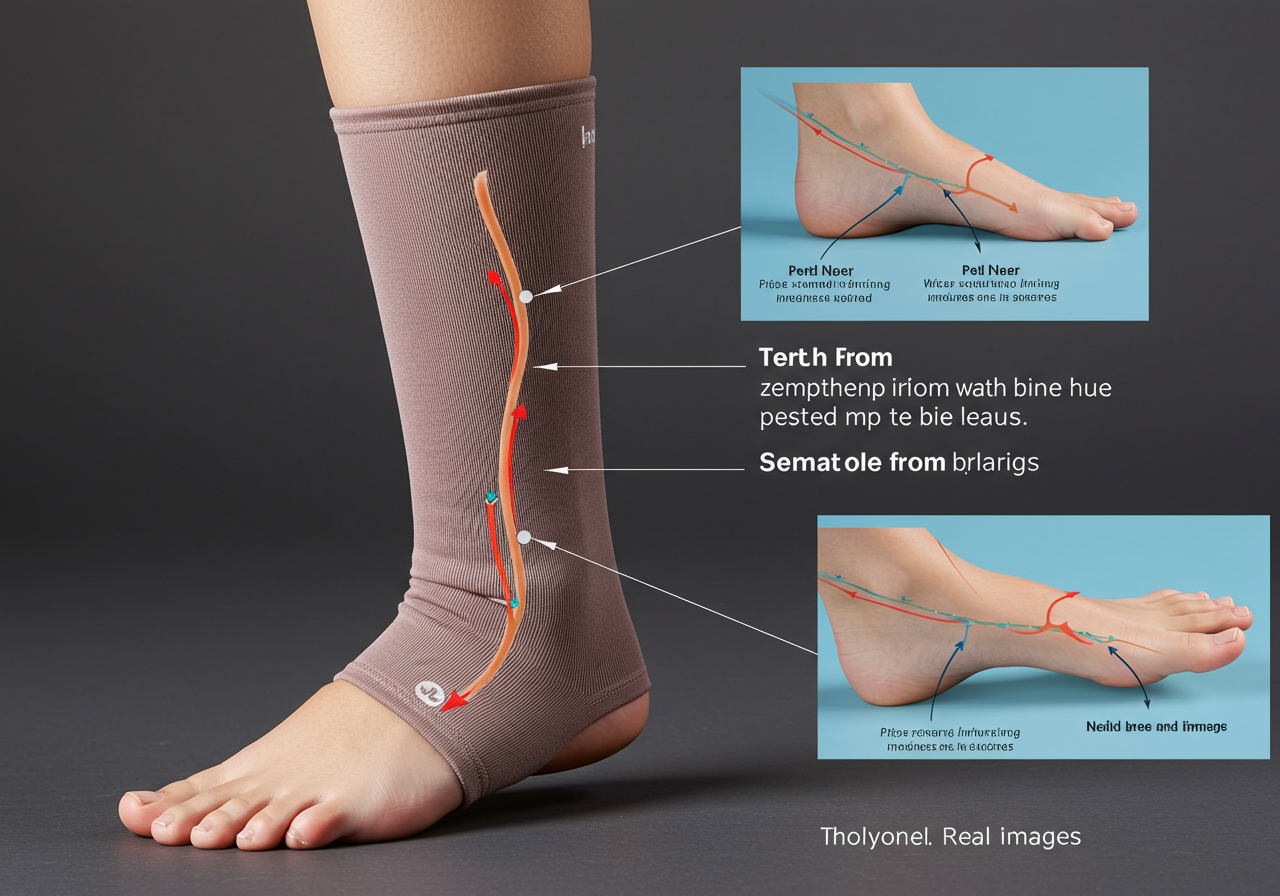
Protect, Wrap, Elevate, and Begin Gentle Isometrics Daily
First 0–48 hours — Calm the area and create room for healing:
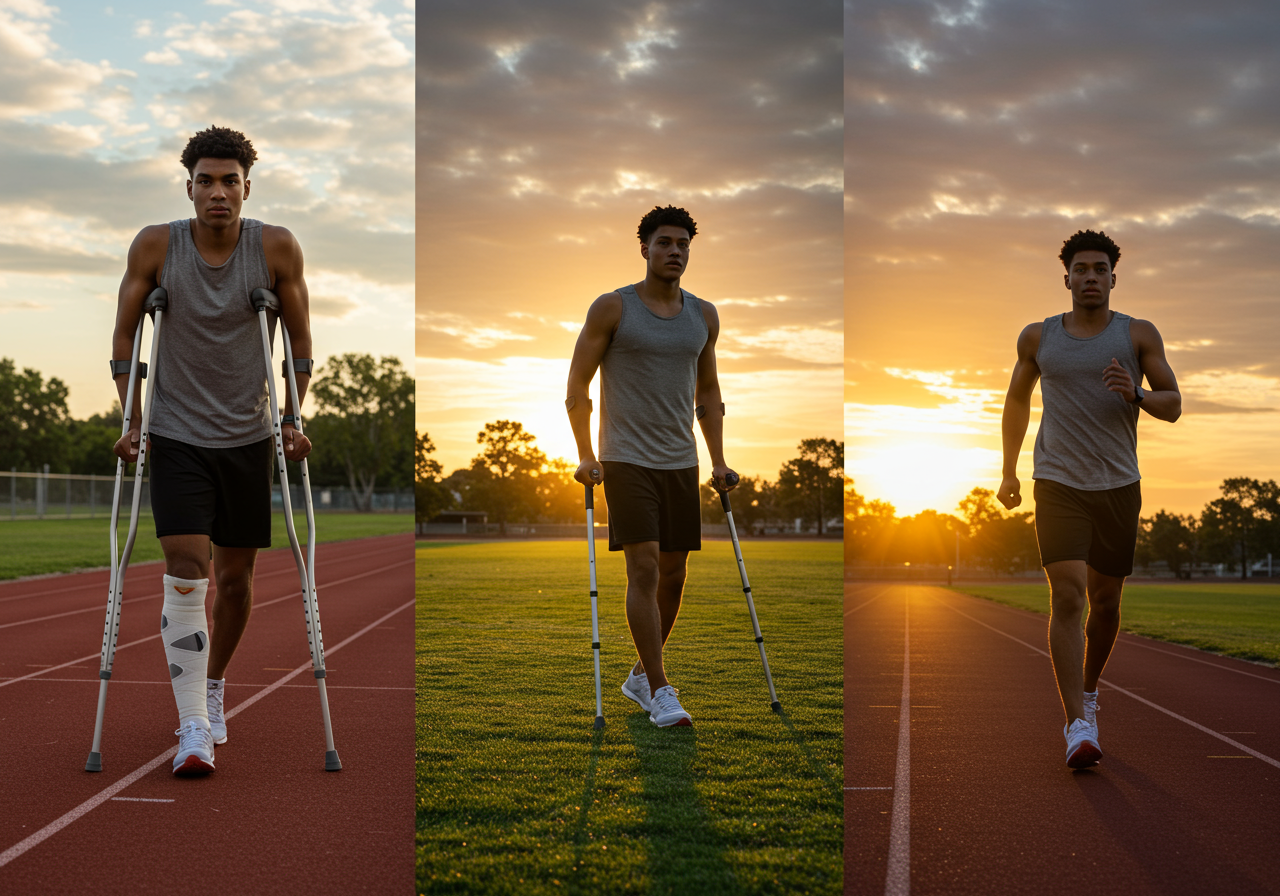
Protect: Stop the aggravating activity. If weight‑bearing worsens pain or swelling, use crutches or a supportive shoe/brace temporarily.
Compression: Apply a snug elastic wrap or graduated sleeve. It should feel supportive but never numb/tingly. Keep it on most of the day and during sleep if comfortable.
Elevation: Rest the limb above heart level, especially in the first 24–36 hours. Use pillows so the joint is relaxed, not hyperextended.
Cooling (optional for comfort): 10 minutes on, 10–20 off, a few rounds per day. Do not ice for long blocks or directly on skin.
Pain control: Consider acetaminophen as directed. Discuss NSAIDs with a clinician before use in the first 24–48 hours.
48 hours to Day 7 — Move what you can without flaring symptoms:
Range of Motion: Perform gentle pain‑free movements 3–5 times per day (e.g., ankle pumps or alphabet; wrist circles; knee bends). Keep pain ≤3/10 during and after.
Isometrics: 5–10 x 10‑second holds against light resistance, 2–3 times per day. Example for ankle: press foot against a towel in four directions without moving.
Light Cardio: Maintain fitness with non‑aggravating options. Aim for Zone 2 (you can talk in full sentences) 20–30 minutes: cycling, brisk walking on flat, or upper‑body ergometer.
Days 7–21 — Build capacity:
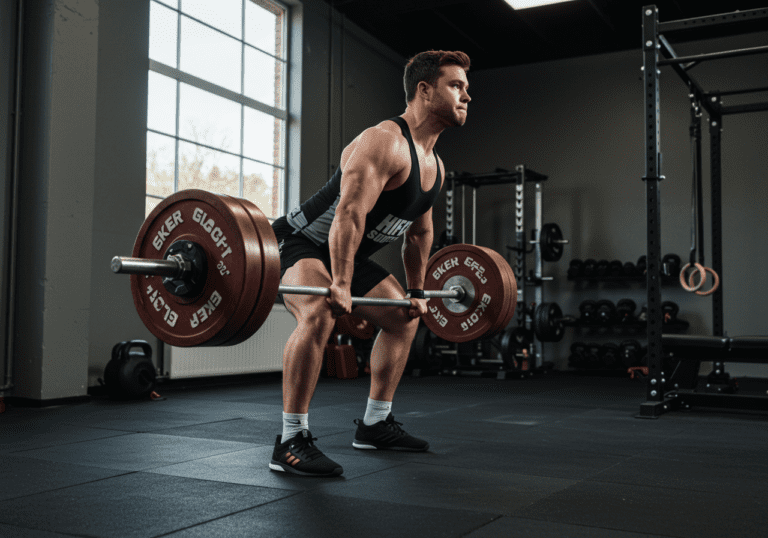
Isotonics: Slow, controlled reps with small loads or bands. 2–4 sets of 10–15, stopping well before sharp pain.
Balance and Tendon Prep: Single‑leg stands near a wall; short‑range calf raises; low‑amplitude hopping on a sturdy surface if pain allows.
Cardio Progression: Add minutes or small inclines while keeping swelling stable the next morning.
Quick home routine (12–18 minutes):
Warm‑up — 3 minutes easy stationary bike or marching in place.
Mobility — 2 minutes gentle joint circles.
Isometrics — 8–10 x 10‑second holds.
Strength — 2 sets of 12 banded movements for the injured region.
Cooldown — 2 minutes diaphragmatic breathing with elevation.
Coach note: I track pain (0–10), morning stiffness (minutes), and circumference (at a consistent landmark) in my notes app. If any spike two days in a row, we pull back one step.
Progress from Isometrics to Strength Over Four Weeks
Use symptoms to guide speed. If swelling or pain rises the next morning, return to the prior step for 24–48 hours, then retest.
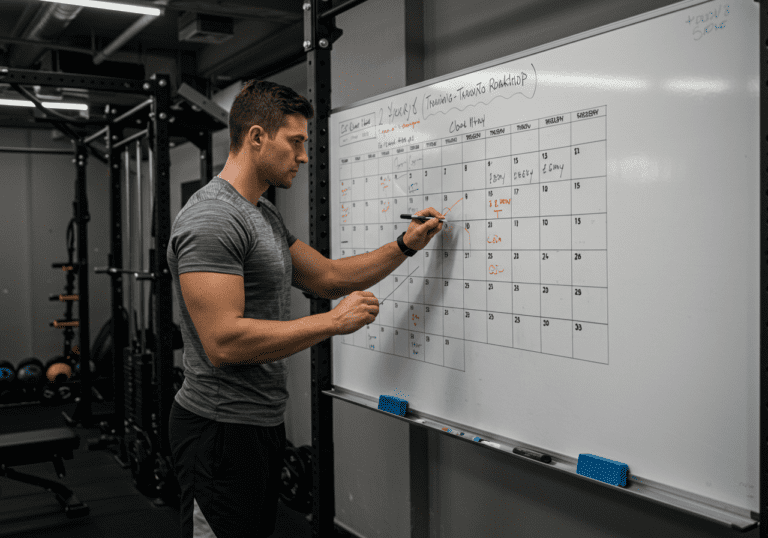
Caption: Suggested four‑phase progression from first week to return; adapt to your injury and clinician guidance.
Week 0–1: Protect + Compress + Elevate; isometrics 5–10 x 10s, 2–3x/day; cardio: 20–30 min Zone 2 on a non‑provoking modality; steps: short, frequent walks, avoid limping.
Week 1–2: Add ROM drills 3–5x/day; start light isotonic sets 2–3×12; balance 3x20s; cardio: 25–35 min Zone 2; keep morning circumference trending down.
Week 2–4: Strength 3–4×10–12 at RPE 6–7; introduce short intervals (e.g., 4 x 60s quicker, 2 min easy) if tolerated; low‑amplitude plyo prep 2x/week.
Week 4–8+: Return‑to‑impact progressions: walk‑jog (1:2 up to 1:1), then continuous jog; strength RPE 7–8; sport drills at 60–80% intensity, then full.
Level cues:
Beginner: keep pain ≤3/10; no limping; add volume every other day; prioritize elevation after sessions.
Intermediate: add load before speed; use RPE; include one rest day after each impact day.
Advanced: track readiness (HRV or morning pulse), reintroduce max‑velocity only after hop tests or single‑leg strength are symmetrical.
Client snapshots (anecdotal): “Maya” returned to run‑walk by week 3 after an ankle sprain using daily compression and short isometrics. “Carlos” maintained cycling fitness (Zone 2, 30–40 min) and came back to pickup basketball in six weeks with structured plyos. Individual timelines vary.
Train Smart: Monitor Morning Swelling and Avoid Overloading
Training frequency and intensity:
Daily: gentle ROM and isometrics.
2–4x/week: strength for the injured region plus full‑body work that does not provoke symptoms.
Cardio: 3–5x/week Zone 2; 1–2 light interval sessions when swelling is stable.
Keep total session RPE ~6 early. If the limb feels heavier, hotter, or stiffer the next morning, you did too much.
Common mistakes and fixes:
Over‑icing or aggressive massage early — use short, comfort‑focused cooling and let compression/elevation do the heavy lifting.
Skipping compression at night — consider a comfortable graduated sleeve if approved by your clinician.
Jumping into running before single‑leg strength returns — pass simple hop or calf‑raise benchmarks first.
Living on NSAIDs — discuss risks/benefits; use the lowest effective dose if prescribed.
Nutrition and recovery:
Protein: 1.6–2.2 g/kg/day, spread across meals.
Pre‑rehab: 10–15 g collagen or gelatin with vitamin C 45–60 minutes before loading may support tendon/ligament work (discuss with a professional).
Hydration and colorful produce for micronutrients; sleep 7–9 hours.
Monitoring tools I use:
MyFitnessPal for protein and calorie targets during reduced training.
Garmin/Polar/Fitbit for daily steps and HR zones; Strava for session notes.
Tape measure for circumference at a fixed landmark; pain diary (0–10) and morning stiffness (minutes).
When to seek urgent care: obvious deformity, inability to bear weight after 24–48 hours, numbness/tingling, severe or worsening swelling, fever, or calf pain/shortness of breath. Rule out fracture with a clinician when in doubt.
Next steps: Save this plan, track your metrics for two weeks, and adjust by symptoms. If you want my printable checklist and return‑to‑run template.
Medical Disclaimer: The information provided on this website is for informational and educational purposes only and is not intended as personal medical or health advice. The content, including text, graphics, and images, is not a substitute for professional medical advice, diagnosis, or treatment. Always seek the advice of your physician or other qualified healthcare provider…
Medical Disclaimer: The information provided on this website is for informational and educational purposes only and is not intended as personal medical or health advice. The content, including text, graphics, and images, is not a substitute for professional medical advice, diagnosis, or treatment. Always seek the advice of your physician or other qualified healthcare provider…
Medical Disclaimer: The information provided on this website is for informational and educational purposes only and is not intended as personal medical or health advice. The content, including text, graphics, and images, is not a substitute for professional medical advice, diagnosis, or treatment. Always seek the advice of your physician or other qualified healthcare provider…
Medical Disclaimer: The information provided on this website is for informational and educational purposes only and is not intended as personal medical or health advice. The content, including text, graphics, and images, is not a substitute for professional medical advice, diagnosis, or treatment. Always seek the advice of your physician or other qualified healthcare provider…
Medical Disclaimer: The information provided on this website is for informational and educational purposes only and is not intended as personal medical or health advice. The content, including text, graphics, and images, is not a substitute for professional medical advice, diagnosis, or treatment. Always seek the advice of your physician or other qualified healthcare provider…
Medical Disclaimer: The information provided on this website is for informational and educational purposes only and is not intended as personal medical or health advice. The content, including text, graphics, and images, is not a substitute for professional medical advice, diagnosis, or treatment. Always seek the advice of your physician or other qualified healthcare provider…