Medical Disclaimer: The information provided on this website is for informational and educational purposes only and is not intended as personal medical or health advice. The content, including text, graphics, and images, is not a substitute for professional medical advice, diagnosis, or treatment. Always seek the advice of your physician or other qualified healthcare provider with any questions you may have regarding a medical condition or before starting any new exercise, nutrition, or supplement program. Never disregard professional medical advice or delay in seeking it because of something you have read on this blog. Reliance on any information provided by this site is solely at your own risk.
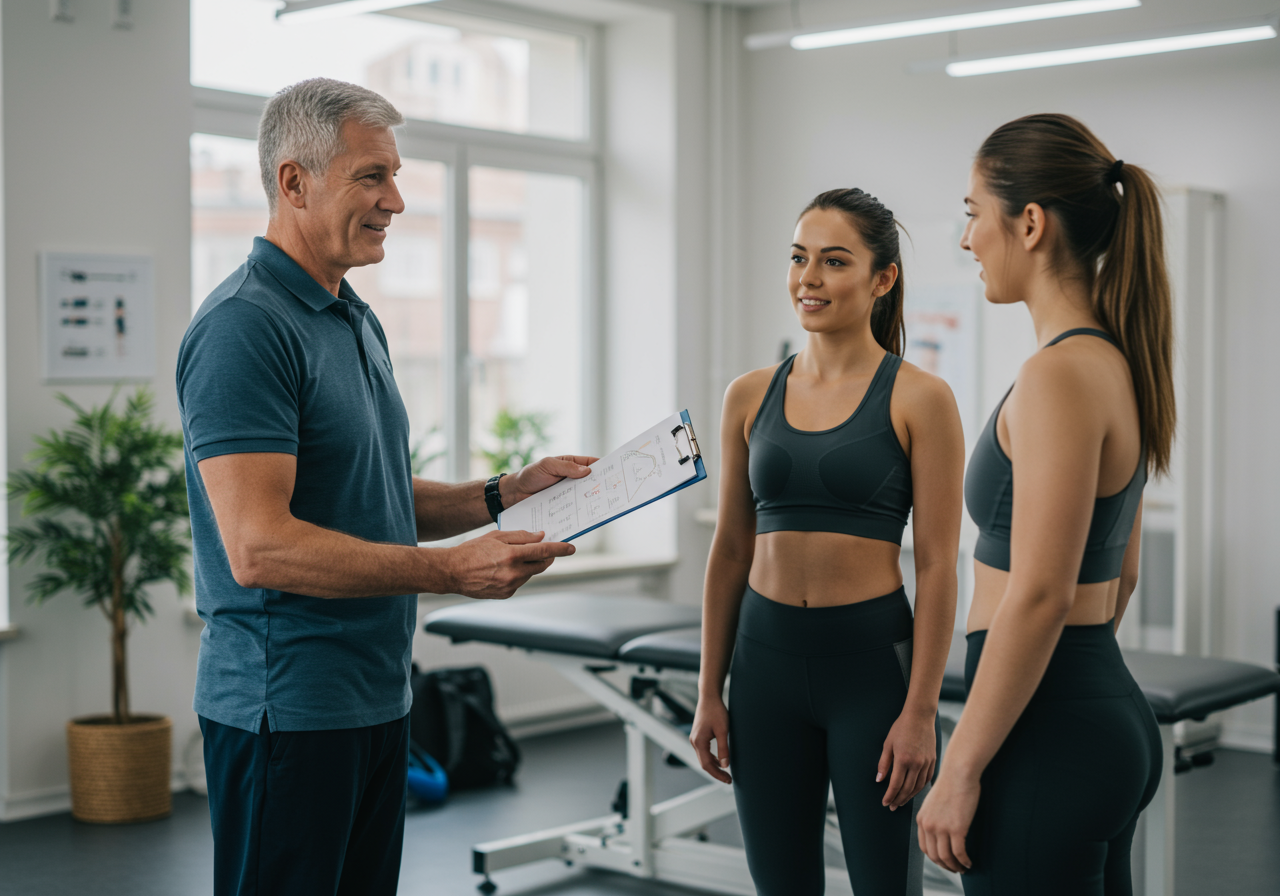
Core rehabilitation exercises often feel slow, but they rebuild stability without flare-ups. This guide shows you how to progress them safely and confidently.
Direct answer: Progress by adding time, tension, and tiny loads only when pain stays ≤3/10 and form remains steady.
You’ll get a clear system, beginner-to-advanced progressions, tracking methods, and recovery tips I’ve used for my own back rehab and with clients returning to sport.
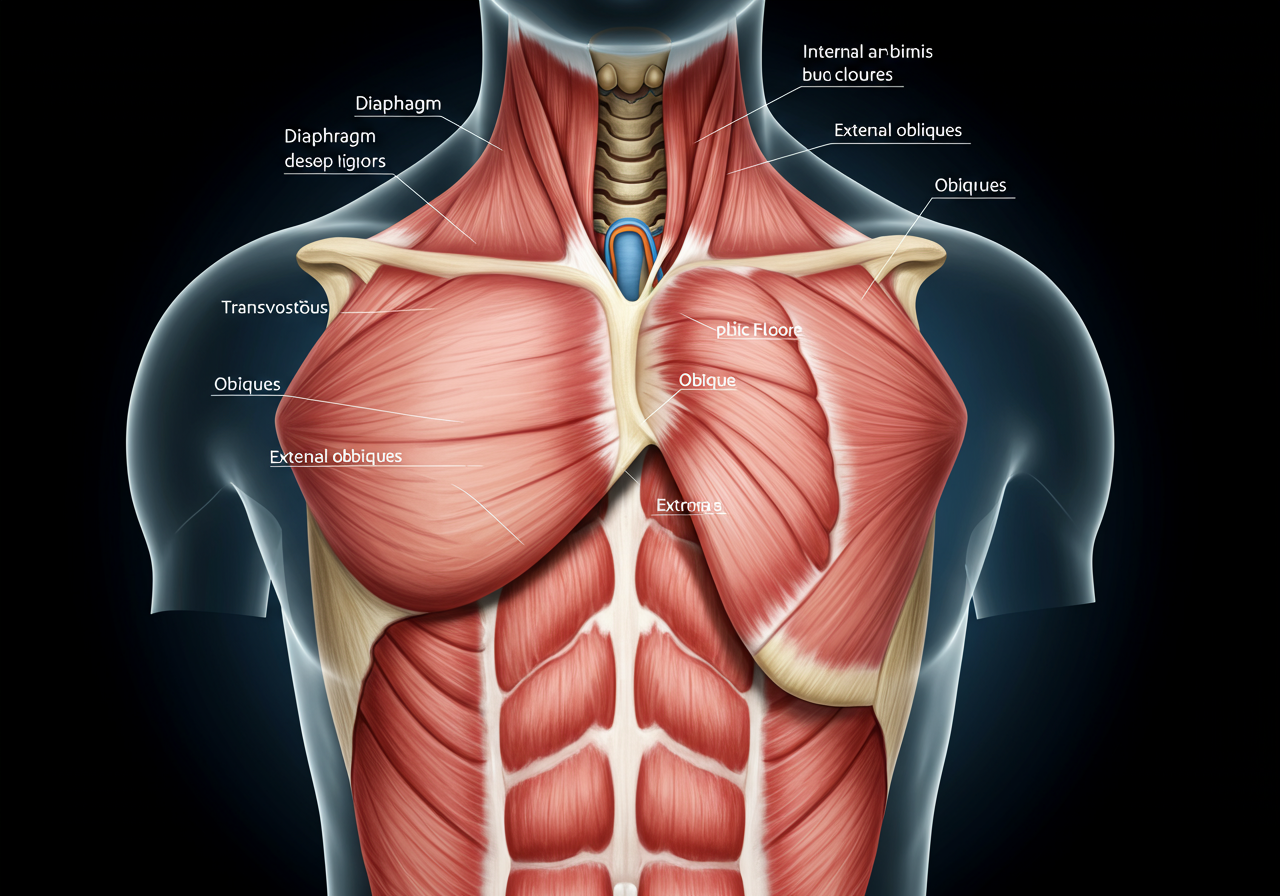
Deep Core Muscles Restore Spinal Stability After Injury
The deep core—diaphragm, transverse abdominis, multifidus, pelvic floor—stabilizes the spine so limbs can move smoothly. After pain or injury, timing of these muscles often lags, so the body compensates with rigid bracing or breath-holding. Gentle motor control practice restores coordination before heavier work.
In practice and in peer-reviewed studies, consistent low-load training improves function and reduces pain sensitivity when paired with gradual exposure and normal daily movement. We also see better walking tolerance and confidence when sessions respect a pain ceiling (≤3/10) and avoid next-day spikes.
From my coaching and my own L5–S1 flare recovery, the combination that works most reliably is: breath mechanics first, then controlled isometrics, then loaded carries and anti-rotation work. This staged approach reduced my morning stiffness within a month and helped clients return to lifting, often within 8–12 weeks, when symptoms allowed.
Client M. (postpartum, desk job): “Logging pain and breath tempo was the game-changer. I stopped pushing through bad days and finally saw steady progress.”
Five-Step Session Structure for Pain-Free Core Training
Use this repeatable session structure 3–5 days per week. Keep breaths smooth through the nose. Stop if pain exceeds 3/10 or form shakes.
Arrival check (1–2 min) — Note pain 0–10, stiffness, and fatigue. If pain >3/10, cut volume by 30–50% today.
Warm-up (5 min) — Easy walk or bike, then gentle hip and thoracic mobility. Aim for nasal breathing; mouth stays closed if possible.
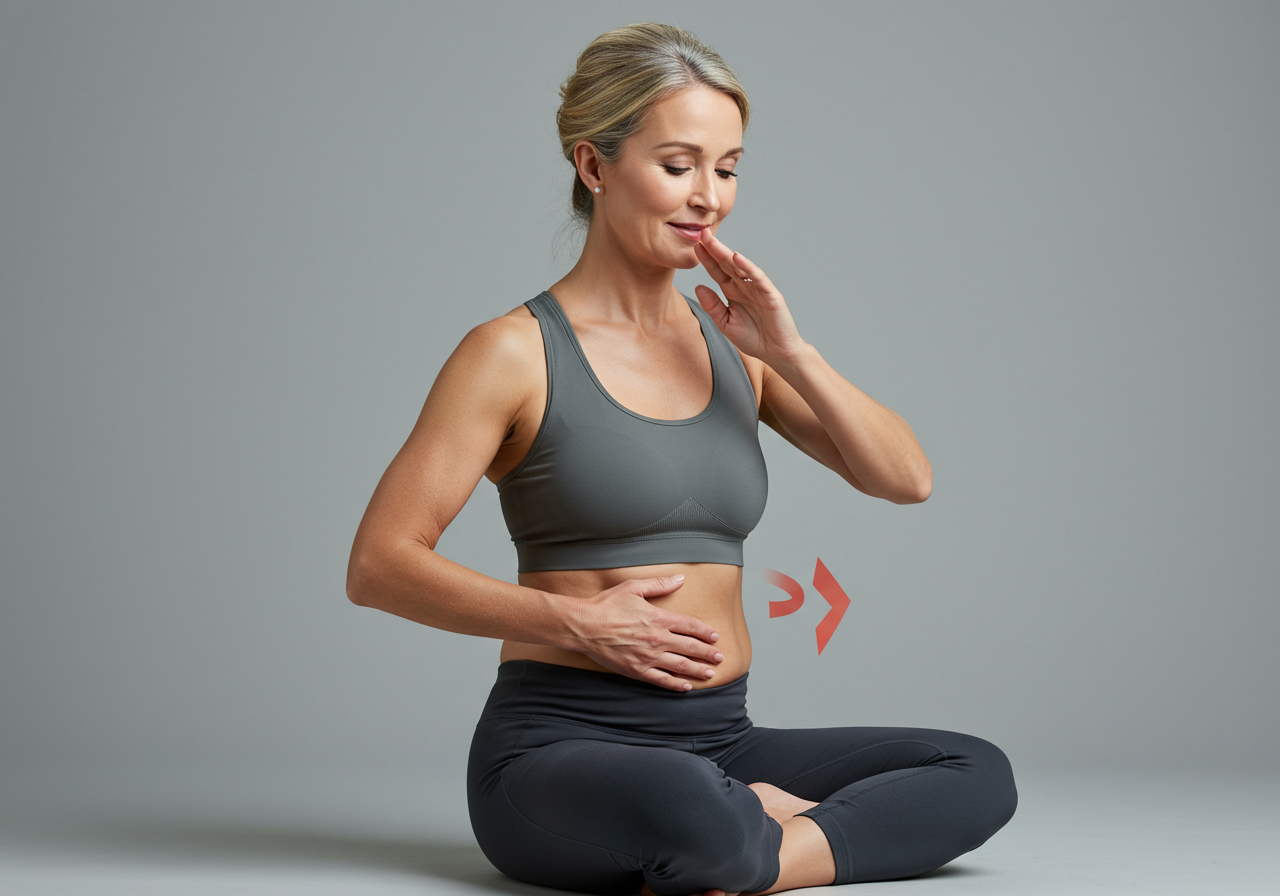
Breathing reset (4–6 min) — 90/90 wall breathing: heels on wall, knees/hips at 90°. Inhale 4s, exhale 6s, 6–8 reps. Feel ribs soften down; no neck tension.
Core control (10–15 min)
Dead bug isometric — Press opposite hand and knee together; hold 10–20s, 3–5 reps/side. Keep low ribs down.
Side plank (knees) — 10–20s holds, 3 reps/side. Hips long; no sag. Exhale to set, breathe quietly while holding.
Hip hinge dowel drill — Dowel touches head, mid-back, sacrum. Hinge back, 3×8 smooth reps. Maintain three points of contact.
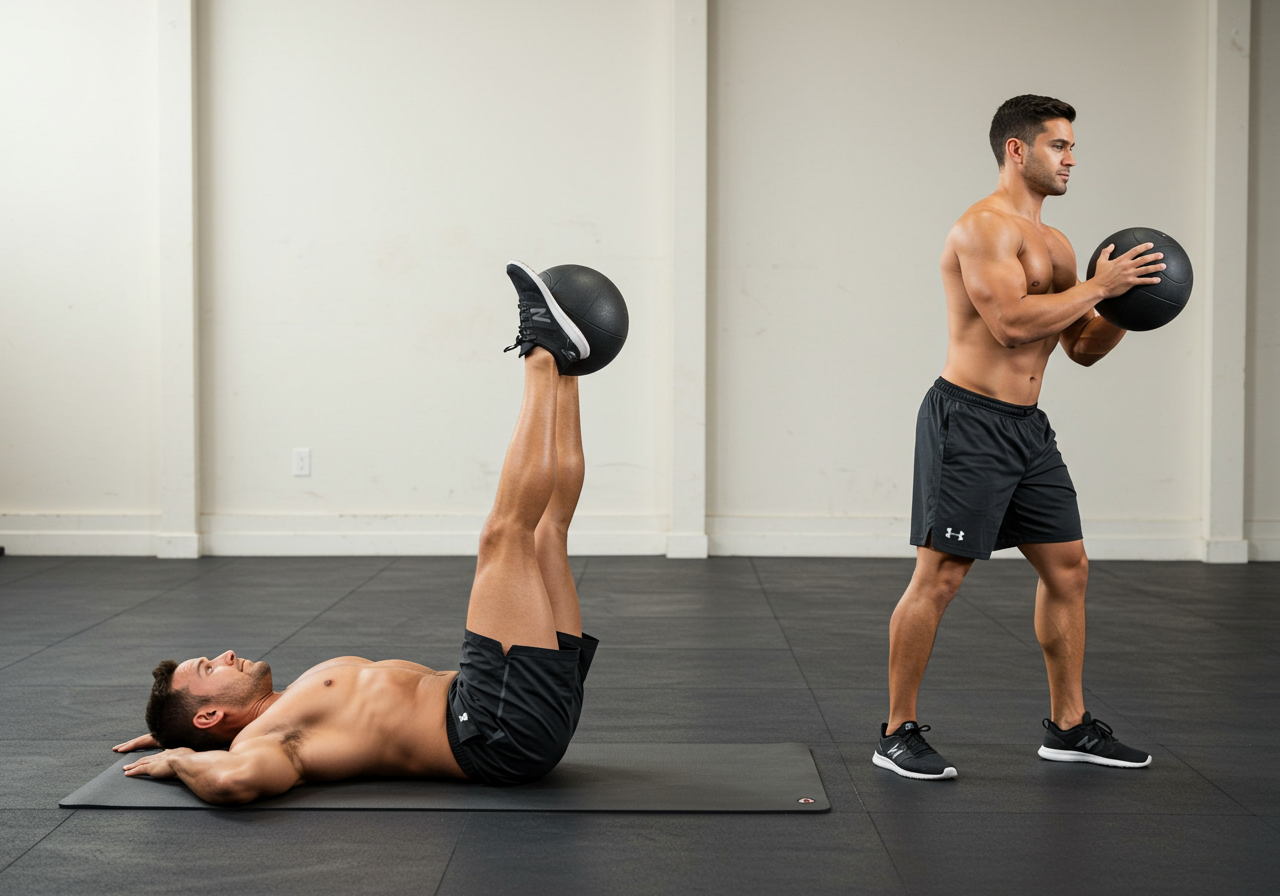
Anti-rotation / carries (6–10 min)
Pallof press — Light band, 3×8–10/side. Exhale through the press; don’t twist.
Suitcase carry — One light kettlebell/dumbbell, 20–40m/side, 2–3 rounds. Walk tall; ribs stacked over pelvis.
Cool-down (3–5 min) — Two slow sets of 4s inhale/6–8s exhale in comfortable supine or child’s pose. Note post-session pain (aim no increase).
Cues that keep you safe:
Exhale until you feel lower ribs drop; lightly brace as if preparing to be poked in the side.
Keep talk-test breath: you could speak a sentence during holds. No face straining.
Stop 2 reps before form breaks (RPE 6–7). Quality beats quantity.
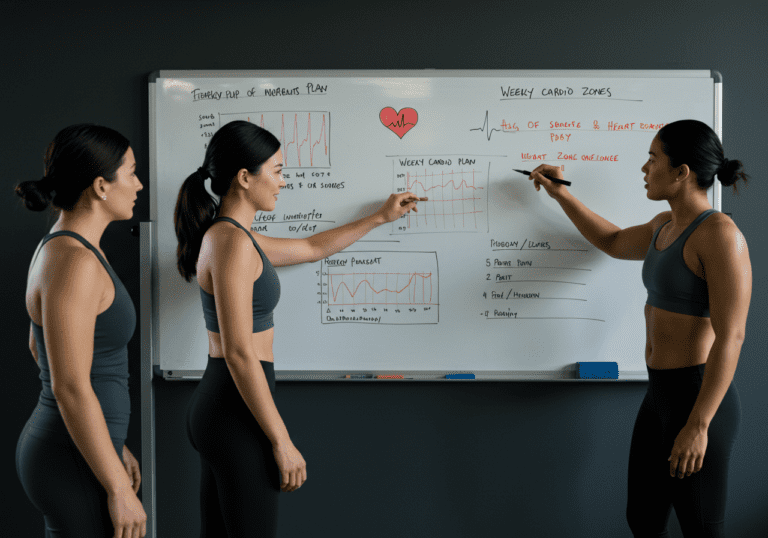
Tracking — Log sets, hold times, pain (0–10), and RPE in a notes app or Trainerize/TrueCoach. I tag sessions “green” when post-session pain is unchanged or lower; “yellow” if +1; “red” if +2 or greater (reduce volume next time).
Eight-Week Roadmap from Breathing Drills to Loaded Carries
Follow this roadmap and adjust by symptoms. Caption: Week-by-week guideline; advance only if pain ≤3/10 during and after sessions.
Week 1–2: 90/90 breathing 6–8 reps; dead bug iso 10s x4/side; side plank (knees) 10s x3; Pallof 3×8 light; suitcase carry 20m x2/side; hinge drill 3×8.
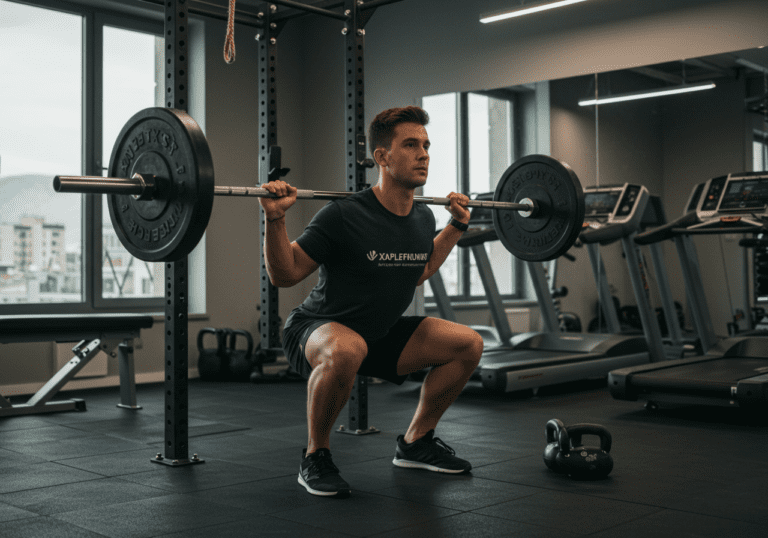
Week 3–4: 90/90 8–10 reps; dead bug march 3×6/side; side plank (knees) 20s x3; Pallof 3×10; suitcase carry 30m x3/side; add goblet squat 3×6 light.
Week 5 (deload): reduce sets by ~40%, maintain technique, extra walking Zone 2 (20–30 min).
Week 6–7: Dead bug with band 3×8; side plank full 10–15s x3; hinge to kettlebell deadlift 3×6 @ RPE 6; Pallof 3×10 heavier; suitcase carry 40m x3/side.
Week 8–9: Add anti-rotation march (cable) 3×8/side; side plank full 20s x3; deadlift 3×5 @ RPE 7; farmer carry 30–40m x3; half-kneeling chop 3×8/side.
Stable breathing and bracing for two sessions in a row before progressing load or time.
No next-day pain increase >1/10. If it happens, repeat the previous week.
Use micro-plates (0.5–1 kg) or small band jumps; avoid big leaps.
Real example — My post-flare run-up: Weeks 1–2 I walked 20–25 min in Zone 2 (Garmin HR ~120–130 bpm) after sessions, then reintroduced 3×5 kettlebell deadlifts (20–24 kg) by Week 7 at RPE 6–7. Pain stayed 1–2/10 throughout; morning stiffness decreased after Week 3.
Weekly Rhythm, RPE Limits, and Common Breath-Holding Fixes
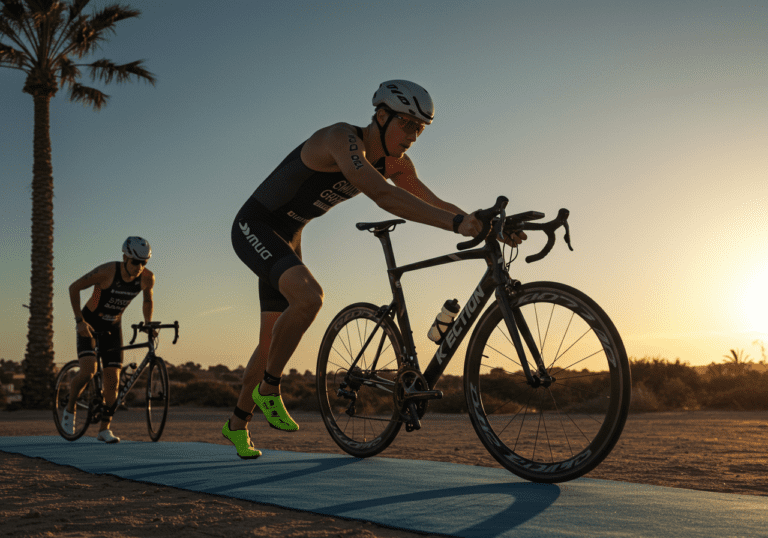
Weekly rhythm: 3–5 core-focused sessions (15–30 min), plus 2–4 Zone 2 cardio sessions (20–40 min walks or rides). Lift 2–3 days with movements that respect your brace and breath.
Intensity: Keep most holds and sets at RPE 6–7. Save RPE 8 for late phases. If fatigue accumulates, insert a deload week or reduce hold times.
Common mistakes:
Breath-holding. Fix it with longer exhales (6–8s) and talk-test during holds.
Advancing load too fast. Use 5–10% jumps at most; micro-plates are your friend.
Chasing pain relief mid-session. The goal is capacity; judge by next-day response.
Monitoring: Track pain (0–10), morning stiffness minutes, carry distance, and dead bug hold time. Wins look like increased tolerance with flat or lower pain. I use Garmin for HR trends and a simple Google Sheet for sets, RPE, and pain notes.
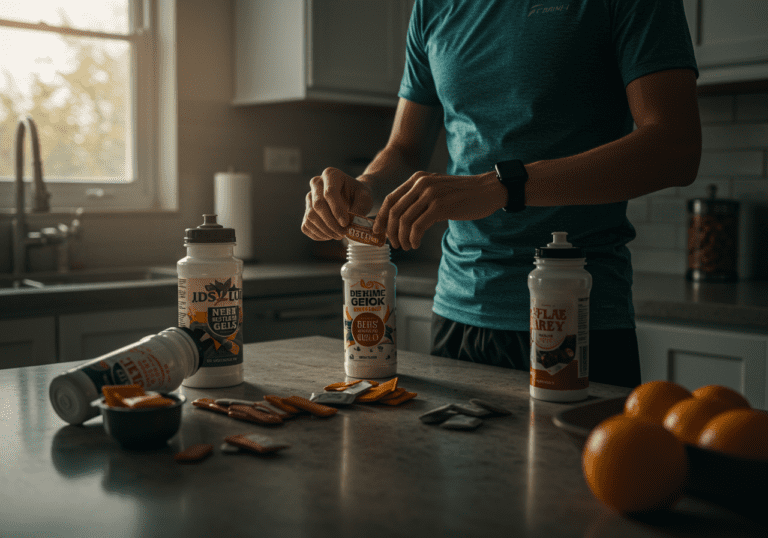
Nutrition & recovery: Aim for protein 1.6–2.2 g/kg/day, mostly whole foods. If fat loss matters, a mild 250–400 kcal deficit (MyFitnessPal works). Hydrate 30–40 ml/kg/day. Sleep 7–9 hours; a 10–15 min walk after dinner helps both sleep and recovery. Creatine (3–5 g/day) can support training volume; magnesium glycinate (200–400 mg) may aid sleep—confirm with your clinician.
When to get help: New numbness, bowel/bladder changes, or pain >5/10 that persists warrants medical evaluation. Otherwise, steady but patient training wins.
Next steps: Save this plan, start at your current level, and log each session. If you want my template sheet and video demos.
Client J. (recreational lifter): “After eight weeks, carries went from 20m to 60m per side with equal pain (1/10). I’m back to front squats without fear.”
Medical Disclaimer: The information provided on this website is for informational and educational purposes only and is not intended as personal medical or health advice. The content, including text, graphics, and images, is not a substitute for professional medical advice, diagnosis, or treatment. Always seek the advice of your physician or other qualified healthcare provider…
Medical Disclaimer: The information provided on this website is for informational and educational purposes only and is not intended as personal medical or health advice. The content, including text, graphics, and images, is not a substitute for professional medical advice, diagnosis, or treatment. Always seek the advice of your physician or other qualified healthcare provider…
Medical Disclaimer: The information provided on this website is for informational and educational purposes only and is not intended as personal medical or health advice. The content, including text, graphics, and images, is not a substitute for professional medical advice, diagnosis, or treatment. Always seek the advice of your physician or other qualified healthcare provider…
Medical Disclaimer: The information provided on this website is for informational and educational purposes only and is not intended as personal medical or health advice. The content, including text, graphics, and images, is not a substitute for professional medical advice, diagnosis, or treatment. Always seek the advice of your physician or other qualified healthcare provider…
Medical Disclaimer: The information provided on this website is for informational and educational purposes only and is not intended as personal medical or health advice. The content, including text, graphics, and images, is not a substitute for professional medical advice, diagnosis, or treatment. Always seek the advice of your physician or other qualified healthcare provider…
Medical Disclaimer: The information provided on this website is for informational and educational purposes only and is not intended as personal medical or health advice. The content, including text, graphics, and images, is not a substitute for professional medical advice, diagnosis, or treatment. Always seek the advice of your physician or other qualified healthcare provider…