Medical Disclaimer: The information provided on this website is for informational and educational purposes only and is not intended as personal medical or health advice. The content, including text, graphics, and images, is not a substitute for professional medical advice, diagnosis, or treatment. Always seek the advice of your physician or other qualified healthcare provider with any questions you may have regarding a medical condition or before starting any new exercise, nutrition, or supplement program. Never disregard professional medical advice or delay in seeking it because of something you have read on this blog. Reliance on any information provided by this site is solely at your own risk.
Shin splints recovery can start today—learn how to manage symptoms and rebuild capacity step by step. You’ll get a plan for pain control, strength, and a safe return to running.
Direct answer: Reduce impact, strengthen calves and shins, adjust cadence, and progress running with pain-limited steps to recover safely.
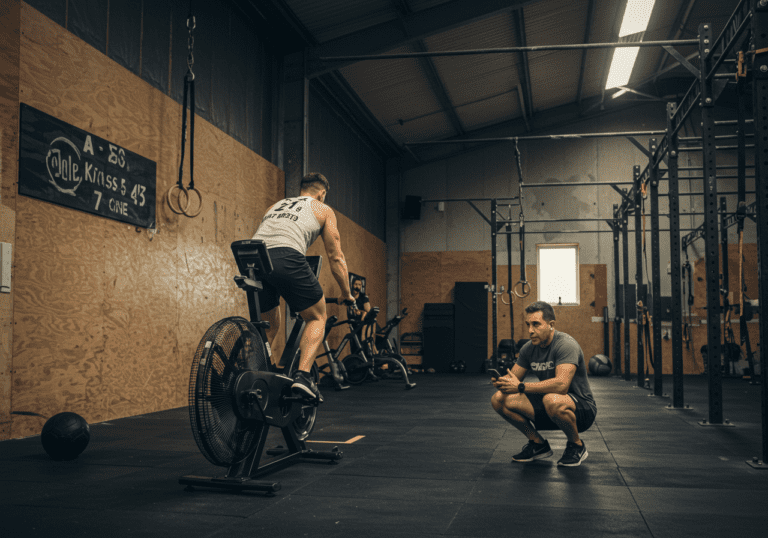
I’ll share the exact sessions I use with clients and in my own training, how we track progress (Garmin/Strava/MyFitnessPal), and the nutrition and sleep that speed healing.
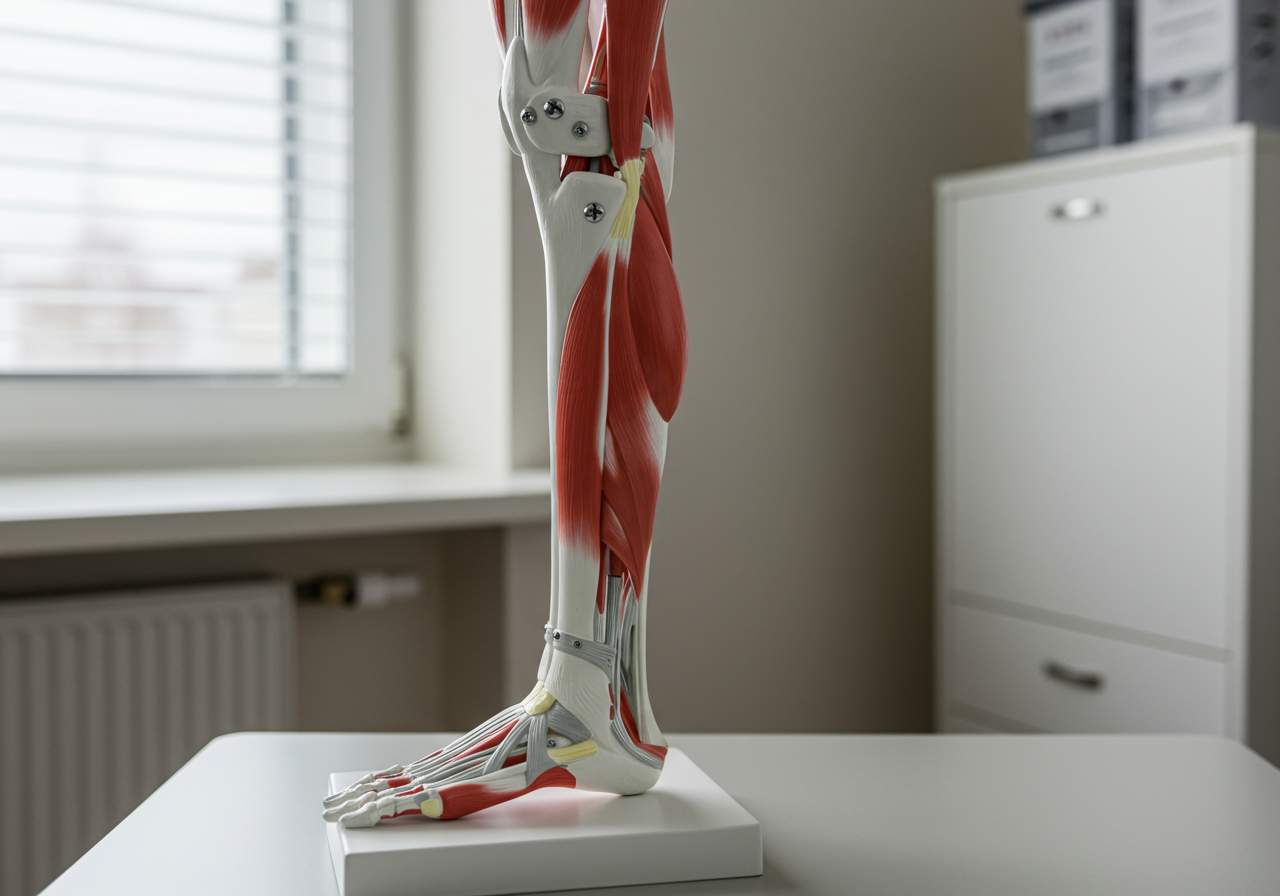
Shin splints (medial tibial stress syndrome) usually stem from too much impact too soon. Repeated loading irritates the tibial bone and the tissues where muscles like the soleus and tibialis attach. The fix is progressive loading that builds tolerance while dialing down impact spikes.
What typically drives the flare: sudden mileage jumps, hard surfaces, low calf/soleus strength, stiff ankles, and long strides. Practical levers: better calf strength (especially soleus), more gradual impact exposure, slightly higher cadence, and varied surfaces. In practice and small trials, these steps reduce symptoms and help runners return sooner.
Client note: Maya, a beginner, moved from daily 5/10 pain to pain-free 30-minute runs in five weeks by swapping two runs for cycling, adding soleus raises, and using a cadence bump of ~7% (tracked on Garmin). Results vary, but the approach is reliable.
“The cadence cue and calf work changed everything. I didn’t lose my fitness, and my shins finally calmed down.” — Maya, new runner
How to Recover and Return to Running Safely
Step 1 — Pain triage
If walking is painful or pain persists at rest/night, pause impact and consult a clinician to rule out a stress fracture.
Use a 0–10 pain scale. Keep training in the 0–3/10 range during and the morning after. If pain jumps to 4+, back off 24–72 hours.
Step 2 — Calm, then load (PEACE & LOVE principles)
Short-term: reduce impact, elevate after training, consider compression sleeves if comfortable.
Soon after: introduce isometrics for analgesia. Example: bent-knee calf hold, 5 sets of 30–45 seconds per side, daily.
Step 3 — Strengthen what matters
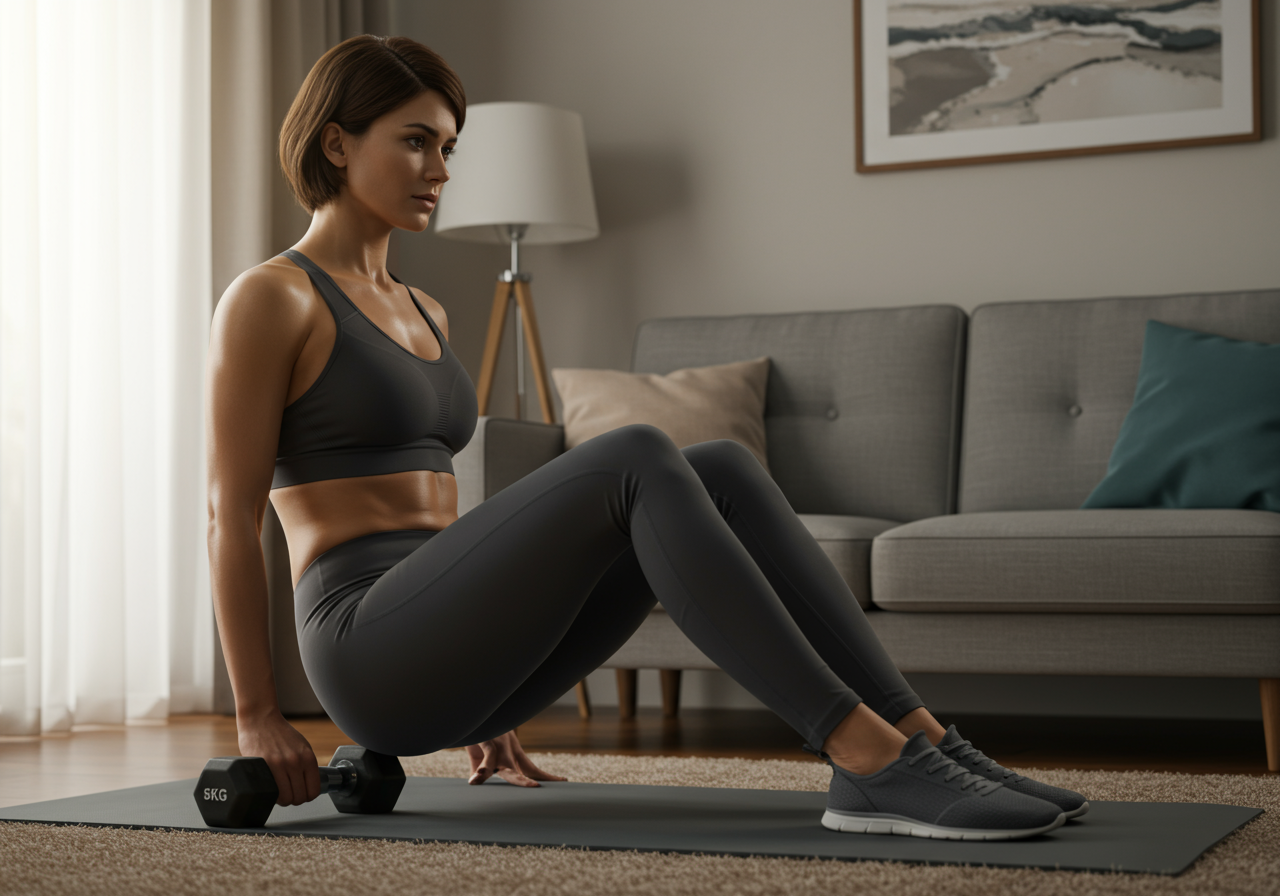
Soleus raises (bent-knee calf raises): 3–4 x 8–12, slow 3-second lowers, progress load weekly. Main shock absorber for running.
Gastrocnemius calf raises (straight knee): 3 x 10–15, full range.
Tibialis anterior raises (backs to wall, lift toes): 3 x 12–20. Cue: keep shins vertical, smooth tempo.
Foot intrinsics: short foot hold 5 x 20–30 seconds, towel curls 2 x 20.
Hip/knee control: split squats 3 x 8–10, lateral band walks 2 x 15 steps each way.
Step 4 — Technique and impact tweaks
Increase cadence by 5–10% from your baseline to reduce tibial shock. Use Garmin/Strava for live cadence or post-run review.
Shorten stride slightly; keep foot landing closer under your center of mass.
Rotate shoes; use fresher midsoles for workouts. If overpronation is marked, consider a trial with supportive shoes/orthotics with a clinician.
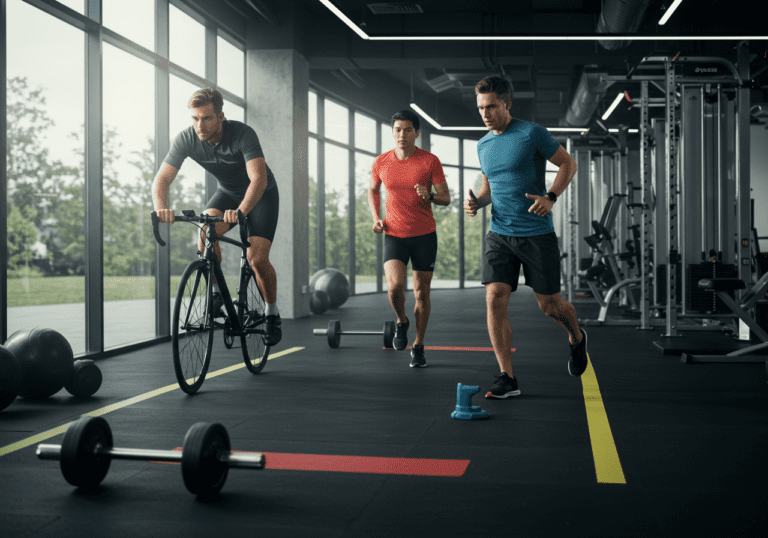
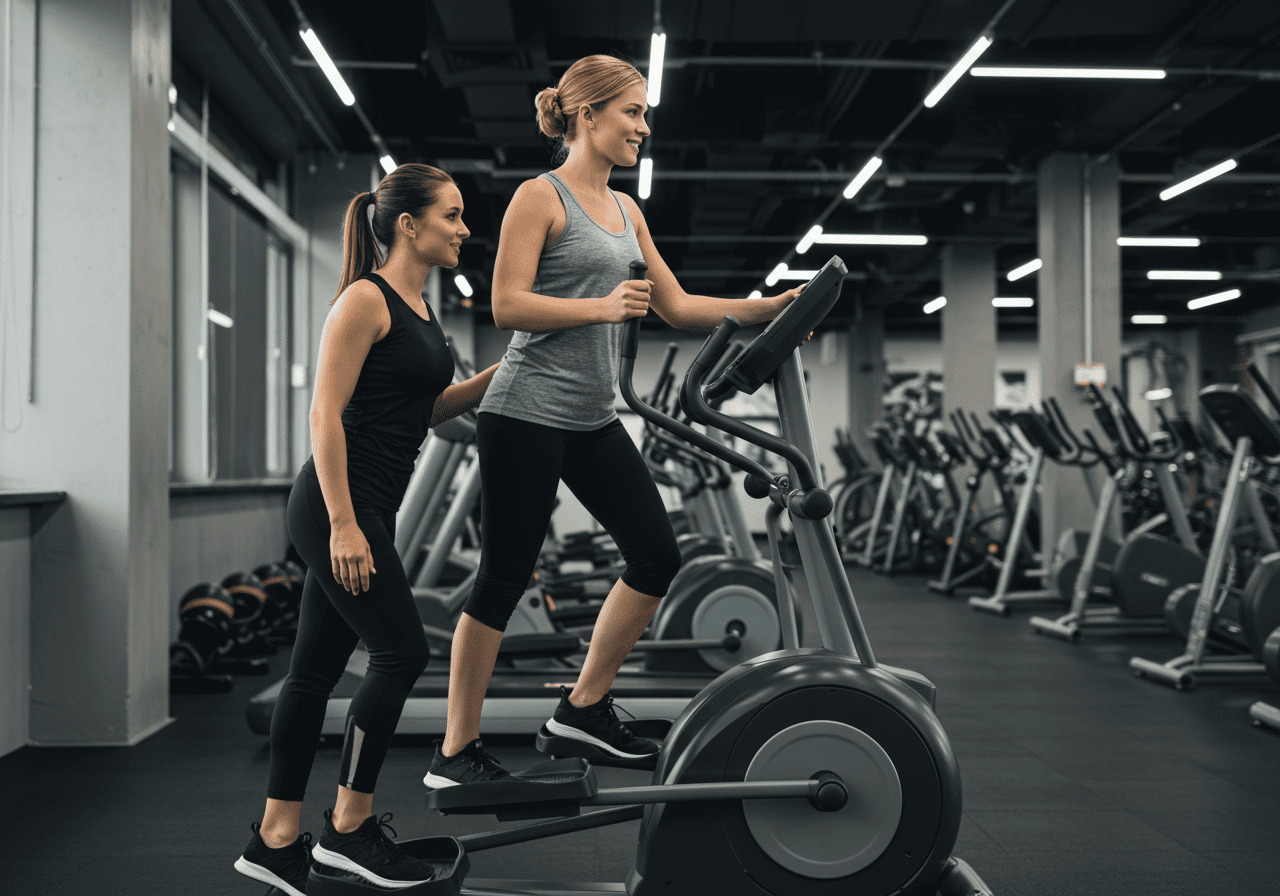
Step 5 — Cardio you can keep
Swap some runs for zone 2 cycling or deep-water running (RPE 4–6, conversational). Maintain 70–90% of your usual weekly cardio minutes without pain spikes.
Hiking on soft trails or incline treadmill walking can bridge the gap if pain is ≤3/10.
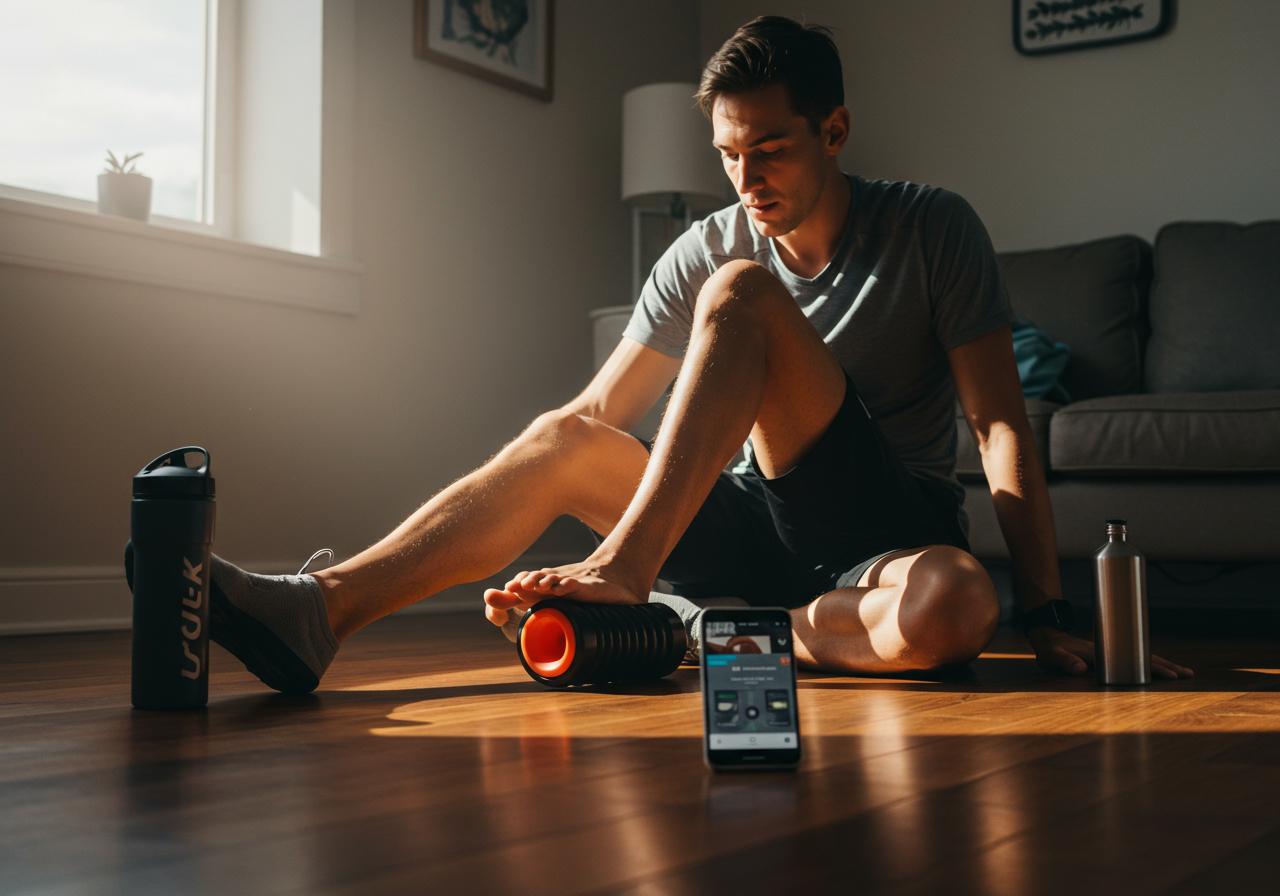
Sample 40–50 min rehab session
Warm-up — 5–8 min easy bike or brisk walk, ankle circles.
Isometrics — bent-knee calf holds 5 x 30–45s, 45s rest.
Cooldown — gentle calf stretch 2 x 30s; elevate 5 min.
Real-world tracking: I log pain (0–10), morning hop-test discomfort, and session RPE in Garmin. A typical week during my own flare: two 45-min Z2 rides (120–135 bpm), two strength sessions, and one cautious run-walk. Nutrition via MyFitnessPal to ensure protein and total calories are adequate.
Beginner to Advanced Progressions
Use pain as your governor: during/next morning pain ≤3/10 = progress; 4–5/10 = hold; >5/10 or night pain = regress and seek guidance.
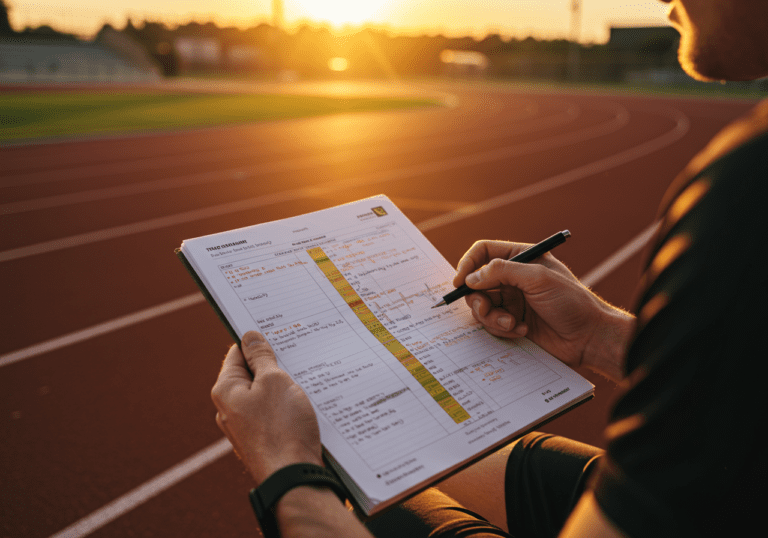
Run/impact progression
Caption: Eight-week return-to-impact roadmap (adjust by pain, RPE, and morning-after soreness).
Week 1: No running; bike/pool Z2 3–4x 30–45 min; strength 3x/week (isometrics daily). Week 2: Walk 30–40 min most days; optional run-walk 5 x 1 min jog/2 min walk (pain ≤3). Strength 3x/week. Week 3: Run-walk 8 x 1 min/1 min then 4 x 2 min/1 min; total 20–25 min. Add 5–10% cadence bump. Week 4: Continuous easy run 15–20 min; one cross-train day; strength 2–3x/week. Soft surfaces preferred. Week 5: Easy runs 2 x 20–25 min; optional strides 4 x 15 sec; keep Z2 cross-training 1–2 sessions. Week 6: 3 runs (20–30 min); one can be light intervals 6 x 1 min easy/moderate. Maintain strength. Week 7: 3–4 runs (25–35 min); optional hill walk/jog 6–8 x 30 sec; progress soleus load. Week 8: 4 runs (30–40 min); introduce short tempo bite 8–10 min if pain-free.
Strength progression
Beginner: bodyweight soleus raises 3 x 12; tibialis raises 3 x 20; split squats 2 x 8. Progress weekly by 1–2 reps.
Intermediate: add dumbbell/kettlebell; soleus raises 4 x 8–10 @ RPE 7–8; tibialis raises 4 x 12–15 with slow lowers.
Advanced: seated calf raise machine 4 x 6–8 heavy; pogo hops 2 x 20 and skipping 3 x 30 sec (only after four pain-free weeks).
Gait and surface tweaks across levels: keep cadence increased 5–10%, avoid long cambered roads early, rotate shoes, and use trails or tracks for re-entry.
Coach log example (intermediate client): Week 3 to 6 mileage grew from 8 to 14 miles while cycling minutes stayed at ~60–90/week. Pain stayed ≤2/10, and hop-test was clear each morning.
Programming Tips and Safety
Frequency & intensity
Strength calves/hips 2–3x/week; isometric holds can be daily early on.
Cardio 3–5x/week with at least 2 low-impact days until running is consistent.
Keep most running easy (RPE 3–5). Add intensity only after four pain-free weeks.
Common mistakes
Jumping back to old mileage too fast; instead follow the week-by-week steps and use the pain governor.
Skipping soleus work. The bent-knee calf is your workhorse for shock absorption.
Ignoring sleep and calories. Under-fueling slows bone and tissue recovery.
Monitoring
Daily 10-hop test: any sharp pain or limp warrants backing off.
Morning soreness check: if it rises day to day, reduce impact volume.
Red flags: rest/night pain, focal tenderness, or swelling—seek medical assessment.
Recovery nutrition
Protein 1.6–2.2 g/kg/day, spread over meals; carbs around training for energy.
Calcium- and vitamin D–rich foods; discuss supplements with a clinician if intake is low.
Hydrate well; 7–9 hours of sleep to support remodeling.
Next steps: Keep logging sessions (Strava/Garmin), pain scores, and shoe rotation notes. When you’re running 30–40 min pain-free for two weeks, start gentle plyos or hills.
Medical Disclaimer: The information provided on this website is for informational and educational purposes only and is not intended as personal medical or health advice. The content, including text, graphics, and images, is not a substitute for professional medical advice, diagnosis, or treatment. Always seek the advice of your physician or other qualified healthcare provider…
Medical Disclaimer: The information provided on this website is for informational and educational purposes only and is not intended as personal medical or health advice. The content, including text, graphics, and images, is not a substitute for professional medical advice, diagnosis, or treatment. Always seek the advice of your physician or other qualified healthcare provider…
Medical Disclaimer: The information provided on this website is for informational and educational purposes only and is not intended as personal medical or health advice. The content, including text, graphics, and images, is not a substitute for professional medical advice, diagnosis, or treatment. Always seek the advice of your physician or other qualified healthcare provider…
Medical Disclaimer: The information provided on this website is for informational and educational purposes only and is not intended as personal medical or health advice. The content, including text, graphics, and images, is not a substitute for professional medical advice, diagnosis, or treatment. Always seek the advice of your physician or other qualified healthcare provider…
Medical Disclaimer: The information provided on this website is for informational and educational purposes only and is not intended as personal medical or health advice. The content, including text, graphics, and images, is not a substitute for professional medical advice, diagnosis, or treatment. Always seek the advice of your physician or other qualified healthcare provider…
Medical Disclaimer: The information provided on this website is for informational and educational purposes only and is not intended as personal medical or health advice. The content, including text, graphics, and images, is not a substitute for professional medical advice, diagnosis, or treatment. Always seek the advice of your physician or other qualified healthcare provider…
 Shin splints recovery can start today—learn how to manage symptoms and rebuild capacity step by step. You’ll get a plan for pain control, strength, and a safe return to running.