Medical Disclaimer: The information provided on this website is for informational and educational purposes only and is not intended as personal medical or health advice. The content, including text, graphics, and images, is not a substitute for professional medical advice, diagnosis, or treatment. Always seek the advice of your physician or other qualified healthcare provider with any questions you may have regarding a medical condition or before starting any new exercise, nutrition, or supplement program. Never disregard professional medical advice or delay in seeking it because of something you have read on this blog. Reliance on any information provided by this site is solely at your own risk.
Build Power Through Smart Progressions and Soft Landings
Plyometric training can rapidly raise your strength and power when used with smart progressions and strict landing mechanics.
Start with low-impact hops, master soft landings, and add volume and height gradually 1–2 times per week.
In this guide, you’ll learn the drills, the session layout, weekly progression, and recovery strategies I use with new lifters and weekend athletes.
Stretch-Shortening Cycle Improves Force Development and Tendon Stiffness
Plyometrics train the stretch–shortening cycle. You load a muscle–tendon quickly, store elastic energy, and release it in a snap. That improves rate of force development and coordination between hips, knees, and ankles.
Practically, good landing mechanics can reduce joint stress while still building stiffness in the tendons. Stronger tendons return energy more efficiently, which helps sprints, jumps, and even bar speed in squats.
In my coaching, novices who start with low-impact drills often notice crisper takeoffs within 3–4 weeks. When paired with strength work, I commonly see faster sprint starts and more confident landings. In practice studies, small increases in jump height and quicker ground contacts are typical when volume and rest are managed well.
Client note: “Box jumps felt scary at first. After three weeks of micro-hops and landing practice, I felt springy and my knees stopped caving in.”
Tools that help: MyJump or MyJump2 for jump height/RSI, a Garmin or Apple Watch for warm-up intensity, and slow-motion video for landing alignment.
Warm Up, Rehearse Landings, Progress Through Plyometric Drills
Warm-up — 5–8 minutes of easy movement (Zone 1–2 heart rate), then dynamic prep: ankle circles, leg swings, hip openers, and two sets of 10 calf raises.
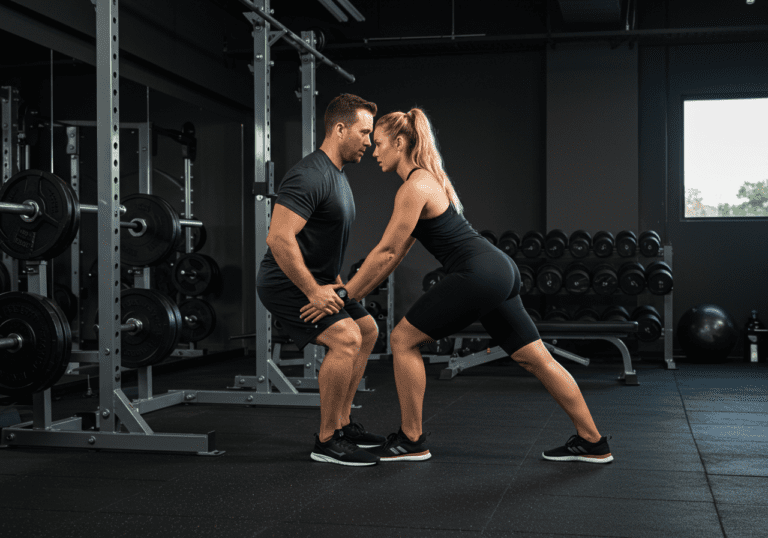
Landing rehearsal — 3 sets of 5 snap-downs. Start tall, drop into an athletic stance, feet land softly, knees track over toes, chest stays tall.
Low-impact plyos — 2–3 sets of 10–20 total contacts each drill; rest 45–60 seconds.
Pogo hops (in place), focus on stiff ankles and quiet feet.
Line hops (side-to-side), stay low and springy.
Skips for height, tall posture, arm drive.
Main power sets — 3–4 sets of 3–5 reps; rest 2–3 minutes for full quality.
Standing broad jump or stick landing broad jump (land and hold).
Box jump to safe height (step down; no rebounding yet).
Medicine ball chest pass or scoop toss (3–5 throws per set).
Contrast option (intermediate+) — Pair heavy strength with a matching plyo for potentiation. Example: 1 heavy set of squats (RPE 8) → rest 2–3 min → 3 broad jumps. Keep total jumps low to maintain snap.
Quality cues — Land softly, think “tall and elastic,” and keep ground contacts short without slapping. Stop a set if height or speed drops noticeably.
Session layout example (25–35 minutes):
Warm-up and landing rehearsal (8 minutes)
Low-impact plyos (2 drills × 2–3 sets)
Main power sets (2 drills × 3–4 sets)
Optional contrast pairing with your main lift
Cooldown breathing and light stretching (3 minutes)
Tracking — Log total contacts, best jump height (MyJump/phone), and session RPE (6–8 for most). I track these in a simple Google Sheet to spot plateaus early.
Increase Contacts Gradually While Maintaining Landing Quality
Move forward when landings are quiet, alignment holds under fatigue, and jump height is steady or rising. If form degrades, reduce contacts or regress the drill.
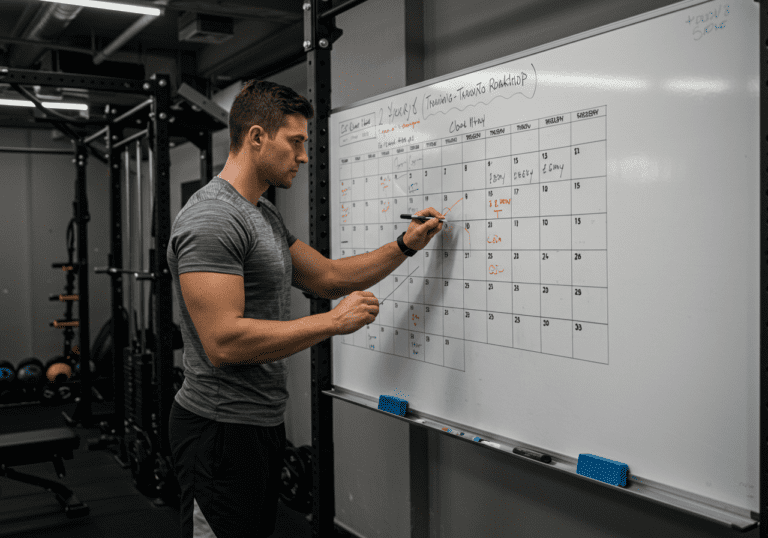
Caption: Progression overview — adjust weekly contacts by how fresh your jumps feel and by tracked jump height.
Weeks 1–2 (Beginner): 1–2 days/week; 60–80 contacts/session; main drills = pogo hops, line hops, snap-downs, broad jump sticks; box jumps low.

Weeks 3–4: 2 days/week; 80–100 contacts/session; add skips for height, med-ball throws; box jumps moderate; maintain stick landings.

Weeks 5–6 (Intermediate): 2 days/week; 90–110 contacts/session; introduce low hurdle hops (single contacts), lateral bounds; contrast once/week with squats or trap bar deadlifts.

Weeks 7–8: 2 days/week; 100–120 contacts/session; small clusters (2–3 jumps) with full rest; raise box height cautiously; add approach jumps if athletic goal demands.

Weeks 9–10+ (Advanced): 2–3 days/week; 100–130 contacts on two days, 60–80 on one light day; depth jumps (low box) only if landings are elite; timed sprints or heavy sled pushes in place of extra jumps if joints feel beat up.
Deload — Every 4–6 weeks, reduce contacts by ~40–50% for one week and keep jumps submaximal to restore freshness.
Field check — If your best jump height drops two sessions in a row or ground contact time worsens, pull volume back and extend rest periods.
Train Twice Weekly on Proper Surfaces With Adequate Recovery
Frequency — Most beginners do well with 1–2 focused sessions per week. Keep a rest day between jump-heavy days.
Surfaces & shoes — Use wood floors, rubber, or turf. Avoid concrete. Wear flat, stable shoes for better force transfer.
Common mistakes — Too many contacts, rebounding before learning to land, chasing box height, and rushing depth jumps. You should finish feeling springy, not smashed.
Monitoring — Track total contacts, best jump height, and how many quality reps you got before drop-off. Apps like MyJump2 and slow-mo video make this simple.
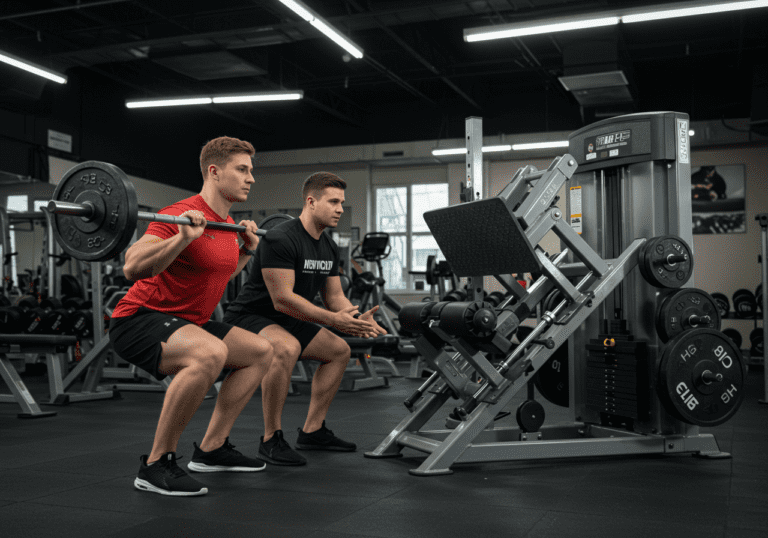
Strength pairing — Put plyos on lower-body strength days, before heavy lifts, after your warm-up. Keep reps low and intent high.
Recovery & nutrition — Aim for 1.6–2.2 g/kg/day of protein, and include carbs around sessions for pop (a banana or small snack 30–60 minutes prior works well). Stay hydrated. Sleep 7–9 hours. Some athletes benefit from 3–5 g/day creatine. For tendons, some coaches use collagen plus vitamin C pre-session; evidence is mixed, so evaluate personally.
Injury management — If knees ache, favor forward bounds and med-ball throws over repeated vertical jumps. Swap depth jumps for box jumps with step-downs. Stop any drill that causes sharp joint pain.
Motivation — Set micro-goals like “three sessions without noisy landings” or “+1 cm best jump.” I log sessions in Google Sheets and share highlights on Strava for accountability.
Next steps — Keep plyos in year-round at small doses and cycle intensity.
Medical Disclaimer: The information provided on this website is for informational and educational purposes only and is not intended as personal medical or health advice. The content, including text, graphics, and images, is not a substitute for professional medical advice, diagnosis, or treatment. Always seek the advice of your physician or other qualified healthcare provider…
Medical Disclaimer: The information provided on this website is for informational and educational purposes only and is not intended as personal medical or health advice. The content, including text, graphics, and images, is not a substitute for professional medical advice, diagnosis, or treatment. Always seek the advice of your physician or other qualified healthcare provider…
Medical Disclaimer: The information provided on this website is for informational and educational purposes only and is not intended as personal medical or health advice. The content, including text, graphics, and images, is not a substitute for professional medical advice, diagnosis, or treatment. Always seek the advice of your physician or other qualified healthcare provider…
Medical Disclaimer: The information provided on this website is for informational and educational purposes only and is not intended as personal medical or health advice. The content, including text, graphics, and images, is not a substitute for professional medical advice, diagnosis, or treatment. Always seek the advice of your physician or other qualified healthcare provider…
Medical Disclaimer: The information provided on this website is for informational and educational purposes only and is not intended as personal medical or health advice. The content, including text, graphics, and images, is not a substitute for professional medical advice, diagnosis, or treatment. Always seek the advice of your physician or other qualified healthcare provider…
Medical Disclaimer: The information provided on this website is for informational and educational purposes only and is not intended as personal medical or health advice. The content, including text, graphics, and images, is not a substitute for professional medical advice, diagnosis, or treatment. Always seek the advice of your physician or other qualified healthcare provider…