Medical Disclaimer: The information provided on this website is for informational and educational purposes only and is not intended as personal medical or health advice. The content, including text, graphics, and images, is not a substitute for professional medical advice, diagnosis, or treatment. Always seek the advice of your physician or other qualified healthcare provider with any questions you may have regarding a medical condition or before starting any new exercise, nutrition, or supplement program. Never disregard professional medical advice or delay in seeking it because of something you have read on this blog. Reliance on any information provided by this site is solely at your own risk.
Mobility tests show you exactly where to focus so every workout improves how you move. You’ll learn five simple screens, a weekly plan, and how to track results.
Direct answer: Test weekly, train the weakest links for 10 minutes daily, then retest to confirm better range and control.
Usable range with strength prevents technique faults
Good mobility is not circus flexibility; it’s usable range with strength and coordination. When ankles, hips, and shoulders move well, technique cleans up, force transfers better, and cardio feels smoother because your stride and posture are efficient.
In practice and in peer‑reviewed work, simple movement screens can flag restrictions that correlate with technique faults and discomfort. When we target those limits with focused drills, we often see easier squats, more stable presses, and fewer post‑session niggles.
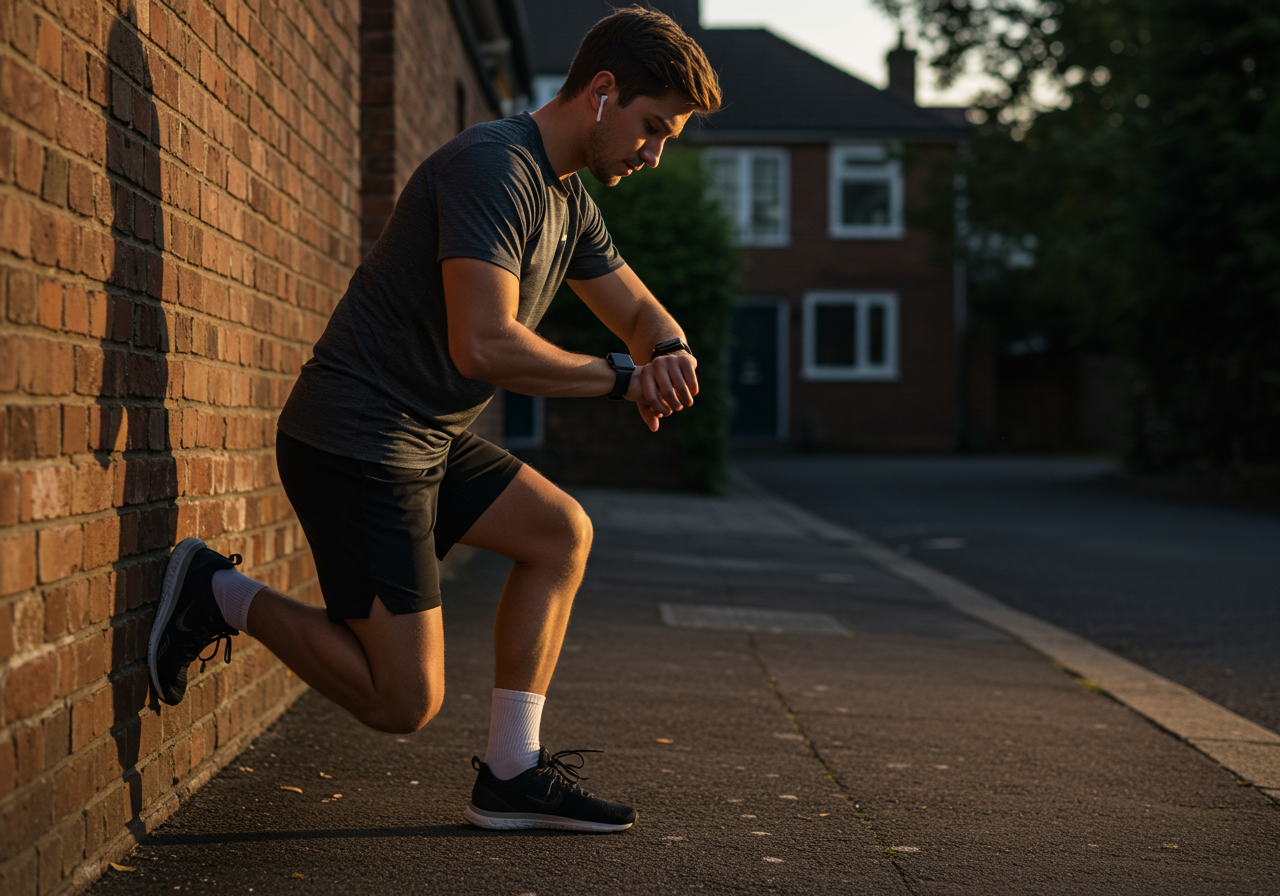
My coaching logs show beginners stay more consistent when they can see progress beyond the scale. A knee‑to‑wall distance creeping forward or a smoother 90/90 hip rotation gives fast feedback, which keeps motivation up and reduces random program hopping.
Bottom line: Measure what matters, train it, and verify change. The tests guide your warm‑ups, the exercises build capacity, and the retests confirm you’re on the right track.
Five screens: ankle, leg raise, hip, shoulder, squat
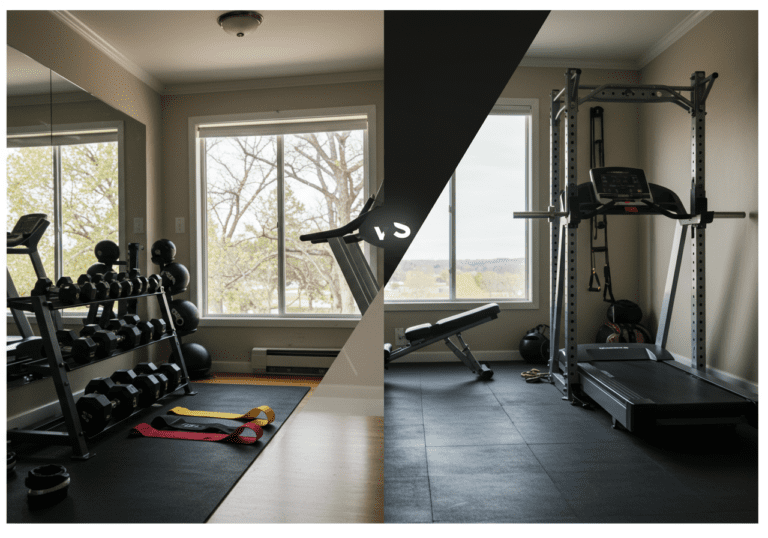
Tools: Tape measure, a wall, a dowel or broom, your phone camera, and a notes app (Apple Notes, Google Sheets, or TrainHeroic). Optional: Angle Meter app, Strava or Garmin for cardio logs, MyFitnessPal for nutrition.
The five simple mobility tests (score in 1–2 minutes each):
Ankle Knee‑to‑Wall: Place big toe a few centimeters from a wall. Keep heel down and knee tracks over second toe to touch the wall. Measure the farthest toe‑to‑wall distance you can reach without the heel lifting. Score: distance both sides; note any pinch or collapse.
Active Straight Leg Raise: Lie on your back, one leg straight on the floor, the other lifts with knee locked. Stop before pelvis tilts. Score: where the heel reaches relative to your thigh (use your hand at mid‑thigh, above knee, near hip) or use an angle app.
90/90 Hip Rotation: Sit with both knees bent 90°, shins parallel to each other. Rotate knees side‑to‑side without leaning back. Score: smooth range and whether the trailing knee touches down without pain.
Wall Shoulder Flexion: Back, hips, and ribs on a wall, thumbs up. Raise arms overhead without the low back arching off. Score: can thumbs touch wall overhead with ribs down? Note side‑to‑side difference.
Quadruped Thoracic Rotation: On hands and knees, one hand behind head. Rotate elbow to ceiling without shifting hips. Score: height of elbow relative to trunk; compare sides and note any pain or breath‑holding.
Log it: Film quick clips, write distances/yes‑no, and add a one‑line note: “Left ankle stiff, right shoulder okay.” That’s enough to drive decisions.
Turn tests into training (the feedback loop):
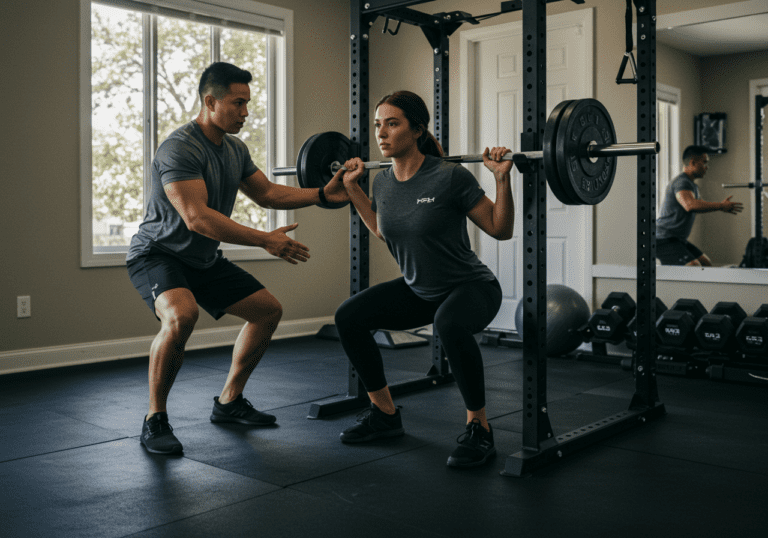
Warm‑up (6–10 min): Do 1–2 drills that match your worst scores. Examples: Ankle — calf raises off a step + knee‑over‑toe rocks; Hips — 90/90 switches with 3‑second holds; Shoulders — wall slides or prone lift‑offs; Thoracic — open books with slow exhales.
Main lifts (25–35 min): Full‑body pattern trio 2–3 sets each at RPE 6–8: squat/hinge, push/pull, carry/core. Choose variations that respect mobility (e.g., goblet squat to box if ankles are limited; incline press if shoulder flexion is sticky).
Conditioning (15–30 min): Mostly Zone 2 (easy nose‑breathing pace). If ankles/hips are tight, pick a modality that feels smooth (bike or rower) while you build range.
Cool‑down (5–8 min): Repeat the same 1–2 mobility drills, now adding gentle end‑range isometrics: 10–20 seconds of light pushing or pulling in the new range.
My real session example (Tuesday): Warm‑up: knee‑over‑toe rocks 2×10/side; wall slides 2×8. Main: Goblet squat 3×10 @ RPE 7 with 16 kg; DB RDL 3×10 @ RPE 7 with 22 kg each; One‑arm row 3×12 @ RPE 7; Farmer carry 3×30 m. Conditioning: 22‑minute bike, Zone 2 (HR 128–138 bpm on Garmin). Cool‑down: 90/90 holds 2×30s/side, thoracic open book 6 slow reps/side.
Client note:
“I went from avoiding squats to hitting three sets comfortably. The weekly retest kept me honest.” — K., new lifter, 6 weeks in
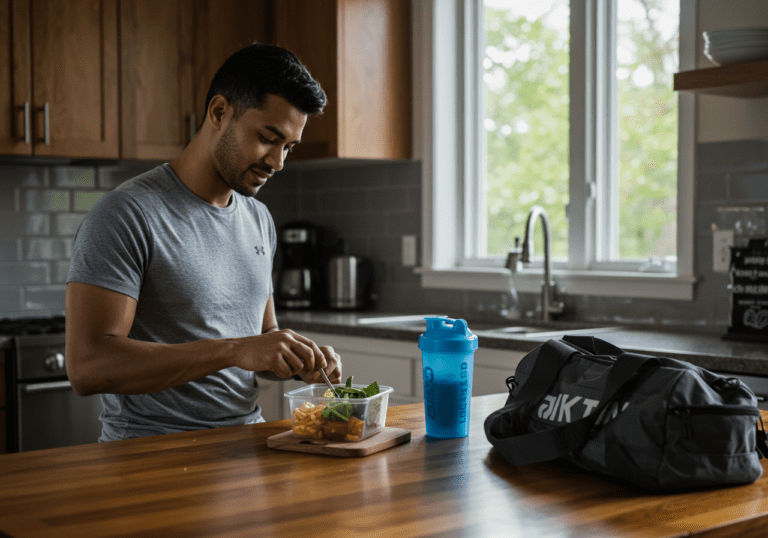
Nutrition & recovery anchors: Aim for protein around 1.6–2.0 g/kg/day, mostly whole foods. Keep a small calorie surplus if you want muscle, slight deficit if fat loss is the goal. Sleep 7–9 hours. A creatine monohydrate scoop (3–5 g) and omega‑3s can help recovery. Hydrate before cardio.
Eight weeks: baseline to elevated range progression
This path scales volume, complexity, and mobility demands while your tests verify progress.
Table: 8‑week overview with mobility‑guided training and retest cadence.
Week 1: Baseline tests; 3 full-body (2×8–10 @ RPE 6); 2×20–25 min Zone 2; daily 8–10 min mobility. Retest end of week.

Week 2: Same volume; add end‑range isometrics (10–15s) in warm-up/cool-down; match drills to worst test.

Week 3: 3×8 @ RPE 7; 2×25–30 min Zone 2; introduce one technique primer (tempo squats 3–0–3). Retest.

Week 4: Slight deload if sore (drop 20% sets); maintain daily mobility; short 4–6 rep strength exposures @ RPE 7.

Week 5: 3×10 lower/upper alternation; add one Zone 3 interval block (5×1 min hard, 2 min easy). Retest.

Week 6: Progress range: elevate heels less or squat deeper by 1–2 cm if ankle test improved; carries get heavier.

Week 7: 4×6 @ RPE 8 on main lifts; Zone 2 volume steady; mobility drills shift to the next weakest test.

Week 8: Retest all; choose new goals (e.g., pain‑free overhead reach, deeper squat) and reset to Week 3 loads minus 5%.
Beginner cues: Keep RPE 6–7 most sets, choose supportive variations (goblet squat, incline push‑up), and emphasize smooth breathing during mobility.
Intermediate cues: Add tempo (3‑sec eccentrics), pauses in the weakest range, and a second weekly test spotlight (e.g., ankle Monday, shoulder Friday).
Advanced cues: Use complex lifts that challenge range and control (front squat, overhead press, Cossack squat). Add loaded mobility (heels‑elevated split squat with long exhale) and short sprint blocks if joints tolerate.
How to read your retests: If distance or ease improves and soreness stays moderate, keep building. If scores stall for two weeks, swap drills, reduce total sets by ~20%, or change cardio modality to reduce joint irritation.
Test weekly, lift RPE 6-8, load new range
Frequency & structure: Aim for 3 strength days, 2 easy cardio days, and 5–7 short mobility blocks per week. Retest the five screens weekly; log with the same conditions (time of day, footwear, warm‑up) for fair comparisons.
Intensity guardrails: Most lifting at RPE 6–8. Cardio mostly Zone 2, speaking in full sentences. Sprinkle brief Zone 3 once you move well and recover fine.
Common mistakes to avoid:
Chasing pain: Mobility drills should feel stretchy or effortful, not sharp.
Skipping strength: New range sticks when you load it. After a successful shoulder wall slide, press light dumbbells with the same form.
Random testing: Same setup, same notes, every week. Otherwise scores lie.
Doing too much: If joints ache >24–48 hours, cut sets, or swap a bike for a run.
Troubleshooting plateaus: Hold positions longer (20–30s), add gentle contract‑relax pulses, or change the drill angle. If no change in two weeks, reassess technique or consult a qualified clinician.
Recovery & fuel: Prioritize protein with each meal, vegetables and fruit daily, and 2–3 liters of water. Track casually in MyFitnessPal for a week to find gaps. Sleep is your superpower—set a consistent bedtime and a wind‑down routine.
Validating results: Look for easier technique, fewer compensations on video, and modest test improvements over 2–6 weeks. In my client logs, small steady gains outlast big spikes. When progress is unclear, retest after a 3–4 day deload.
Next steps: Save your baseline videos, download a simple tracker (Sheets works great), and. Your plan evolves as your scores change.
Medical Disclaimer: The information provided on this website is for informational and educational purposes only and is not intended as personal medical or health advice. The content, including text, graphics, and images, is not a substitute for professional medical advice, diagnosis, or treatment. Always seek the advice of your physician or other qualified healthcare provider…
Medical Disclaimer: The information provided on this website is for informational and educational purposes only and is not intended as personal medical or health advice. The content, including text, graphics, and images, is not a substitute for professional medical advice, diagnosis, or treatment. Always seek the advice of your physician or other qualified healthcare provider…
Medical Disclaimer: The information provided on this website is for informational and educational purposes only and is not intended as personal medical or health advice. The content, including text, graphics, and images, is not a substitute for professional medical advice, diagnosis, or treatment. Always seek the advice of your physician or other qualified healthcare provider…
Medical Disclaimer: The information provided on this website is for informational and educational purposes only and is not intended as personal medical or health advice. The content, including text, graphics, and images, is not a substitute for professional medical advice, diagnosis, or treatment. Always seek the advice of your physician or other qualified healthcare provider…
Medical Disclaimer: The information provided on this website is for informational and educational purposes only and is not intended as personal medical or health advice. The content, including text, graphics, and images, is not a substitute for professional medical advice, diagnosis, or treatment. Always seek the advice of your physician or other qualified healthcare provider…
Medical Disclaimer: The information provided on this website is for informational and educational purposes only and is not intended as personal medical or health advice. The content, including text, graphics, and images, is not a substitute for professional medical advice, diagnosis, or treatment. Always seek the advice of your physician or other qualified healthcare provider…