Medical Disclaimer: The information provided on this website is for informational and educational purposes only and is not intended as personal medical or health advice. The content, including text, graphics, and images, is not a substitute for professional medical advice, diagnosis, or treatment. Always seek the advice of your physician or other qualified healthcare provider with any questions you may have regarding a medical condition or before starting any new exercise, nutrition, or supplement program. Never disregard professional medical advice or delay in seeking it because of something you have read on this blog. Reliance on any information provided by this site is solely at your own risk.
Budget vs Premium Gear decisions shape your results, comfort, and safety. This guide shows you when to save and when to invest.
Direct answer: Invest in premium gear when it affects safety, fit, or durability under heavy use; choose budget for low-risk accessories and trials.
You’ll get a full fitness system (cardio, strength, mobility, skills), step-by-step setup, upgrade checkpoints, and a 12-week roadmap that works in home or gym settings.
Why Gear Quality Impacts Training
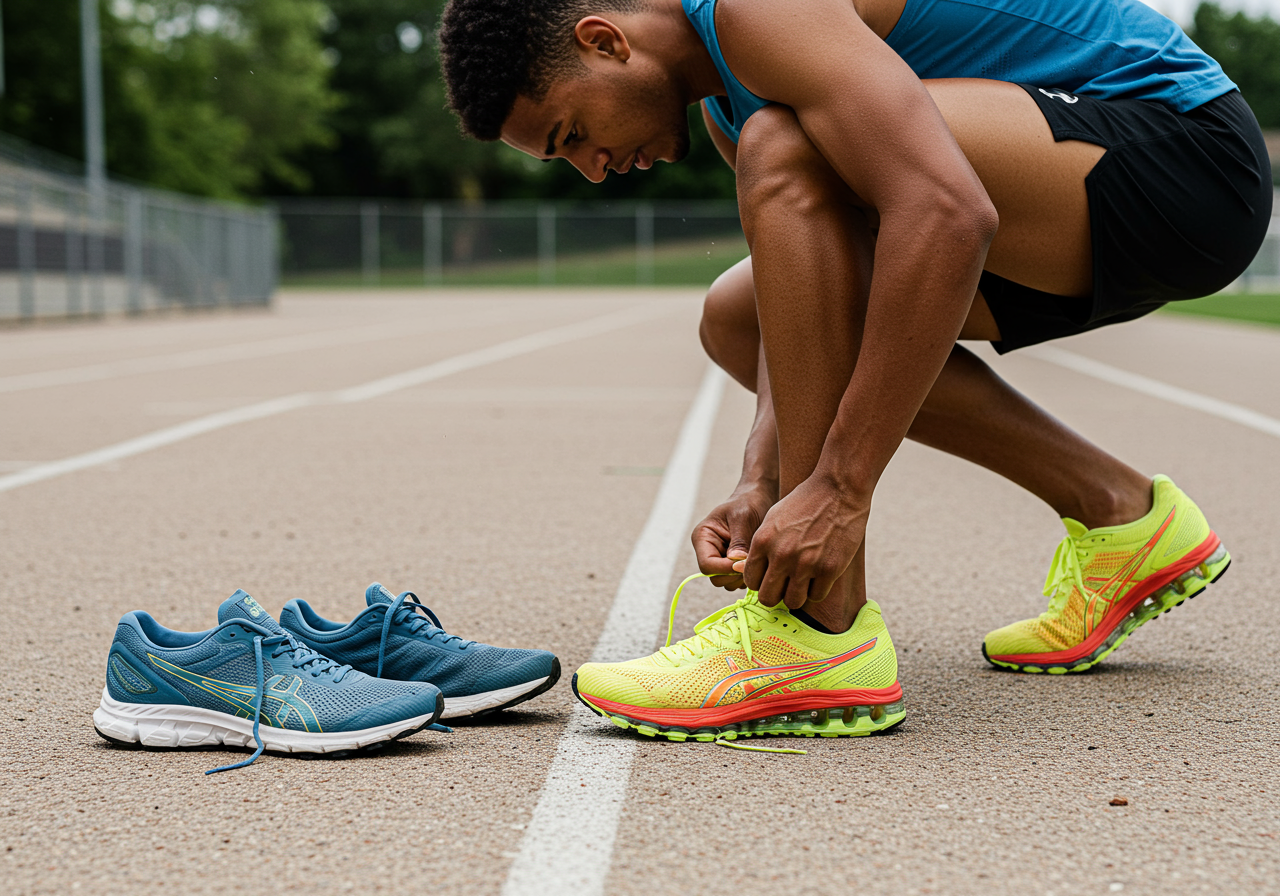
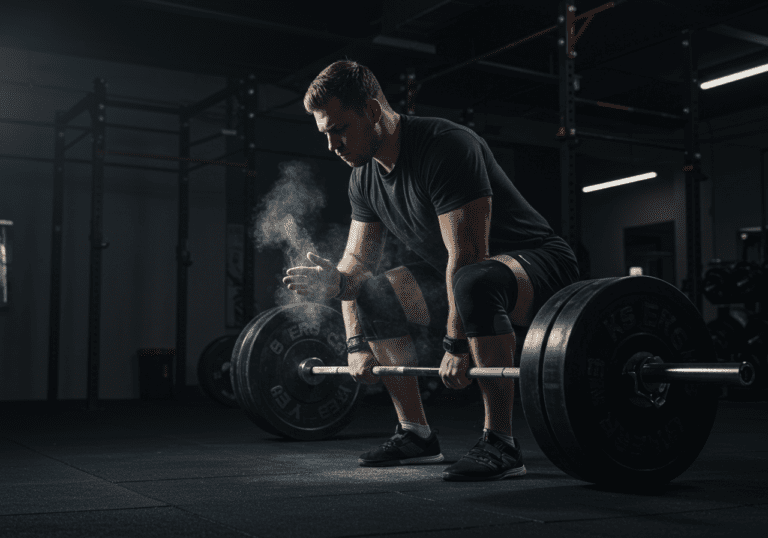
Equipment that touches your body, bears load, or controls safety margins can change outcomes. Shoes that fit well reduce discomfort and improve running economy; a rigid barbell and stable rack increase lifting confidence; and an accurate heart-rate sensor helps you stay in the right zone without guesswork.
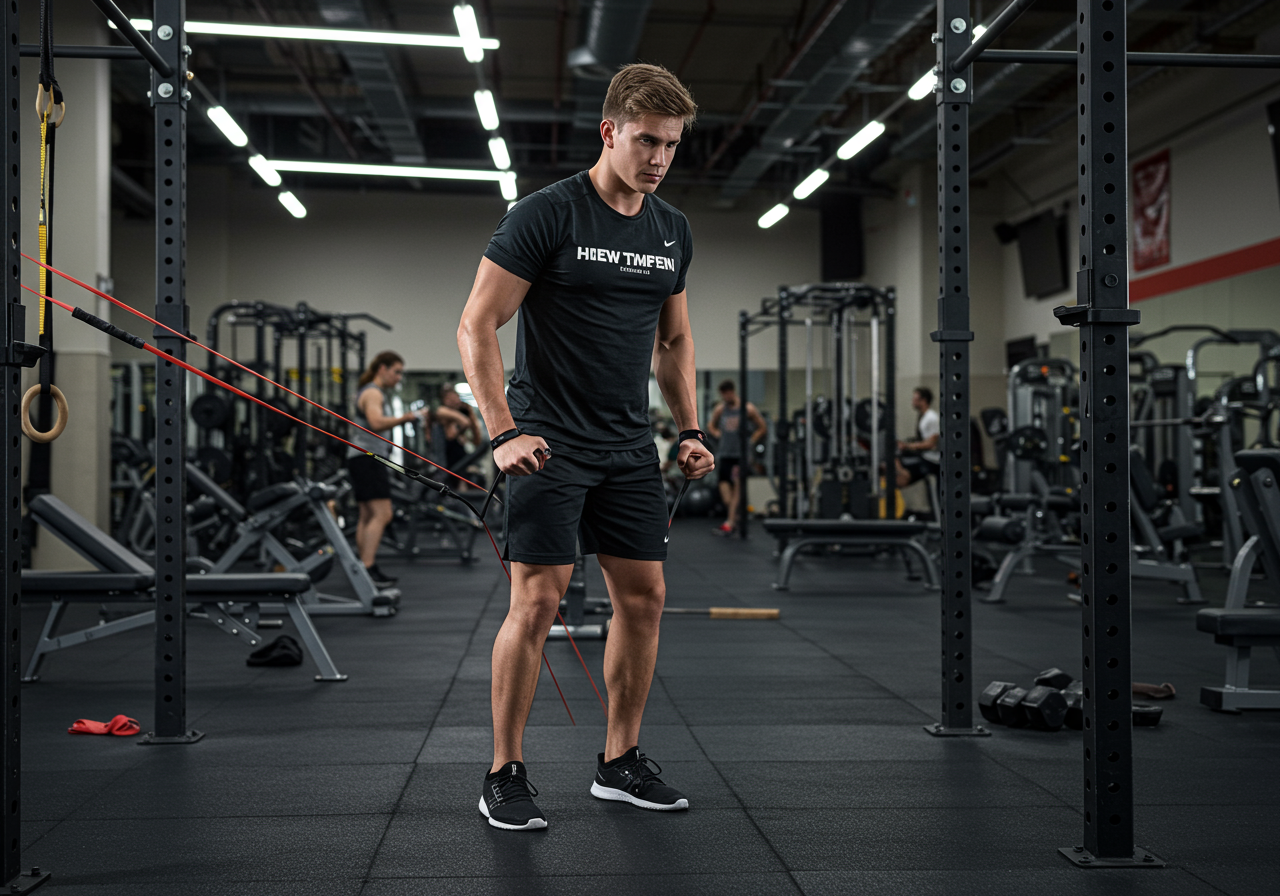
In practice, premium is most valuable when it reduces injury risk, improves measurement accuracy, or survives frequent use. For many accessories—bands, mats, lightweight dumbbells—budget options often perform similarly. When I compare sessions using an optical wrist HR sensor versus a chest strap, pacing in Zone 2 is easier with the strap because readings settle faster; pacing is steadier and post-run recovery metrics look more consistent. While results vary by person, this pattern shows up frequently in client logs.
Bottom line: Let physiology (fit, force transfer, accurate feedback) and safety (stability, braking, grip) drive premium purchases. Everything else is a candidate for budget or secondhand.
Build Your System and Choose Gear Wisely
Use this four-pillar routine 3–4 days per week. Start with a minimalist kit, then upgrade only when a bottleneck appears.
Step 1 — Define constraints (10 minutes) List your goals (fat loss, 5K, general strength), space (living room, garage, gym), and budget range. Decide your schedule: three 45–60 minute sessions per week.
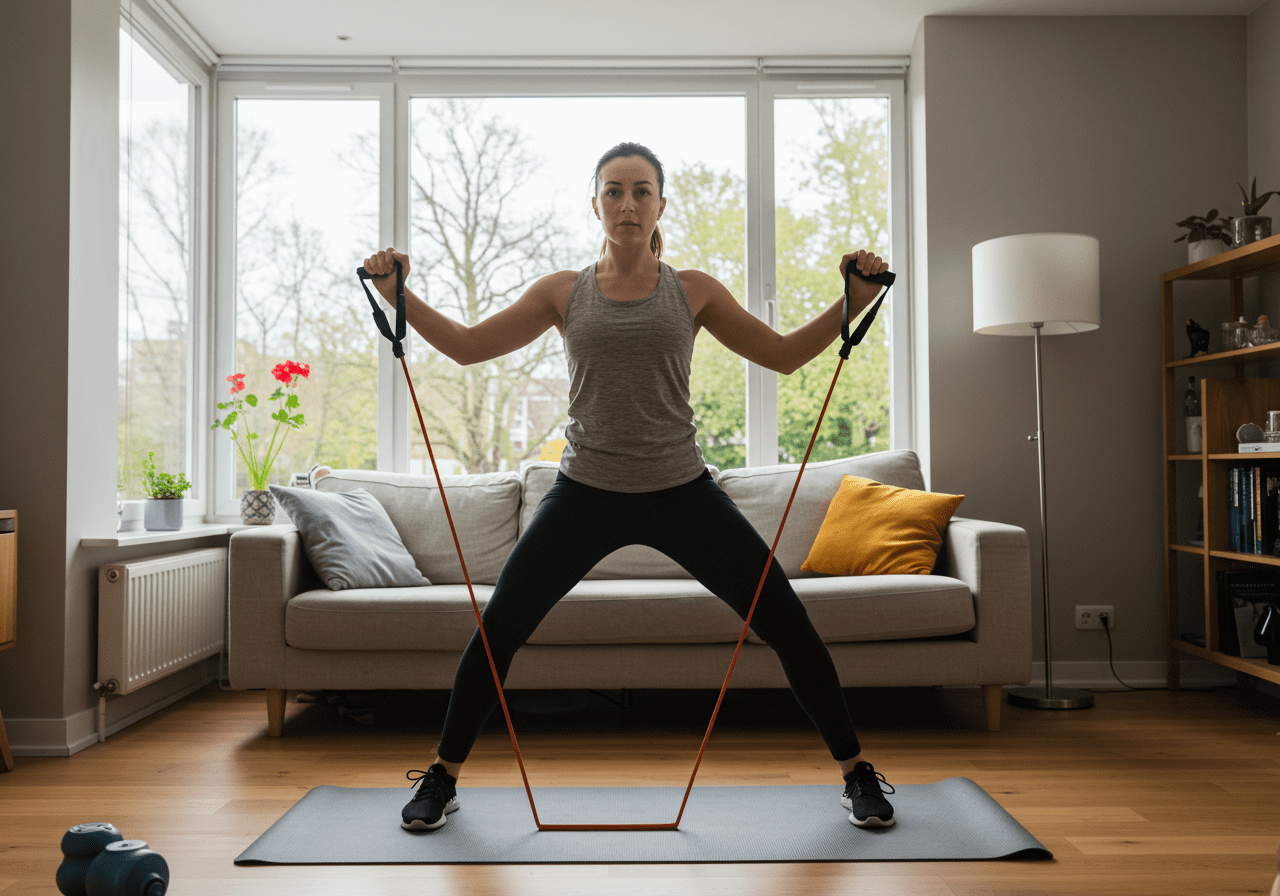
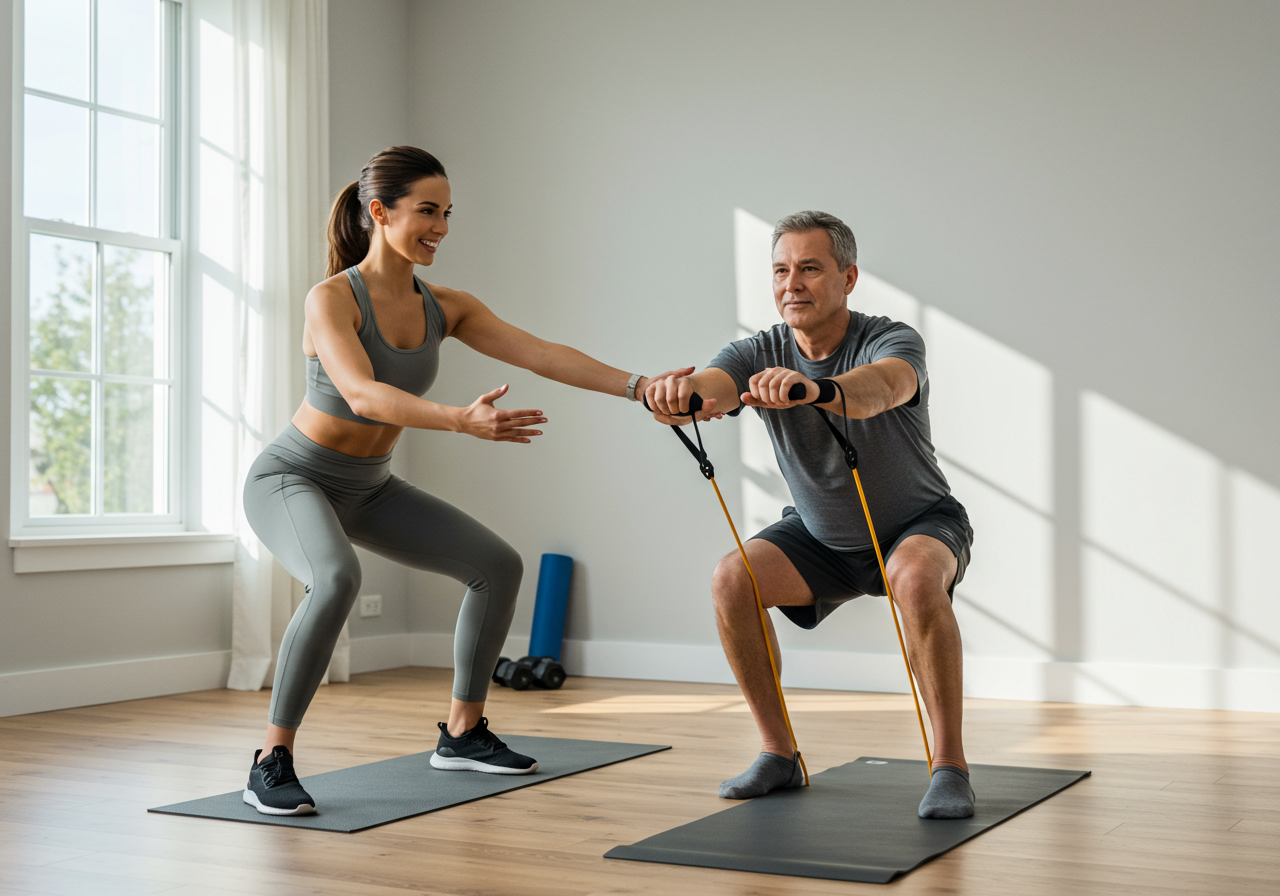
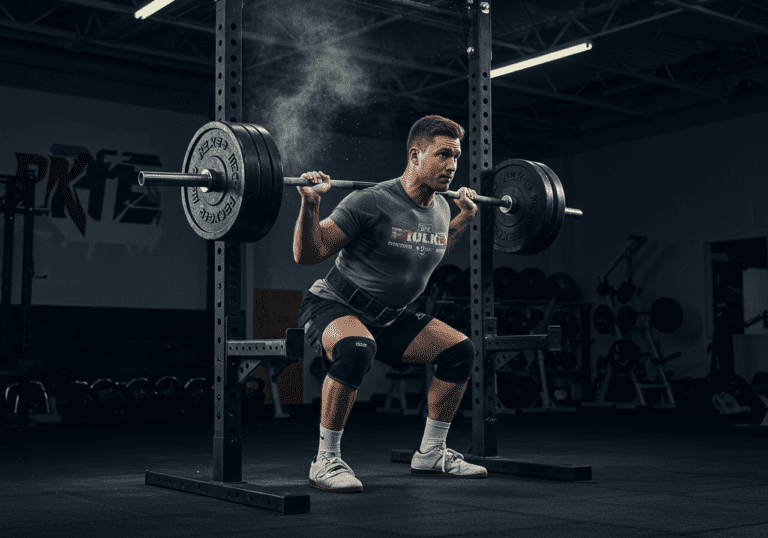
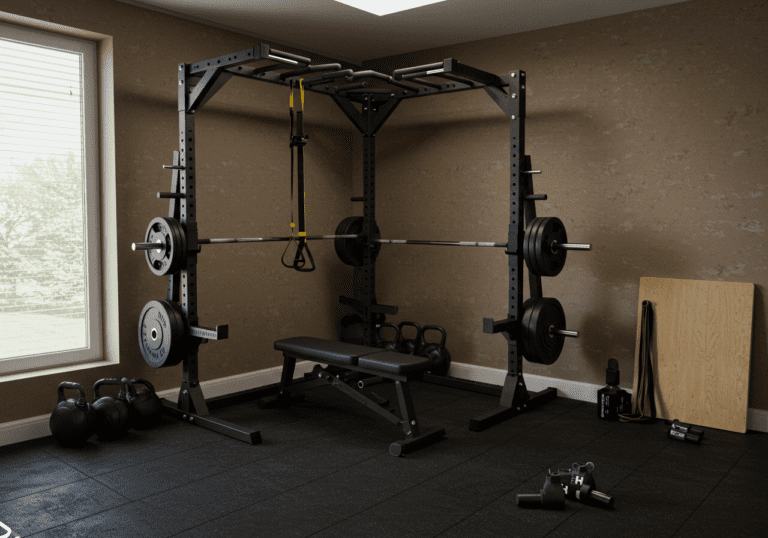
Step 2 — Assemble a starter kit Budget-friendly first: light-medium resistance bands, a non-slip mat, an adjustable dumbbell or a single 12–16 kg kettlebell, a foam roller, and a mid-tier running shoe with a generous return policy. If you lift heavy, consider a used adjustable bench. Premium candidates to consider later: lifting shoes, a stable squat rack with safety arms, a calibrated barbell/plates, a chest-strap HR monitor.
Step 3 — Weekly layout (example)
Day A — Cardio: 30–45 minutes in Zone 2 (conversational pace). Budget: outdoor run/walk or jump rope. Premium: treadmill or smart bike for controlled gradients.
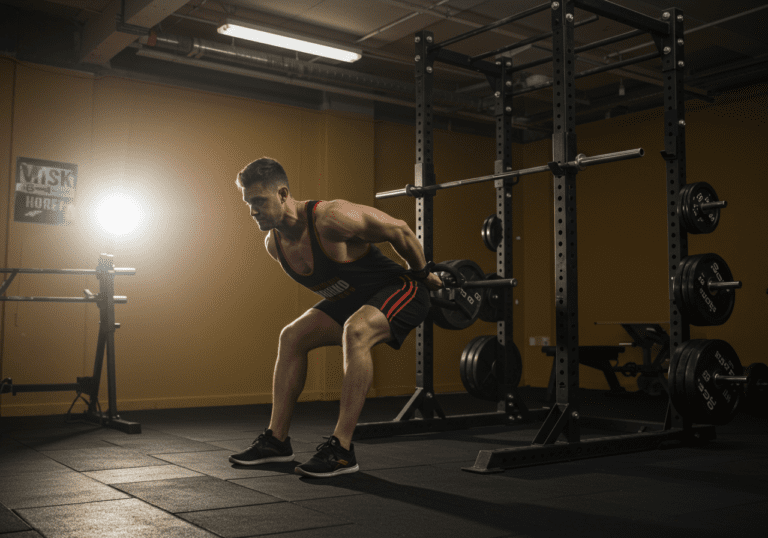
Day B — Strength: Full-body circuit (squat, hinge, push, pull, carry). 3 rounds, RPE 6–7. Budget: kettlebell goblet squat, band rows, push-ups, hip hinge with dumbbell, suitcase carry. Premium: barbell back squat or trap-bar deadlift, cable row, adjustable bench press.
Day C — Mobility/Movement: 20–30 minutes. Hips, thoracic spine, ankles, and scapular control. Controlled articular rotations, 90/90 hip transitions, calf raises, foam rolling. Budget and premium work equally here.
Optional Day D — Skill/Activity: Hiking, cycling group ride, pickleball, or technique drills. Choose what keeps you consistent.
Step 4 — Tracking and feedback Log sessions in Strava or Garmin. Track sets/reps and RPE in a notes app or Strong. For nutrition, MyFitnessPal can help you hit protein targets and monitor energy balance. Watch simple metrics: weekly session count, average RPE, steps per day, and sleep duration.
Step 5 — Upgrade rules
If it’s load-bearing or safety-critical (barbell, rack, bike brakes), upgrade sooner.
If it directly contacts your body over thousands of steps/reps (shoes, lifting belt), bias premium for fit and durability.
If accuracy changes training dose (HR strap, power meter), upgrade once you’re consistent and need finer control.
Accessories that don’t affect safety or measurement (bands, mats, light DBs): go budget or buy used.
Field notes and testimonials Example session template I use with beginners: 5–8 minute warm-up, then 30 minutes of alternating strength and cardio blocks, finish with 5–10 minutes mobility. Target HR Zone 2 for cardio intervals and RPE 6–7 for lifts. One client reported cutting about 90 seconds from a 5K in ~10 weeks after switching to a better-fitting shoe and adding structured Zone 2; another noted shoulder comfort improved after upgrading to a stiffer bar and adding a wider pull-up grip. Individual results vary, but these are common patterns.
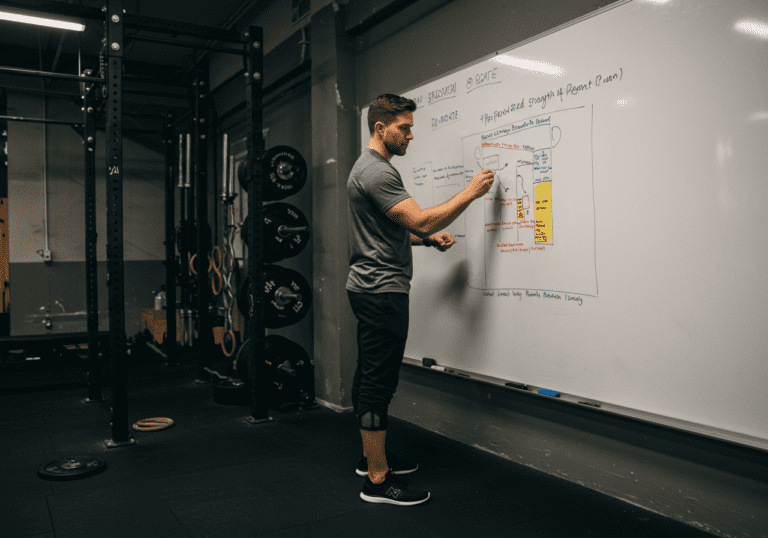
12 Weeks: Training Roadmap and Upgrade Checkpoints
Follow this three-phase plan. Use it to judge when budget gear is enough and where premium upgrades earn their keep.
Table — 12-week progression and gear checkpoints
Weeks 1–4 (Foundation): Cardio 3x/week 25–35 min Zone 2; Strength 2x/week 3x10 RPE 6–7; Mobility 10–15 min/session. Gear: budget kit + mid-tier shoes; consider chest-strap if pacing feels erratic.

Weeks 5–8 (Build): Cardio 3x/week include 1 tempo block 10–15 min @ comfortably hard; Strength 3x/week 4x8 RPE 7–8; add loaded carries. Gear: upgrade shoes if discomfort persists; add fractional plates or heavier KB; consider used rack/bar if progressing past 1x bodyweight lifts.

Weeks 9–12 (Perform): Cardio include intervals 6x2 min @ hard, 2 min easy; long session 45–60 min Z2; Strength 3x/week undulating: 5x5, 3x8, 3x12; test a rep-max in week 12. Gear: premium bar/rack if heavy; chest-strap HR for precise zones; premium indoor cardio if weather limits consistency.
Beginner → Intermediate → Advanced options
Beginner: Use bands and a single dumbbell/kettlebell. Keep RPE 6–7. Walk/jog mix for cardio. Focus on technique and range.
Intermediate: Add a second dumbbell or barbell lifts. Progress load 2.5–5% weekly if reps and form are solid.
Advanced: Periodize intensity (heavy/medium/light days), include power work (swings, jumps), and consider sport-specific sessions. Premium measurement (HR strap, power meter) can refine training stress.
Validation checkpoints Every 4 weeks, review logs: can you finish prescribed sessions under the target RPE, and are you sleeping 7–9 hours? If yes and gear limits are obvious (slippy rack, inaccurate HR, shoes causing hot spots), upgrade. If progress stalls despite good sleep, food, and form, consider a deload week instead of buying more equipment.
References & Further Reading
The following peer-reviewed research and authoritative guidelines support the recommendations in this article:
Frequency and intensity Start with 3 days/week, 45–60 minutes. Cardio: mostly Zone 2 with one harder session after week 4. Strength: 8–12 total hard sets per major pattern each week. Mobility: 10–15 minutes per session.
Common mistakes Buying gear before building the habit; skipping sleep; chasing max loads without technique; ignoring aches. If joints complain, reduce range/load, switch implements (e.g., trap bar), and book a form check.
Plateaus and overtraining If progress stalls for 2+ weeks, deload 30–50% volume for 5–7 days and increase protein and sleep. If morning HR or RPE climbs while performance drops, you may be under-recovered; scale back intensity and reassess stressors before upgrading gear.
Nutrition and recovery Protein: ~1.6–2.2 g/kg/day. For fat loss, a modest 300–500 kcal/day deficit; for muscle gain, a 100–300 kcal/day surplus. Prioritize whole foods, hydration, and 7–9 hours of sleep. Creatine monohydrate (3–5 g/day) is widely supported; caffeine can help before hard sessions if tolerated. Use MyFitnessPal to spot consistent trends rather than perfect precision.
When to go premium Upgrade when you’ve trained consistently for 6–12 weeks and a specific limit is clear: unsafe rack, inaccurate HR, poor shoe fit, or a cardio device that disrupts consistency. Otherwise, keep the budget kit and stack wins.
Next stepsDownload a simple log, set weekly alarms, and start the Week 1 plan. If you want my templates and gear checklists.
Medical Disclaimer: The information provided on this website is for informational and educational purposes only and is not intended as personal medical or health advice. The content, including text, graphics, and images, is not a substitute for professional medical advice, diagnosis, or treatment. Always seek the advice of your physician or other qualified healthcare provider…
Medical Disclaimer: The information provided on this website is for informational and educational purposes only and is not intended as personal medical or health advice. The content, including text, graphics, and images, is not a substitute for professional medical advice, diagnosis, or treatment. Always seek the advice of your physician or other qualified healthcare provider…
Medical Disclaimer: The information provided on this website is for informational and educational purposes only and is not intended as personal medical or health advice. The content, including text, graphics, and images, is not a substitute for professional medical advice, diagnosis, or treatment. Always seek the advice of your physician or other qualified healthcare provider…
Medical Disclaimer: The information provided on this website is for informational and educational purposes only and is not intended as personal medical or health advice. The content, including text, graphics, and images, is not a substitute for professional medical advice, diagnosis, or treatment. Always seek the advice of your physician or other qualified healthcare provider…
Medical Disclaimer: The information provided on this website is for informational and educational purposes only and is not intended as personal medical or health advice. The content, including text, graphics, and images, is not a substitute for professional medical advice, diagnosis, or treatment. Always seek the advice of your physician or other qualified healthcare provider…
Medical Disclaimer: The information provided on this website is for informational and educational purposes only and is not intended as personal medical or health advice. The content, including text, graphics, and images, is not a substitute for professional medical advice, diagnosis, or treatment. Always seek the advice of your physician or other qualified healthcare provider…