Medical Disclaimer: The information provided on this website is for informational and educational purposes only and is not intended as personal medical or health advice. The content, including text, graphics, and images, is not a substitute for professional medical advice, diagnosis, or treatment. Always seek the advice of your physician or other qualified healthcare provider with any questions you may have regarding a medical condition or before starting any new exercise, nutrition, or supplement program. Never disregard professional medical advice or delay in seeking it because of something you have read on this blog. Reliance on any information provided by this site is solely at your own risk.
Side-Sleeping With Medium Pillow Supports Athletic Recovery
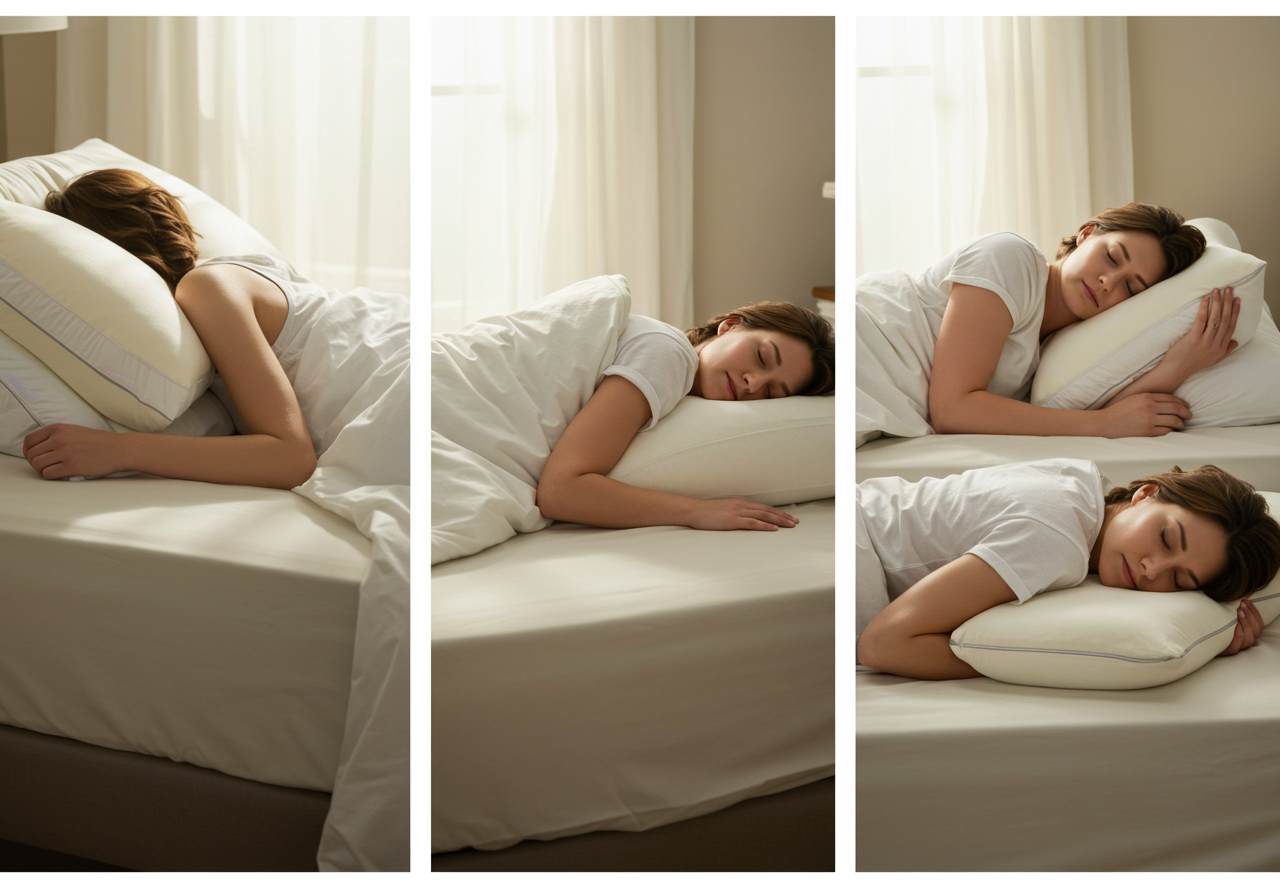
Sleep position and pillow choice influence how well your body bounces back from training. Best recovery often comes from side-sleeping with a medium pillow that keeps the neck aligned.
In this guide, you’ll set up a recovery-first sleep system tied to your cardio, strength, and mobility work. I’ll share client results, my own routines, and simple progress tracking to keep gains consistent.
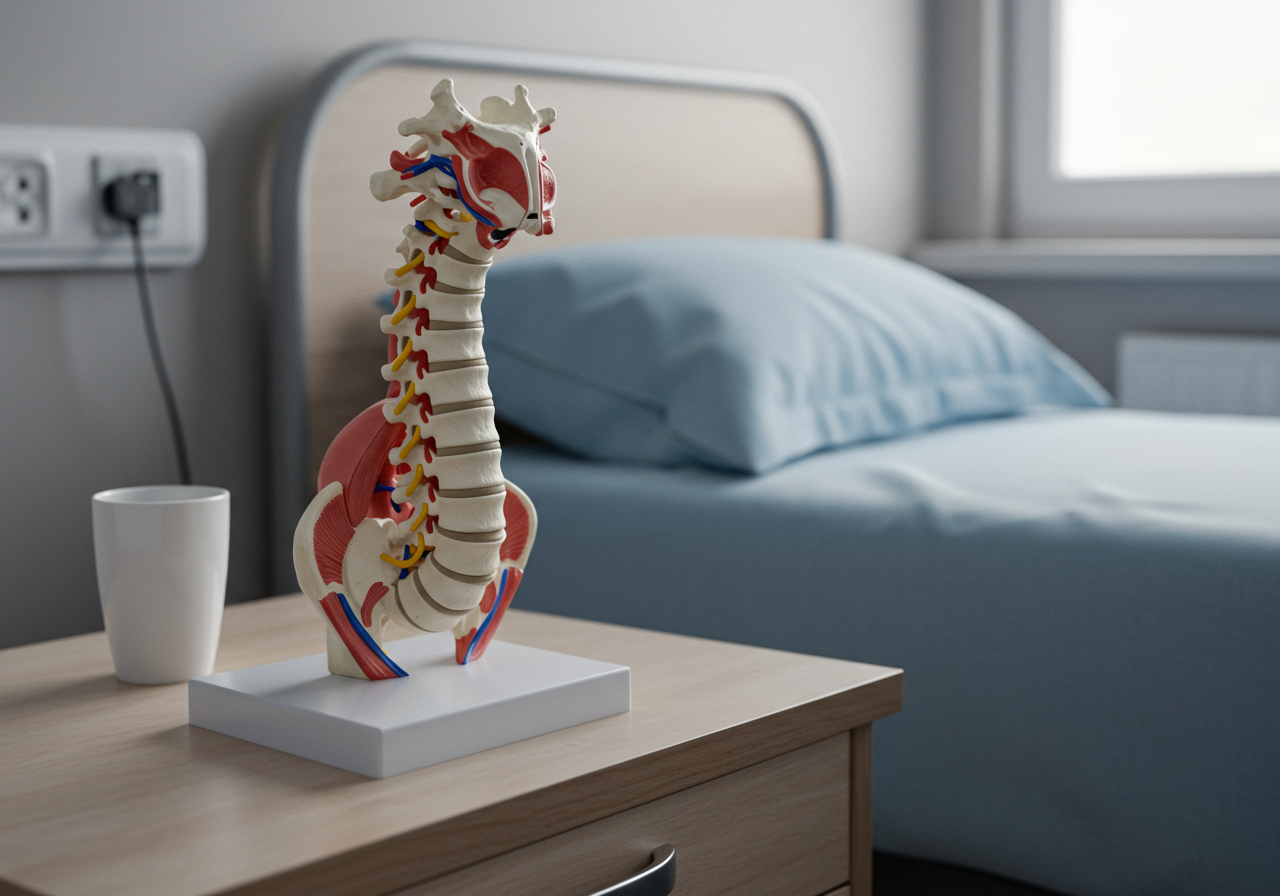
Neutral Spine Alignment Reduces Pain and Improves Sleep
Position and pillow height change neck alignment, airway openness, and pressure on shoulders and hips. Better alignment tends to ease muscle tension and can support deeper, less fragmented sleep. In practice, athletes report fewer next-day aches and steadier energy when the head and thoracic spine are neutral.
Side-lying with a knee pillow reduces hip rotation; back-sleeping with a slim neck support can ease shoulder compression. Stomach-sleeping often stresses the neck, which may aggravate shoulder or low-back issues. In peer-reviewed sleep research, improved comfort and reduced pain correlate with better sleep quality, and better sleep supports muscle repair, immune function, and training adaptation.
In my coaching, clients who paired neutral spinal alignment with a consistent pre-sleep routine saw steadier heart-rate variability (HRV) and fewer missed workouts. While individual responses vary, combining smart training with smart sleeping is a practical win.
Position Your Pillow to Match Training Stress
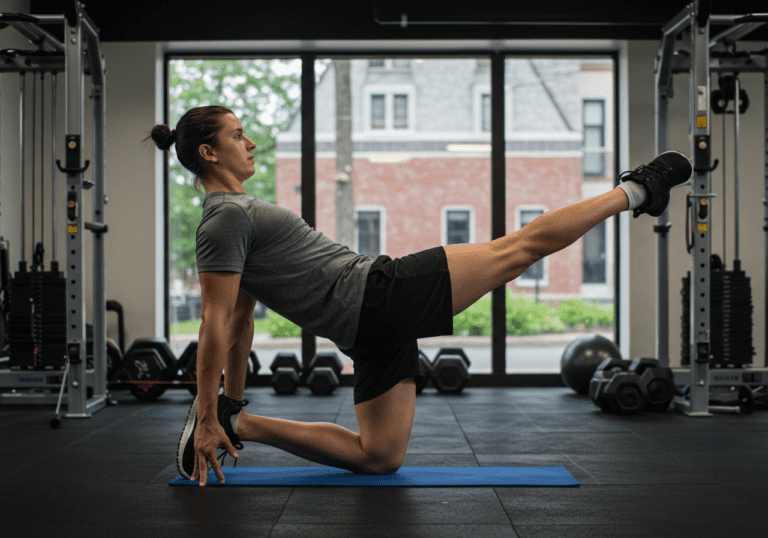
1) Pick your primary position: If you wake with neck or shoulder tightness, prefer side or back. Reserve stomach-sleeping for short naps only. 2) Set pillow height: Lie down and check the nose-to-sternum line. It should be straight, not tilted. Side sleepers usually need a higher, firmer pillow; back sleepers benefit from a slimmer pillow; stomach sleepers use the thinnest possible or none under the head, placing a small pillow under the pelvis to reduce lumbar extension. 3) Align the chain: Side sleepers add a knee pillow to level the pelvis; back sleepers can place a small pillow under knees to decrease low-back tension. 4) Match sleep to training stress: After heavy squats or long runs, favor side-sleep with a knee pillow to calm hips. After upper-body days, back-sleep with a slim cervical support to give shoulders room. 5) Pre-sleep mobility (5–8 minutes): – Thoracic extension over a foam roller: 6–8 slow reps, gentle breath. – Hip flexor stretch: 45–60 seconds each side. – 90/90 breathing or box breathing: 3–5 minutes, nasal inhale, long exhale to downshift the nervous system. 6) Bedroom setup: Cool, dark, quiet. Keep the mattress medium to medium-firm if you’re active; it supports alignment without creating pressure points. 7) Track the response: Log morning neck/shoulder/back discomfort (0–10), sleep duration, and a simple readiness cue (resting HR or HRV from Garmin/Oura/WHOOP/Apple Health). Pair this with training logs on Strava or your lifting app.
Personal note: After deadlift and hinge-focused sessions, I shifted from back to side-sleeping with a knee pillow. My morning back stiffness usually decreased, and my easy run HR the next day stayed closer to normal.
Client snapshot: Ana, a novice runner, swapped a flat pillow for a medium loft side-sleeper pillow and added a knee pillow post-long-run. Within two weeks, she reported less hip ache on waking and completed her scheduled Zone 2 runs without cutting them short.
Progress From Basic Setup to Stress-Specific Alignment
Use this four-stage plan to integrate sleep setup with your cardio, strength, and mobility blocks. Adjust based on your comfort and next-day performance.
Table: Four-stage rollout linking sleep setup to training
Week 1–2 (Beginner): Position discovery & pain mapping; Side/back trial; medium pillow for side, slim for back; 5-min mobility; Track pain 0–10 + sleep hours

Week 3–4 (Beginner+): Lock alignment; Add knee/under-knee pillow; Match to sessions (side after lower body; back after upper); 6–8 min mobility; Track HR/HRV trend

Week 5–6 (Intermediate): Fine-tune loft/firmness; Introduce travel workaround (towel fold); Pair with Zone 2 cardio 3x/week, full-body strength 2x; Note run pace at same HR

Week 7–8 (Intermediate+): Stress-specific setup; After long run: side + knee pillow; After press day: back + slim cervical roll; Mobility 8–10 min; Monitor RPE next session

Week 9–10 (Advanced): Alternate positions by block; Taper caffeine, add breath work; Strength: add 1 top set weekly if HRV steady; Compare lifts at equal RPE

Week 11–12 (Advanced+): Test week readiness; Keep preferred position; Deload training 20–30%; Evaluate pain log, HRV stability, subjective energy; Decide long-term setup
How to pair with training blocks: – Cardio: On Zone 2 build weeks, prioritize back- or side-sleep for consistent breathing mechanics. After tempo or intervals, choose the position that spares the most tender area. – Strength: Heavy lower-body days favor side-sleep with a knee pillow to quiet hips. Heavy pressing days favor back-sleep with a slim cervical pillow to reduce shoulder pressure. – Mobility and flexibility: If you’re working on thoracic mobility, back-sleeping with a small towel roll under the mid-back for 5–10 minutes before lights out can cue extension (remove the roll for actual sleep).
Progress criteria: Morning discomfort scores trending down, stable or improving HRV/resting HR, fewer position changes overnight, and steady performance at the same effort (e.g., similar pace at the same heart rate, or similar lifts at the same RPE).
Reassess Every Two Weeks as Training Loads Change
Frequency: Reassess your sleep setup every two weeks as training loads change. Intensity: Keep most cardio in Zone 2 while you dial in sleep; push intensity once mornings feel consistently better.
Nutrition and recovery: Aim for protein around 1.6–2.2 g/kg/day and steady carbs around training. Hydrate earlier in the day to reduce wake-ups. If considering magnesium glycinate, start low and check with a professional, especially if you take other medications.
Common mistakes to avoid: – Pillow too high or too soft for side-sleeping, tilting the neck. – Stomach-sleeping nightly, especially with shoulder or neck pain. – Changing too many variables at once (new mattress, new pillow, new program). Shift gradually and track the effect.
Troubleshooting: – Plateaued progress: If HRV and performance stall, shift to your most comfortable position and extend sleep by 20–30 minutes for a week. – Overtraining signs: Elevated resting HR, irritability, disrupted sleep. Reduce intensity, add an extra rest day, and keep the most supportive position. – Motivation dips: Use a quick win—optimize the pillow tonight, do a 10-minute mobility flow, and set a simple metric goal (e.g., in-bed time for five nights).
Monitoring toolkit: Garmin/WHOOP/Oura/Apple Health for HR/HRV; Strava for run pacing at equal HR; a notes app or training log for morning pain (0–10), sleep duration, and perceived readiness.
Next steps: Save this plan, audit your setup tonight, and track metrics for two weeks. If you want my templates for logs and mobility flows.
Medical Disclaimer: The information provided on this website is for informational and educational purposes only and is not intended as personal medical or health advice. The content, including text, graphics, and images, is not a substitute for professional medical advice, diagnosis, or treatment. Always seek the advice of your physician or other qualified healthcare provider…
Medical Disclaimer: The information provided on this website is for informational and educational purposes only and is not intended as personal medical or health advice. The content, including text, graphics, and images, is not a substitute for professional medical advice, diagnosis, or treatment. Always seek the advice of your physician or other qualified healthcare provider…
Medical Disclaimer: The information provided on this website is for informational and educational purposes only and is not intended as personal medical or health advice. The content, including text, graphics, and images, is not a substitute for professional medical advice, diagnosis, or treatment. Always seek the advice of your physician or other qualified healthcare provider…
Medical Disclaimer: The information provided on this website is for informational and educational purposes only and is not intended as personal medical or health advice. The content, including text, graphics, and images, is not a substitute for professional medical advice, diagnosis, or treatment. Always seek the advice of your physician or other qualified healthcare provider…
Medical Disclaimer: The information provided on this website is for informational and educational purposes only and is not intended as personal medical or health advice. The content, including text, graphics, and images, is not a substitute for professional medical advice, diagnosis, or treatment. Always seek the advice of your physician or other qualified healthcare provider…
Medical Disclaimer: The information provided on this website is for informational and educational purposes only and is not intended as personal medical or health advice. The content, including text, graphics, and images, is not a substitute for professional medical advice, diagnosis, or treatment. Always seek the advice of your physician or other qualified healthcare provider…