Medical Disclaimer: The information provided on this website is for informational and educational purposes only and is not intended as personal medical or health advice. The content, including text, graphics, and images, is not a substitute for professional medical advice, diagnosis, or treatment. Always seek the advice of your physician or other qualified healthcare provider with any questions you may have regarding a medical condition or before starting any new exercise, nutrition, or supplement program. Never disregard professional medical advice or delay in seeking it because of something you have read on this blog. Reliance on any information provided by this site is solely at your own risk.
How to Track Strength Progress should be simple, consistent, and tied to your training plan. Direct answer: Track strength progress by logging load, reps, RPE, and weekly top sets, then compare estimated 1RM trends each month.
In this guide, you’ll get a full training system that blends strength, cardio, mobility, and simple logging templates. You’ll learn what to record, how to progress from beginner to advanced, and how to validate results without guesswork.
Measured training improves outcomes because your body adapts to the stress you can consistently apply and recover from. Strength rises through neural efficiency and muscle fiber remodeling; both respond to progressive overload paired with adequate recovery. Tracking makes that progression visible and repeatable.
Practical markers like load, reps, and RPE predict your estimated 1RM (using a common equation such as load × (1 + reps/30)). Trend lines are more honest than any single max attempt. In client practice, steady logging correlates with fewer plateaus and more confident technique. When we added weekly top sets and notes on sleep and energy, movement quality improved and nagging aches dropped. While outcomes vary, consistent data usually beats intuition alone.
Cardio and mobility support the lifting engine. Zone 2 work improves aerobic capacity, which helps recovery between sets and sessions. Mobility and stability drills keep joints quiet so you can train hard again tomorrow.
How to Build Your Progress Tracking System
Step 1 — Establish your baseline (Week 0): Do each main lift with a comfortable top set at RPE 7 (about 3 reps in reserve). Record load, reps, and notes on form. Skip all-out testing; the goal is a clean starting point.
Step 2 — Build your weekly layout: – Strength: 3 full-body sessions (45–70 minutes). – Cardio: 2 sessions Zone 2 (20–40 minutes). Optional 1 short interval day. – Mobility: 10 minutes most days, focused on hips, ankles, T-spine, shoulders.
Step 3 — Session recipe (strength days): – Warm-up: 5–8 minutes of easy cardio + dynamic mobility. – Main lift A (squat or hinge): 1 top set RPE 7–8, then 2–4 back-off sets at 85–90% of that top set’s load. – Main lift B (press or pull): same structure as A. – Accessories: 2–4 movements for balance (rows, lunges, core, hamstrings), RPE 7–8. – Cooldown: breathing + light mobility.
Step 4 — What to log every session: – Lift name, load, reps, RPE for top set and back-offs. – Estimated 1RM (e1RM) using a common rep-load formula; errors cancel out when trended. – Total hard sets per muscle group (weekly). – Notes: technique cues, pain zero-to-ten, sleep quality, energy, and bodyweight. – Optional: bar speed if you have a velocity device.
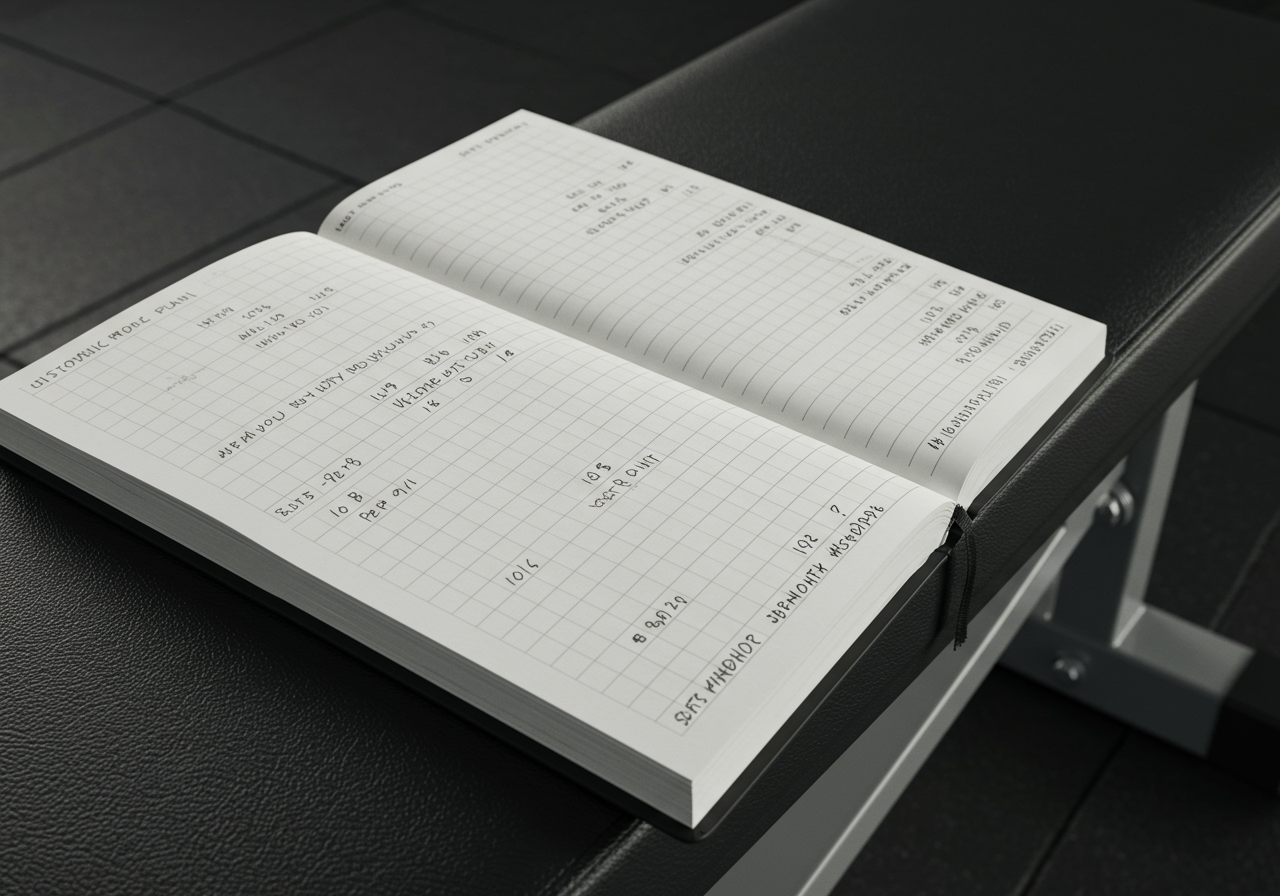
Caption: Minimalist strength tracking template
Date | Lift | Top Set (Load x Reps @RPE) | Back-offs | e1RM | Notes | Bodyweight | Sleep/HRV

2026-01-18 | Back Squat | 205 x 5 @7 | 3 x 5 @ 185 | 246 | Heels down, slow 3rd rep | 172 | 7.5h

2026-01-20 | Bench Press | 135 x 6 @7 | 3 x 6 @ 120 | 162 | Tuck elbows, leg drive | 171 | 7h

2026-01-22 | Deadlift | 245 x 4 @8 | 3 x 4 @ 225 | 279 | Strapless, flat back | 172 | 8h
Step 5 — Cardio and mobility: – Zone 2: You can nasal breathe and speak in full sentences; typically 65–75% max heart rate. Track with Garmin, Fitbit, or Apple Watch and log in Strava. – Mobility: Choose 2–3 sticky areas and repeat short flows. Example: 90/90 hip switches, ankle rocks, thoracic rotations (2 rounds each).
Step 6 — Nutrition and recovery: – Protein 1.6–2.2 g/kg/day; carbs around training; fats for satiety. – Calories: small surplus for muscle gain, small deficit for fat loss; use MyFitnessPal or Cronometer for awareness. – Hydration: 30–40 mL/kg/day as a starting point; add more around sweaty sessions. – Supplements (optional): creatine monohydrate 3–5 g/day; caffeine pre-workout if tolerated. – Sleep: aim 7–9 hours; keep consistent bed/wake times.
Step 7 — Real session example (from my log last week): – A1 Back Squat: top set 225 x 4 @7.5, then 3 x 4 @ 205. – A2 Bench Press: top set 155 x 5 @7, then 3 x 6 @ 140. – Accessories: DB row 3 x 10, split squats 2 x 10/side, planks 3 x 30s. – Finish: 20 min Zone 2 on bike, average HR ~140 bpm (Garmin), could talk easily.
Apps and tools: Strong or Hevy for logging, Google Sheets for custom graphs, Strava for cardio, Garmin/Fitbit for HR and sleep. A simple notebook also works.
Quick testimonial: “The top-set plus back-offs format stopped me overreaching. I could see e1RM creeping up even when life got busy.” — Elena, reader
Beginner to Advanced Progressions
Beginner (Weeks 1–4): – Frequency: 3 full-body lifts/week; 2 Zone 2 cardio days (20–30 minutes). – Intensity: top sets at RPE 6–7; back-offs at ~85–90%. Focus on crisp reps and positions. – Progress rule: if you hit the top of the rep range with the planned RPE, add 2.5–5 lb next time. If not, keep load and add 1 rep next session. – Mobility: 10 minutes most days. Keep a simple warm-up routine you can repeat.
Intermediate (Weeks 5–8): – Add a small amount of volume: one extra back-off set for main lifts, or a second accessory per pattern. – Raise intensity slightly: top sets RPE 7–8 on two days; keep one day easier at RPE 6–7. – Introduce slight variation to manage fatigue: front squat or pause squat; close-grip or paused bench; RDL for hinge day. – Cardio: extend one Zone 2 session to 35–40 minutes; optional short intervals (6–8 x 30s fast/60s easy) on a separate day.
Advanced (Weeks 9–12): – Practice heavy but controlled singles: 1 x 1 at RPE 7.5–8 ahead of your back-off work on one main lift per week. – Keep weekly hard sets per muscle in a sustainable range; if joints feel cranky, reduce by 2–4 hard sets for that area. – Plan a deload in Week 12 or earlier if signs of fatigue accumulate: cut volume by ~40–50%, keep technique sharp, move briskly.
Testing and validation: – At the end of each 4-week block, compare average e1RM for each lift and review video from the same angles. You can re-test a submax top set to confirm the trend without maxing out. – Complement with non-strength markers: resting HR trending down, easier recovery between sets, stable bodyweight (or appropriate change), and consistent sleep. If trends disagree, adjust the load or volume rather than forcing a PR.
Troubleshooting: – If you miss targets two sessions in a row, repeat the week with slightly fewer back-off sets, or reduce load 2–3% and rebuild. – Sticking points often resolve by improving range of motion, adding a paused variation, or adjusting stance/grip. Pain that rises above mild discomfort warrants form review or professional input.
Programming Tips and Safety
Frequency and intensity: Most beginners thrive on 3 lifting days at RPE 6–8. More isn’t automatically better; consistency plus recovery wins. Keep cardio easy enough to aid recovery, not sabotage it.
Common mistakes: – Chasing new maxes weekly instead of steady e1RM trends. – Training to failure constantly, turning sets into grinders. – Skipping sleep and expecting volume to compensate. – Logging only load and reps but ignoring RPE or notes.
Monitoring: Rate each session with a quick sRPE (1–10) and a sentence about energy or stress. If readiness is low for several days, scale back volume, walk more, and prioritize sleep.
Injury and safety: Pain that sharpens or lingers beyond 24–48 hours needs attention. Swap to a similar pattern that’s symptom-free (e.g., leg press for squat), lower the RPE, and resume slowly. Warm-up sets count; take them seriously.
Recovery habits: A regular bedtime, protein at each meal, and short mobility snacks preserve momentum. When life gets hectic, keep the main lifts and cut accessories first.
Next steps: Copy the template into Google Sheets or your favorite app, set a 12-week calendar, and review e1RM graphs every four weeks. If you want my sample sheet and video walkthrough.
Medical Disclaimer: The information provided on this website is for informational and educational purposes only and is not intended as personal medical or health advice. The content, including text, graphics, and images, is not a substitute for professional medical advice, diagnosis, or treatment. Always seek the advice of your physician or other qualified healthcare provider…
Medical Disclaimer: The information provided on this website is for informational and educational purposes only and is not intended as personal medical or health advice. The content, including text, graphics, and images, is not a substitute for professional medical advice, diagnosis, or treatment. Always seek the advice of your physician or other qualified healthcare provider…
Medical Disclaimer: The information provided on this website is for informational and educational purposes only and is not intended as personal medical or health advice. The content, including text, graphics, and images, is not a substitute for professional medical advice, diagnosis, or treatment. Always seek the advice of your physician or other qualified healthcare provider…
Medical Disclaimer: The information provided on this website is for informational and educational purposes only and is not intended as personal medical or health advice. The content, including text, graphics, and images, is not a substitute for professional medical advice, diagnosis, or treatment. Always seek the advice of your physician or other qualified healthcare provider…
Medical Disclaimer: The information provided on this website is for informational and educational purposes only and is not intended as personal medical or health advice. The content, including text, graphics, and images, is not a substitute for professional medical advice, diagnosis, or treatment. Always seek the advice of your physician or other qualified healthcare provider…
Medical Disclaimer: The information provided on this website is for informational and educational purposes only and is not intended as personal medical or health advice. The content, including text, graphics, and images, is not a substitute for professional medical advice, diagnosis, or treatment. Always seek the advice of your physician or other qualified healthcare provider…
 How to Track Strength Progress should be simple, consistent, and tied to your training plan. Direct answer: Track strength progress by logging load, reps, RPE, and weekly top sets, then compare estimated 1RM trends each month.