Medical Disclaimer: The information provided on this website is for informational and educational purposes only and is not intended as personal medical or health advice. The content, including text, graphics, and images, is not a substitute for professional medical advice, diagnosis, or treatment. Always seek the advice of your physician or other qualified healthcare provider with any questions you may have regarding a medical condition or before starting any new exercise, nutrition, or supplement program. Never disregard professional medical advice or delay in seeking it because of something you have read on this blog. Reliance on any information provided by this site is solely at your own risk.
Comparing Resistance Bands: Tension, Durability, and Use Cases can be simple when you know what to test and how to program them.
Direct answer: Loop bands power lower-body strength, tubes fit presses/rows, therapy bands help rehab/mobility—verify tension and progress gradually.
In this guide you’ll learn a full band-based training system, how to pick the right band, progress from beginner to advanced, and validate results with simple tracking.
Variable Resistance Matches Your Natural Strength Curve
Bands change resistance through the range of motion. This variable resistance can match your natural strength curve and reduce joint stress near the bottom of a lift. That’s why rows, presses, hinges, and even power drills respond well to bands, especially when equipment is limited.
Tension isn’t standardized. A loop labeled “50–125 lb” may feel far lighter until stretched near lockout. In my own garage tests using a cheap luggage scale, a heavy loop delivered roughly moderate load mid-range and much higher load near end-range—exactly where I’m stronger. That’s useful, but it means you must measure your setup, not just read packaging.
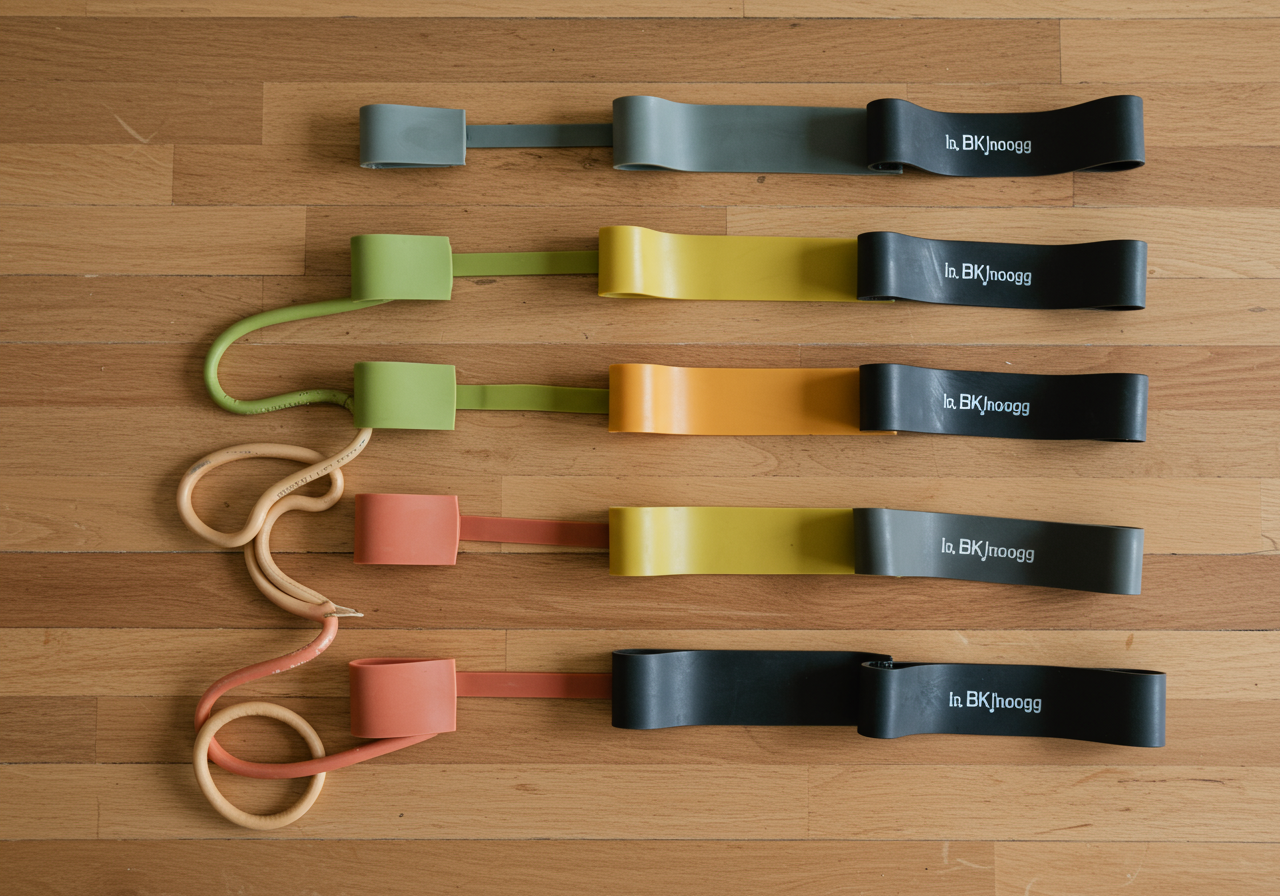
Durability differs: latex loop bands are versatile but degrade with UV and friction; tube bands with carabiners are convenient for presses/rows; fabric hip bands don’t add much top-end load but don’t pinch skin and excel for lower-body activation. In peer-reviewed studies, bands can build strength and muscle comparably to free weights when effort and progression are matched, though absolute ceiling loads may be lower.
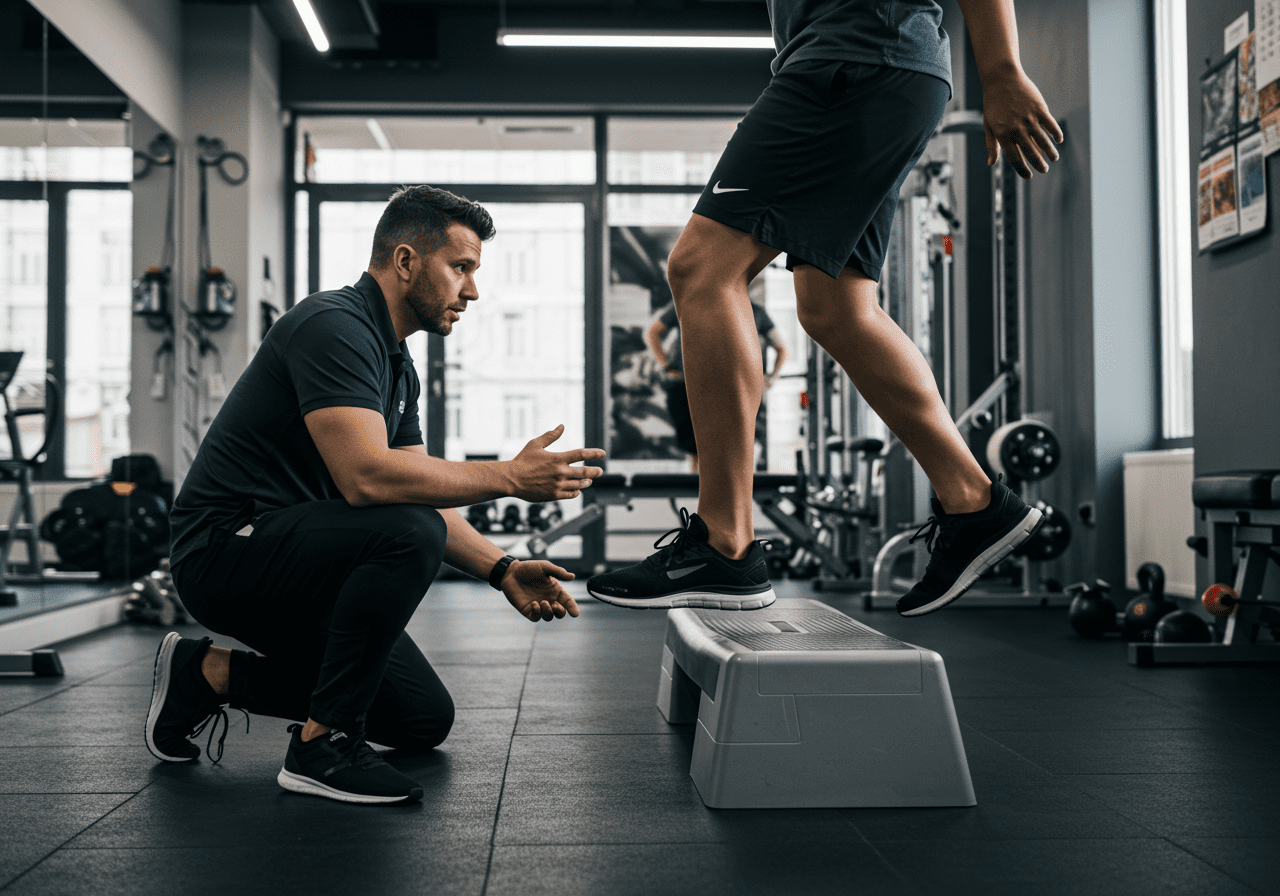
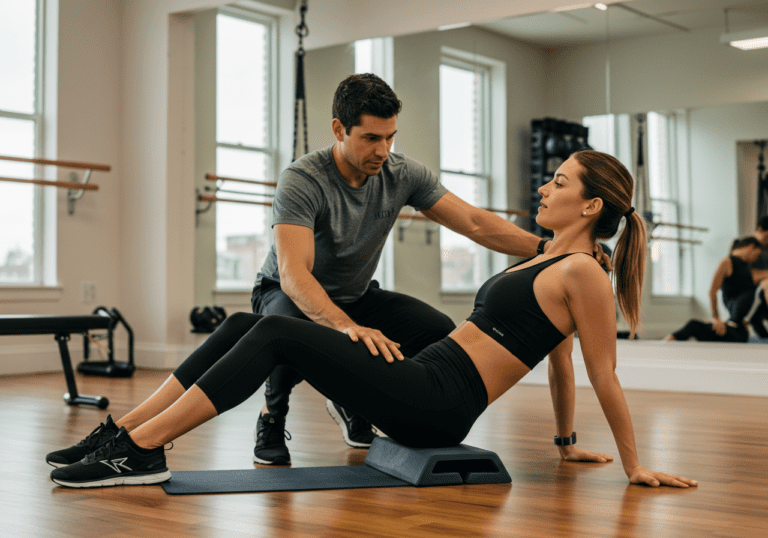
Practically, bands travel well, anchor anywhere, and teach posture, tempo, and full-range control. I use them with beginners, busy parents, and clients returning from shoulder or knee discomfort when fixed paths feel safer.
Calibrate Tension, Anchor Safely, Control Tempo
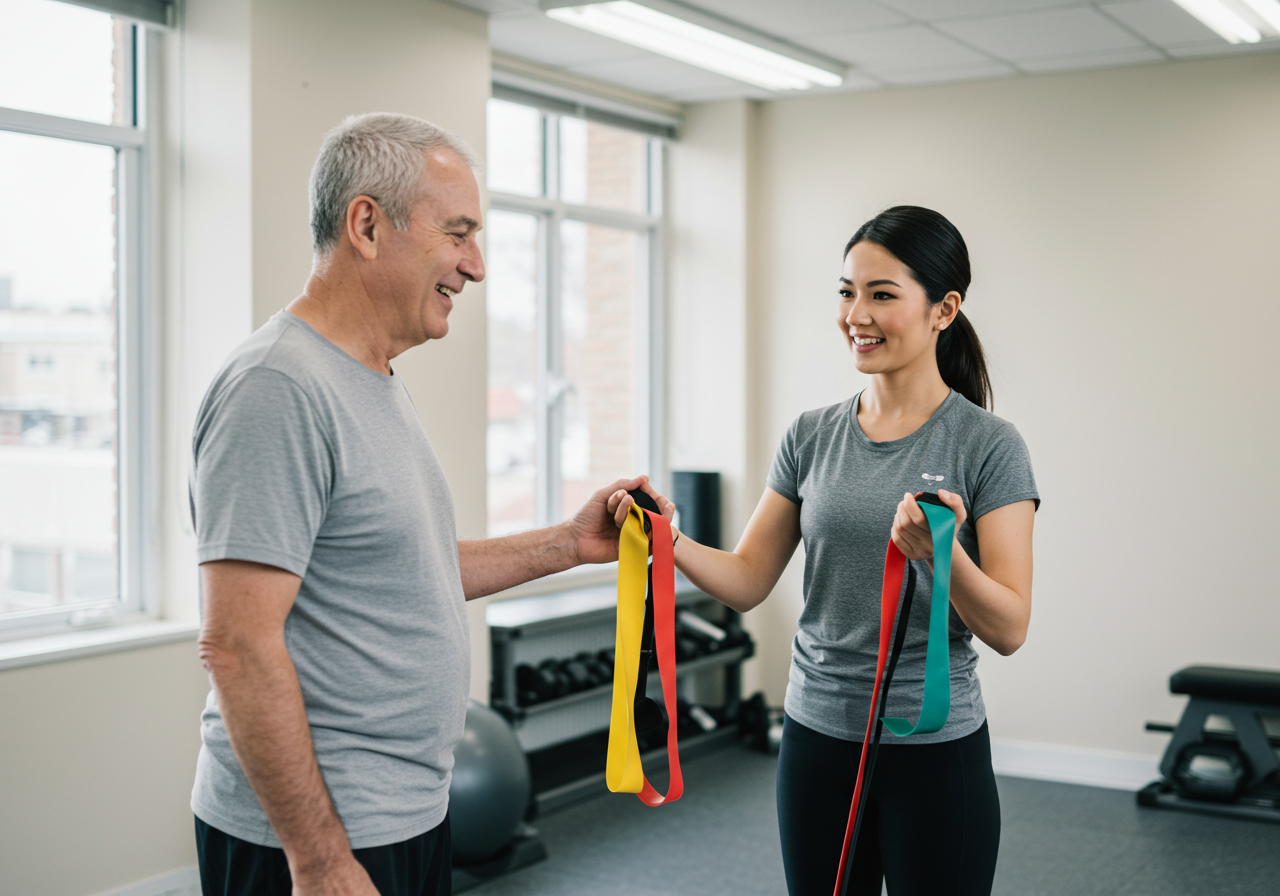
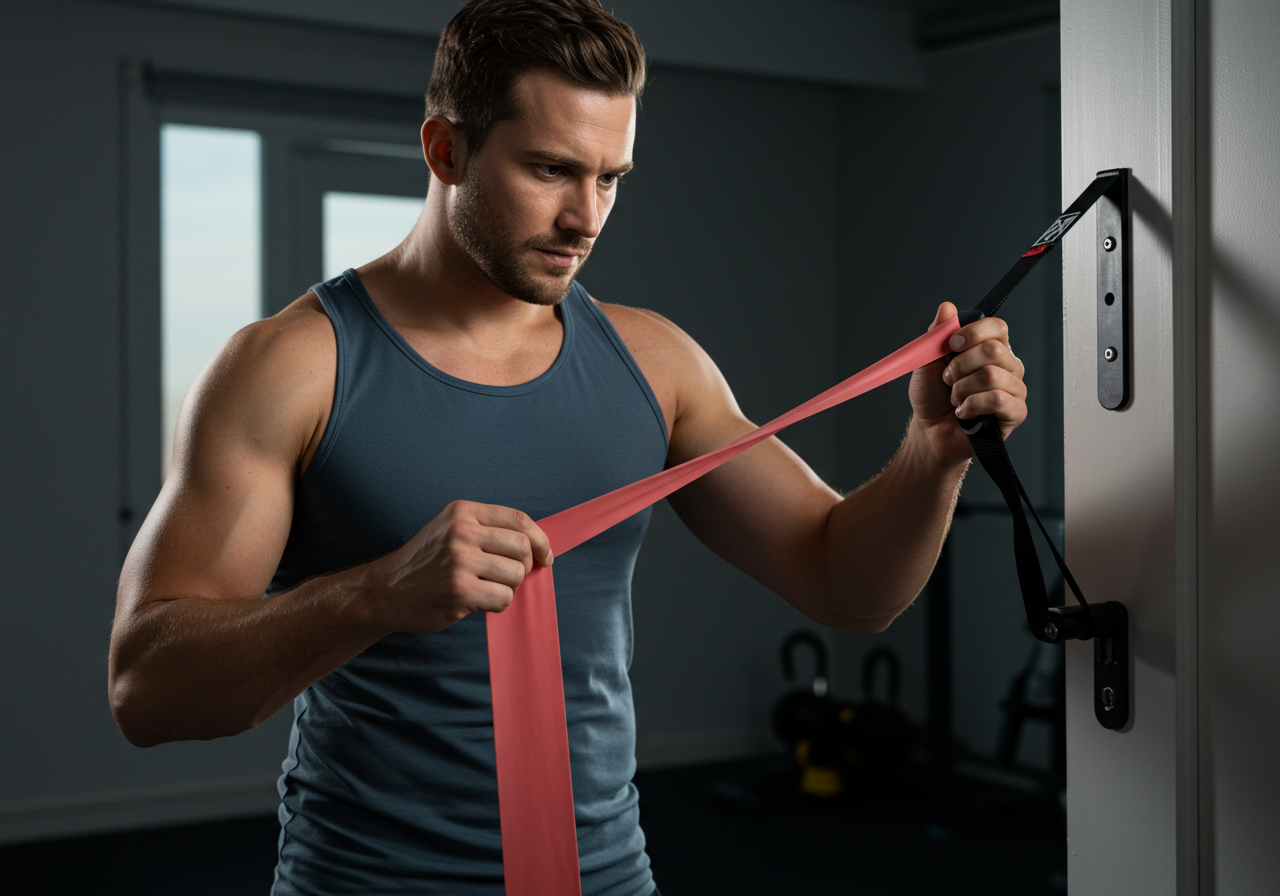
Step 1 — Choose the right band • Loop bands: best for squats, deadlifts, hip work, assisted pull-ups. • Tube bands with handles: rows, presses, pulldowns; anchor at door or rack. • Therapy/flat bands: rehab, mobility, lighter isolation work. Quick check: stand on the band and pull to your sticking point; if you can’t reach mid-range without jerking, drop a thickness or reduce stretch length.
Step 2 — Calibrate tension • Use a luggage scale to read tension at your working position. • Mark reliable stretch lengths with tape on the floor or knots for repeatability. • Log perceived effort (RPE) and reps in reserve (RIR) so you don’t chase labels.
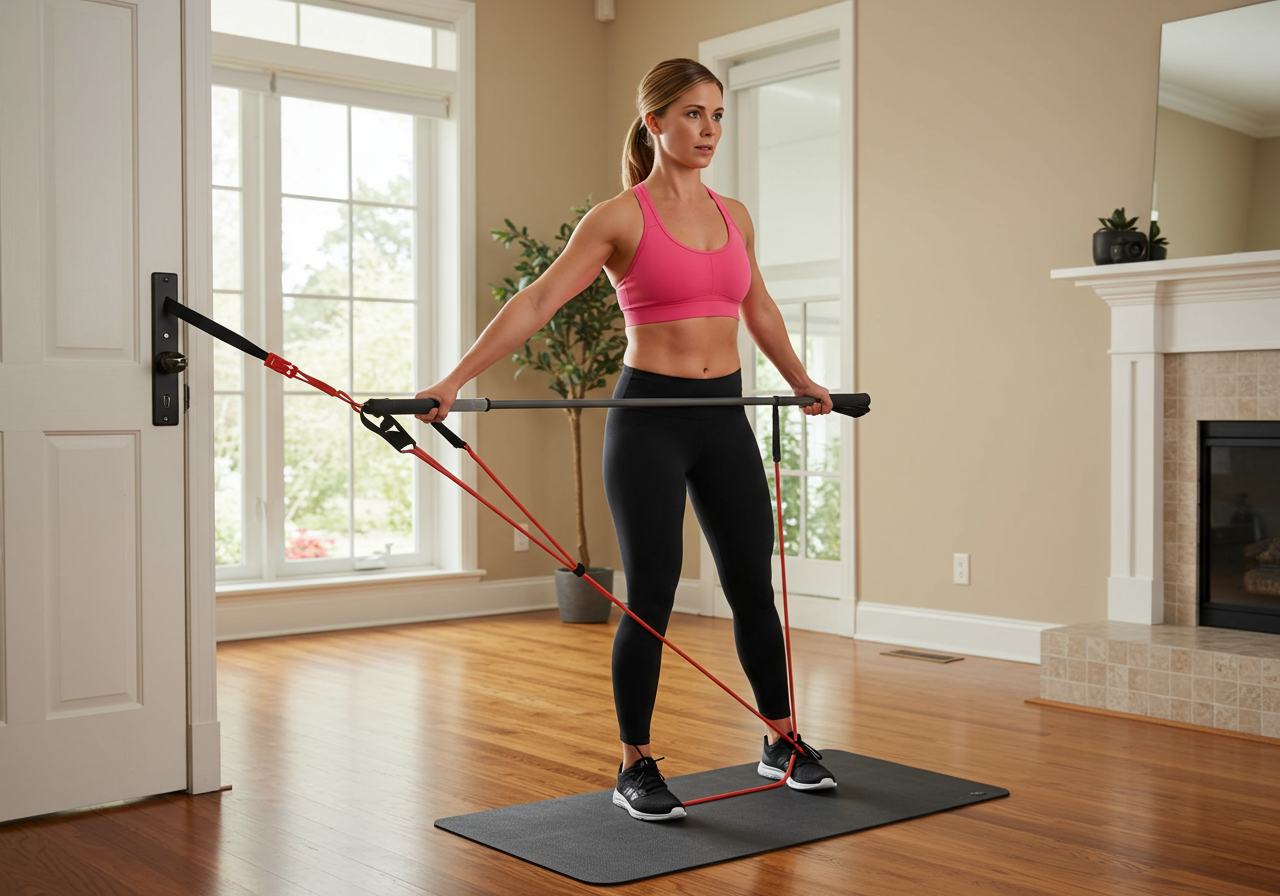
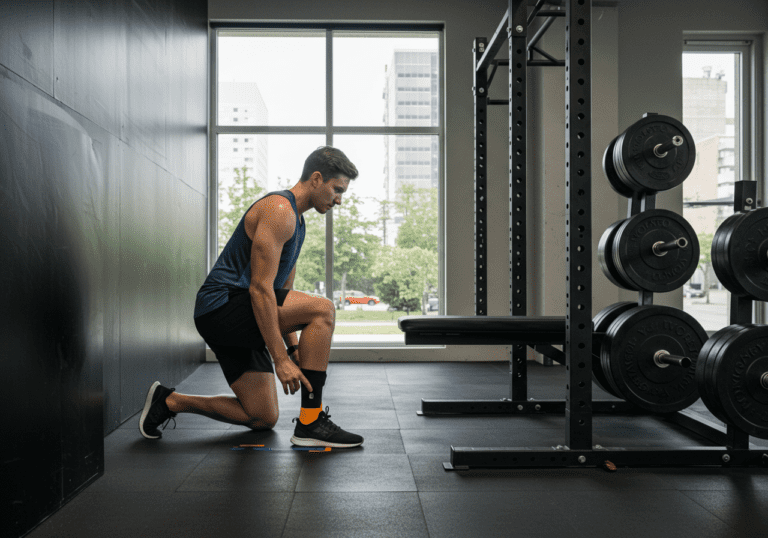
Step 3 — Anchor and alignment • Use a door anchor (hinge side) or sturdy rack. Check for microtears and burrs on hardware. • Match the line of pull to the movement: chest height for rows/presses; hip height for hinges; low anchor for pulldowns.
Step 4 — Session template (40–50 minutes) Warm-up — 5 minutes: easy marching or bike, then band dislocates, hip airplanes, and ankle rocks. Power — 6–8 minutes: band-assisted jumps or high-speed band rows, 3×5 @ RPE 6, full rest. Strength — 15–18 minutes: superset A1/A2, 3–4×6–10 @ RPE 7–8. • A1: Band RDL or squat (loop under feet). • A2: Band push-up (band across back) or standing press (tube band). Hypertrophy — 10–12 minutes: 2–3 moves, 2–3×10–15 @ RPE 7. • Examples: band rows, lateral raises, curls, triceps pressdowns, split squats. Conditioning finisher — 6–8 minutes: EMOM band thrusters x10 and rows x12; aim HR Zone 3–4 (70–85% HRmax on Garmin/Fitbit). Mobility/cool-down — 5 minutes: T-spine rotations, hip flexor stretch, breathing downregulation.
Step 5 — Coaching cues • Keep tension at end-range without locking joints. • Control eccentrics for 2–3 seconds; pause briefly at peak squeeze. • Align wrists and elbows with the band path; avoid shrugging and hyperextension.
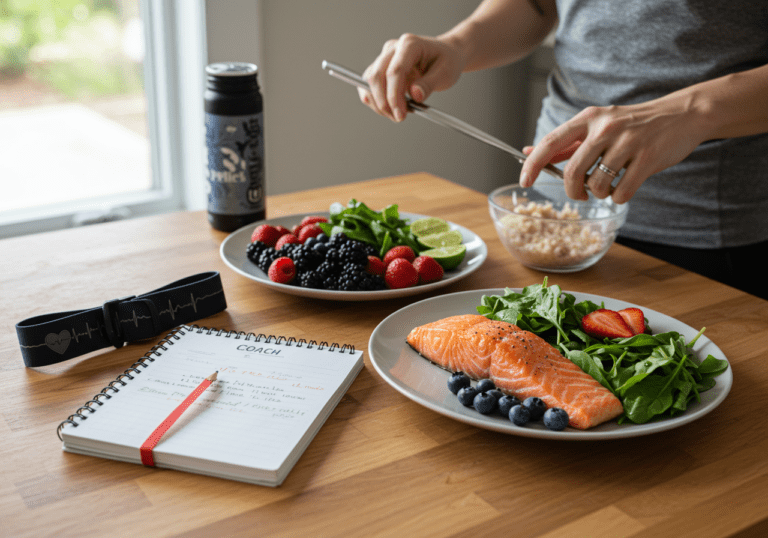
Step 6 — Tracking & tools • Log sets, RPE, and last-set reps in Strong or Google Sheets. • Record HR and time-in-zone in Garmin/Strava for finishers. • Track protein and calories in MyFitnessPal; note sleep hours and morning energy (1–5 scale).
Eight-Week Volume and Intensity Roadmap
Plain-text progression overview (caption: 8-week roadmap for volume, intensity, and band selection)
Week 1–2: Technique first; 3 sessions/week; main sets 3×8 @ RPE 6–7; pick light/medium bands; control tempo 2–0–2; note stretch marks. Week 3–4: Add volume; 4×8–10 @ RPE 7; increase stretch length ~5–10% or add one thicker band on rows only; keep finishers in Zone 3. Week 5–6: Intensify; 4×6–8 @ RPE 8; shorten eccentrics to 2s, add 1 pause rep per set; consider thicker band for one lower-body lift; finisher EMOM adds 1 rep. Week 7: Deload; cut volume ~35%; 2×8 @ RPE 6; lighter bands; focus on technique and mobility; reduce finisher to easy Zone 2 circuits. Week 8+: Mix methods; heavy–light–medium split: heavy day 5×5 @ RPE 8 with thicker bands; light day 3×12 pump work; medium day 4×8 contrast sets (band row + band push-up). Advanced: combine two bands, add tempo waves (3–1–1, 1–0–3), or use partials near end-range for 1–2 sets.
Band selection quick guide • Lower body: progress from medium loop to heavy loop; add second loop only when reps stay crisp at RPE ≤8. • Upper body: progress from medium tube to heavy tube; for pressing, step forward to add stretch before swapping thickness. • Mobility/rehab: stay with therapy band; progress by time-under-tension and pain-free range, not thickness.
Readiness checks • Move up if last set hits 2+ reps above target with good form. • Hold or deload if sleep <6 hours, HRV dips, or elbows/shoulders feel irritated for 2+ sessions.
References & Further Reading
The following peer-reviewed research and authoritative guidelines support the recommendations in this article:
Frequency & intensity • Start with 3 days/week full-body. Add a 4th day for short Zone 2 cardio or mobility. • Strength sets mostly @ RPE 7–8; keep one in five harder sets @ RPE 9 max.
Common mistakes • Overstretching to chase load (risking snap-back). Fix: move closer to anchor or choose thicker band. • Poor anchor alignment leading to shoulder crank. Fix: line of pull through mid-forearm for presses/rows. • Ignoring end-range control. Fix: add 1–2 second squeeze and stable ribs.
Durability & safety • Inspect weekly for microtears, chalky spots, or flat areas; retire compromised bands immediately. • Avoid UV and heat; store in a cool bag; wipe sweat; rotate bands to spread wear. • Use smooth carabiners/anchors; remove jewelry that can nick latex. I once snapped a tube by overreaching into the anchor—since then I set a hard stop on range.
Recovery & nutrition • Protein: 1.6–2.2 g/kg/day; spread across 3–5 meals. • Calories: adjust ±200–300 kcal based on weekly bodyweight trend and performance. • Creatine monohydrate: 3–5 g/day if appropriate; hydrate well. • Sleep: 7–9 hours; note morning energy and soreness to guide deloads.
Progress tracking & result validation • Use a simple sheet: date, band type, stretch mark, sets×reps, last-set RPE, finisher HR average. Review every 2 weeks. • Client Jess (39) followed this plan while traveling; across about 10–12 weeks she moved from a medium to heavy tube on rows and added several clean push-up reps. Waist measurement dropped slightly, and she reported less shoulder discomfort. Individual results vary, but the pattern is common in practice. • Another client, Ahmed (54), used therapy-to-light loops post-shoulder flare; pain-free range improved and he returned to light pressing by week 6—progress paced by RPE and ROM, not band thickness.
Troubleshooting • Plateau: add 1 set to your first two exercises or increase stretch length 5%; if fatigue rises, deload for 5–7 days. • Motivation dip: switch anchors/heights and rotate grips for novelty; try EMOM finishers at lower reps. • Irritation: drop end-range holds, use slower eccentrics, and lower anchor height to reduce joint shear.
Next stepsDownload my printable band-tension checklist. I’ll suggest personalized anchor heights and progressions.
Medical Disclaimer: The information provided on this website is for informational and educational purposes only and is not intended as personal medical or health advice. The content, including text, graphics, and images, is not a substitute for professional medical advice, diagnosis, or treatment. Always seek the advice of your physician or other qualified healthcare provider…
Medical Disclaimer: The information provided on this website is for informational and educational purposes only and is not intended as personal medical or health advice. The content, including text, graphics, and images, is not a substitute for professional medical advice, diagnosis, or treatment. Always seek the advice of your physician or other qualified healthcare provider…
Medical Disclaimer: The information provided on this website is for informational and educational purposes only and is not intended as personal medical or health advice. The content, including text, graphics, and images, is not a substitute for professional medical advice, diagnosis, or treatment. Always seek the advice of your physician or other qualified healthcare provider…
Medical Disclaimer: The information provided on this website is for informational and educational purposes only and is not intended as personal medical or health advice. The content, including text, graphics, and images, is not a substitute for professional medical advice, diagnosis, or treatment. Always seek the advice of your physician or other qualified healthcare provider…
Medical Disclaimer: The information provided on this website is for informational and educational purposes only and is not intended as personal medical or health advice. The content, including text, graphics, and images, is not a substitute for professional medical advice, diagnosis, or treatment. Always seek the advice of your physician or other qualified healthcare provider…
Medical Disclaimer: The information provided on this website is for informational and educational purposes only and is not intended as personal medical or health advice. The content, including text, graphics, and images, is not a substitute for professional medical advice, diagnosis, or treatment. Always seek the advice of your physician or other qualified healthcare provider…