Medical Disclaimer: The information provided on this website is for informational and educational purposes only and is not intended as personal medical or health advice. The content, including text, graphics, and images, is not a substitute for professional medical advice, diagnosis, or treatment. Always seek the advice of your physician or other qualified healthcare provider with any questions you may have regarding a medical condition or before starting any new exercise, nutrition, or supplement program. Never disregard professional medical advice or delay in seeking it because of something you have read on this blog. Reliance on any information provided by this site is solely at your own risk.
Screen Your Readiness Before Every Strength Session
Pre-session screening is the fastest way to make today’s strength session safer and more productive. You’ll learn a coach-tested checklist that adapts load, accessories, and conditioning to your body’s readiness.
A quick pre-session screen checks readiness, flags risks, and tunes today’s plan in under five minutes.
Balance Stress and Recovery to Prevent Injury
Strength gains stick when stress and recovery balance. Screening bridges the gap between a written program and your real-world readiness. Nervous system freshness, joint irritability, and sleep quality can change how much load you should lift today.
In practice and in peer-reviewed research, simple readiness checks (sleep, soreness, jump performance, RPE) track fatigue and help reduce spikes in training stress that often precede injury. I’ve seen lifters hit lifetime PRs after we dialed back only on days with poor sleep or high soreness, then pushed hard when scores rebounded.
“I stopped grinding bad days. After two weeks of using the screen, my squat stopped flaring my hip, and I still added 5 kg by week eight.” — client diary, paraphrased
Think of the checklist as guardrails: it preserves intent (get stronger) while adapting the route (exercise choice, load, or volume) so you leave the gym better than you entered.
Five-Minute Protocol: Sleep, Vitals, Jumps, Movement
Tools: timer, notes app (Trainerize/TrueCoach/Sheets), RPE chart, wooden dowel, HR monitor (Garmin/Polar), optional jump mat or phone video.
1) 60‑second check‑in — Rate sleep (0–3), soreness (0–3), stress/mood (0–3). Add a 1–10 readiness RPE. Any pain that changes movement? Yes/No.
2) Quick vitals — Resting HR trend and, if you track it, HRV trend. Out-of-range numbers guide a small load or volume trim.
3) Neural pulse — 3 easy countermovement jumps or pogo hops. Note height/feel or rep speed. Flat jumps usually mean dial back intensity, not cancel training.
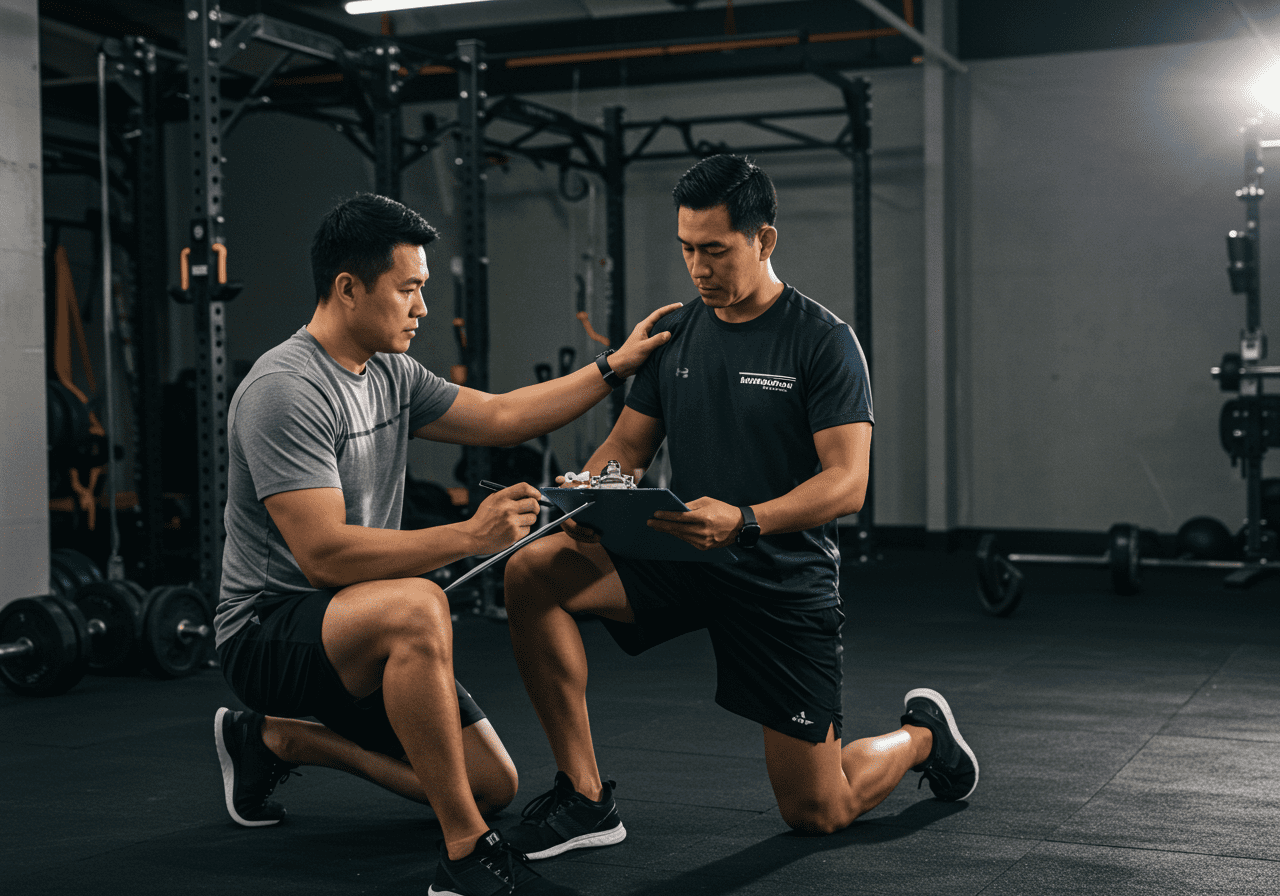
4) Movement micro‑screen — Dowel overhead squat (hips/ankles), hip hinge with neutral spine, shoulder flexion/rotations. Any sharp pain stops that pattern today; swap to a friendlier variation.
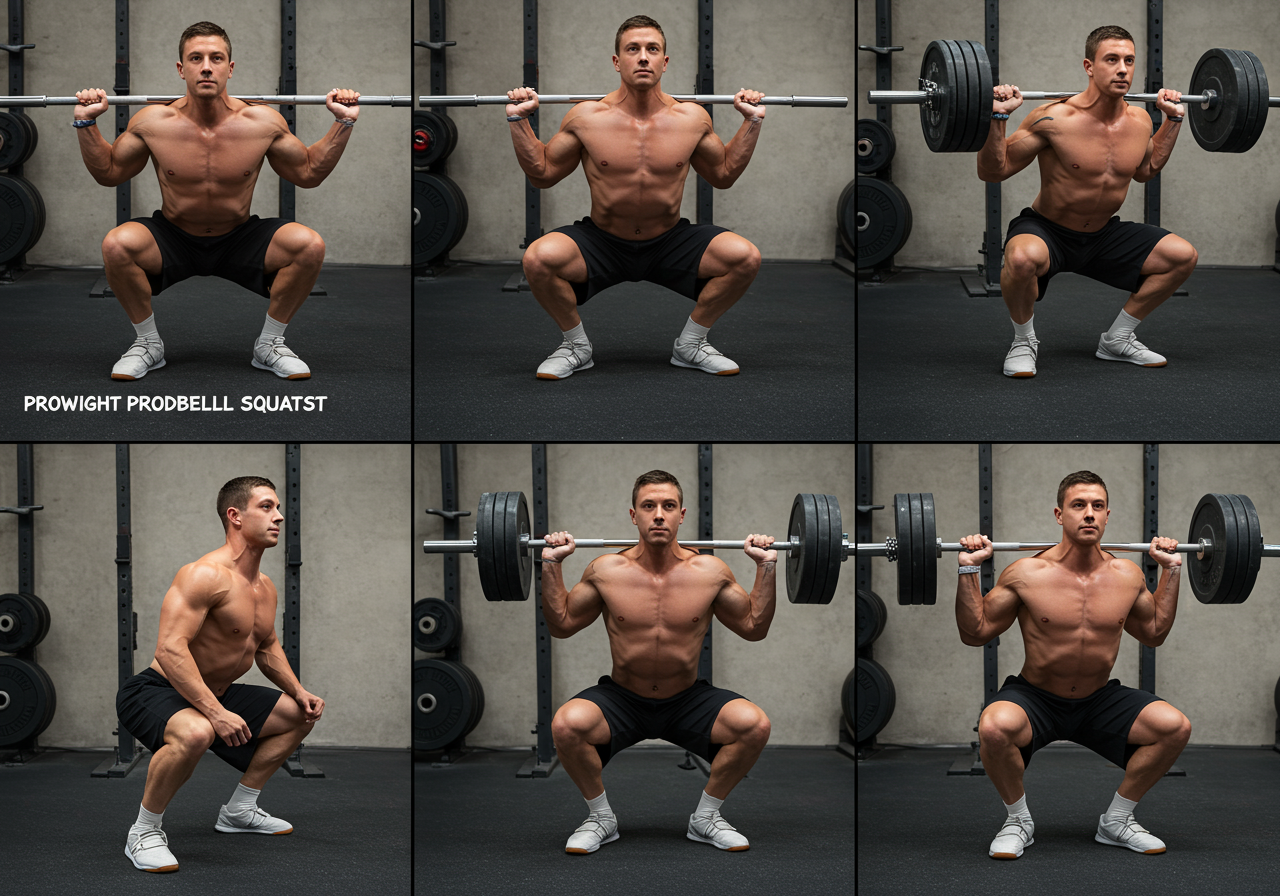
5) Ramp‑up sets — Build the day’s main lift with 2–4 progressively heavier sets. Stop when a smooth single at planned opening load feels ~RPE 6–7. If it’s already RPE 8, reduce the top set by 5–10%.
6) Decide the day — Choose one of three paths: Push (PR attempt or extra top set), Hold (planned work), or Pull (reduce load, add technique work or accessories).
7) Accessory + conditioning — Keep joint-friendly accessories (rows, split squats, carries) and finish with 10–20 min Zone 2 (conversational pace) or a brisk walk. Mobility work targets what the screen exposed.
Caption: Coach’s Quick Screen — items, what to check, pass/fail, and the action to take.
Item — What to check — Pass = — If not, do this

Symptoms — Illness, new pain — No red flags — Swap painful lift; use machine/tempo work

Sleep/Stress — 0–3 scale each — ≤3 combined — Cut top set or 1–2 sets total

Resting HR/HRV — Trend vs baseline — Within normal — Reduce load 5–10% or add rests

Jumps/Speed — Height/snap — Normal pop — Technique day; avoid grinders

Movement screen — Dowel squat/hinge/shoulder — No sharp pain — Change stance/ROM/variation

Ramp-up feel — RPE at opener — RPE 6–7 — Adjust plan: Push/Hold/Pull
Example training day (logged on Garmin and in Sheets):
– Warm‑up: 5 min brisk walk + hip airplanes, T‑spine rotations – Back Squat: 3×5 @ 80 kg, RPE 7 across; last warm‑up 70 kg felt RPE 6 – RDL: 3×6 @ 90 kg, RPE 7 – DB Row: 3×10 @ RPE 8; Copenhagen planks: 3x20s – Conditioning: 15 min Zone 2, HR 130–140 bpm – Cooldown: 3 min nasal breathing + calf/hip mobility
Nutrition & recovery touchpoints: 1.6–2.2 g/kg protein, carbs around training (0.5–1 g/kg), 3–5 g creatine daily, hydrate to pale straw urine, and aim for 7–9 hours sleep. I log meals in MyFitnessPal and note sleep quality alongside readiness.
Scale Intensity Weekly Based on Readiness Signals
Beginner (Weeks 1–4): Keep the screen simple—sleep/soreness check, dowel squat, and ramp‑up feel. Main lifts stay at RPE 6–7; no grinders. Add 5–10 min Zone 2 at the end. If two poor-readiness days appear in one week, reduce total sets by 1 per lift and extend rest.
Weeks 5–8: Introduce a 3‑jump average and track resting HR trend. Keep two hard sets (RPE 8) on the primary lift only once per week. Zone 2 grows to 12–18 min. If jumps feel flat, switch heavy day to technique (tempo or paused reps).
Intermediate (Weeks 9–16): Add weekly variability. One heavy day (top set @ RPE 8), one volume day (RPE 6–7), and one technique day. Use the screen to choose which day gets the push. Deload 1 week when readiness is low for 3 consecutive sessions or bar speed slows >10% repeatedly (if you track it).
Advanced (ongoing): Layer in bar velocity (VBT) or a consistent RPE/bar weight log. Push days require warm‑up singles ≥0.30 m/s (or feel like RPE ≤6). If velocity is slow or warm‑ups feel heavy, cap intensity at RPE 7 and shift effort to accessories or aerobic work. Conditioning stays mostly Zone 2 with occasional short intervals after lower-body days.
Example week flow (conceptual):
– Day 1: Squat focus (screen → Push/Hold/Pull). Accessories for quads/core. 10–15 min Zone 2. – Day 2: Upper press focus. Scapular control, rows. Walk 20–30 min later. – Day 3: Deadlift focus. Hamstrings/back, carries. 10–15 min Zone 2. – Optional Day 4: Technique + mobility circuit, light sled work.
Expected outcomes: In practice, novices often add 2.5–5 kg to main lifts every 1–2 weeks while staying pain‑free when the screen guides intensity. Progress varies; if numbers stall for two weeks, reassess sleep, protein, and total volume before chasing heavier loads.
References & Further Reading
The following peer-reviewed research and authoritative guidelines support the recommendations in this article:
Frequency: 3 strength sessions weekly works for most. Add a light technique/mobility day if joints feel sticky. Keep 1–2 easy cardio blocks (walks or Zone 2) between lifting days.
Intensity: Use RPE 6–8 as your home base. Save true 9s for test weeks or when the screen says “Push” and you’ve slept well. No pain during lifts—change the pattern before forcing reps.
Troubleshooting:
– Plateaus: Add a back‑off set (−10% load) or a second top set only when warm‑ups feel snappy. Rotate variations every 3–4 weeks (front squat, trap‑bar deadlift, close‑grip bench). – Overreaching signs: Elevated resting HR, poor jumps, sore tendons. Cut volume by 30–50% for 4–7 days; keep technique crisp and walk more. – Motivation dips: Shorten the session to 30 minutes and complete just ramp‑ups + one top set + 1–2 accessories. Consistency beats perfection. – Irritated joints: Swap ROM (box squat, high‑handle trap bar), use tempo/paused work, and prioritize isometrics (e.g., Spanish squat holds).
Recovery rhythm: 7–9 hours sleep, protein at every meal, carbs pre/post lift, fruits/veggies, omega‑3‑rich foods. Supplements to consider: creatine monohydrate (3–5 g/day) and vitamin D if deficient; consult your healthcare provider.
Progress tracking: Record readiness scores, top‑set RPE, sets/reps/load, and HR for cardio. I keep a simple sheet: date, screen outcome (Push/Hold/Pull), best set, and notes. Small notes prevent big mistakes.
Next steps: Download the checklist into your notes app, run it before every session for two weeks, and compare logs. If you found this useful.
Medical Disclaimer: The information provided on this website is for informational and educational purposes only and is not intended as personal medical or health advice. The content, including text, graphics, and images, is not a substitute for professional medical advice, diagnosis, or treatment. Always seek the advice of your physician or other qualified healthcare provider…
Medical Disclaimer: The information provided on this website is for informational and educational purposes only and is not intended as personal medical or health advice. The content, including text, graphics, and images, is not a substitute for professional medical advice, diagnosis, or treatment. Always seek the advice of your physician or other qualified healthcare provider…
Medical Disclaimer: The information provided on this website is for informational and educational purposes only and is not intended as personal medical or health advice. The content, including text, graphics, and images, is not a substitute for professional medical advice, diagnosis, or treatment. Always seek the advice of your physician or other qualified healthcare provider…
Medical Disclaimer: The information provided on this website is for informational and educational purposes only and is not intended as personal medical or health advice. The content, including text, graphics, and images, is not a substitute for professional medical advice, diagnosis, or treatment. Always seek the advice of your physician or other qualified healthcare provider…
Medical Disclaimer: The information provided on this website is for informational and educational purposes only and is not intended as personal medical or health advice. The content, including text, graphics, and images, is not a substitute for professional medical advice, diagnosis, or treatment. Always seek the advice of your physician or other qualified healthcare provider…
Medical Disclaimer: The information provided on this website is for informational and educational purposes only and is not intended as personal medical or health advice. The content, including text, graphics, and images, is not a substitute for professional medical advice, diagnosis, or treatment. Always seek the advice of your physician or other qualified healthcare provider…