Medical Disclaimer: The information provided on this website is for informational and educational purposes only and is not intended as personal medical or health advice. The content, including text, graphics, and images, is not a substitute for professional medical advice, diagnosis, or treatment. Always seek the advice of your physician or other qualified healthcare provider with any questions you may have regarding a medical condition or before starting any new exercise, nutrition, or supplement program. Never disregard professional medical advice or delay in seeking it because of something you have read on this blog. Reliance on any information provided by this site is solely at your own risk.
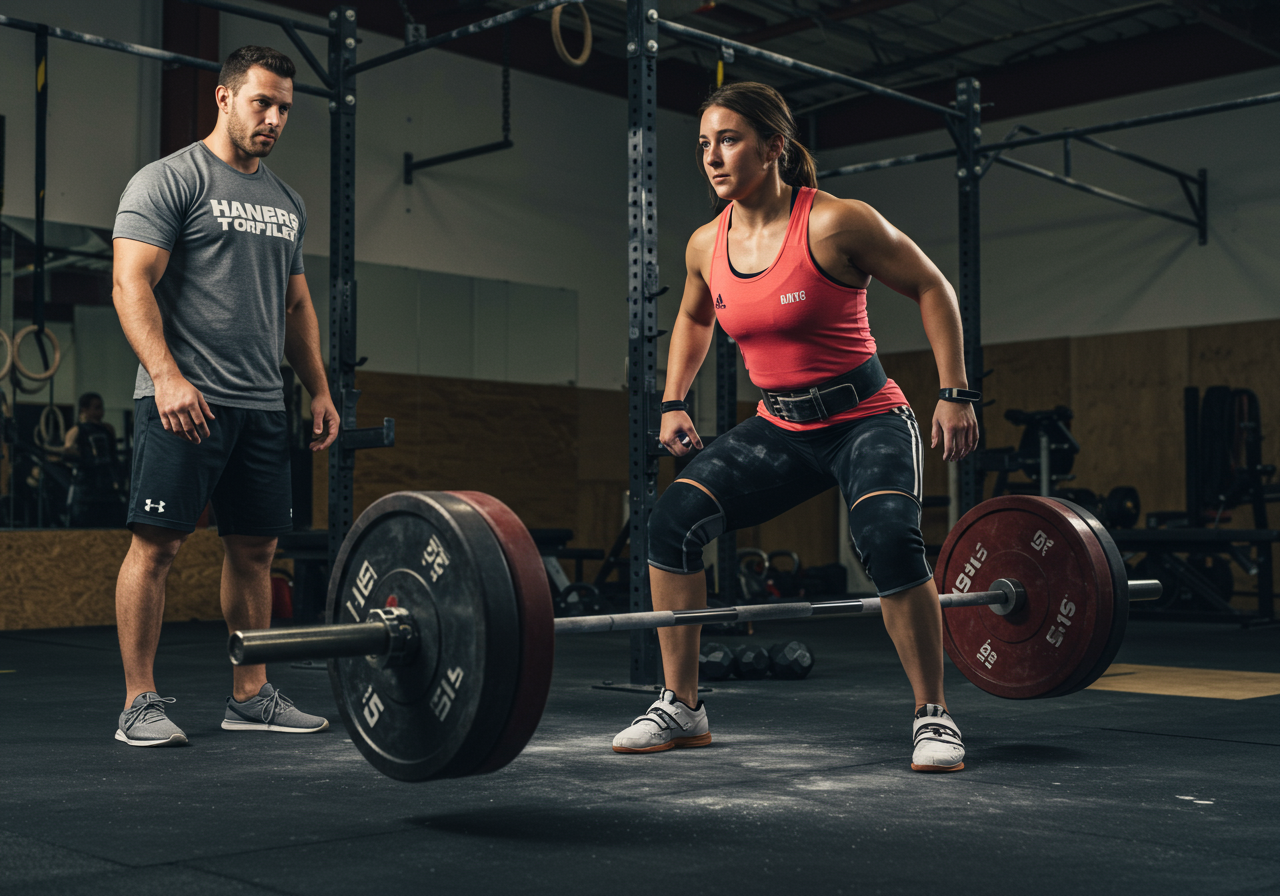
Injury Prevention for Heavy Lifters starts with consistent mobility, objective load management, and quick joint checks.
The fastest way to prevent lifting injuries is consistent mobility, load caps, and two-minute readiness checks.
In this guide you will learn a daily mobility flow, simple pre-lift screens, on-the-bar rules that cap risk without killing gains, and a week-by-week rollout I use with clients and my own training.
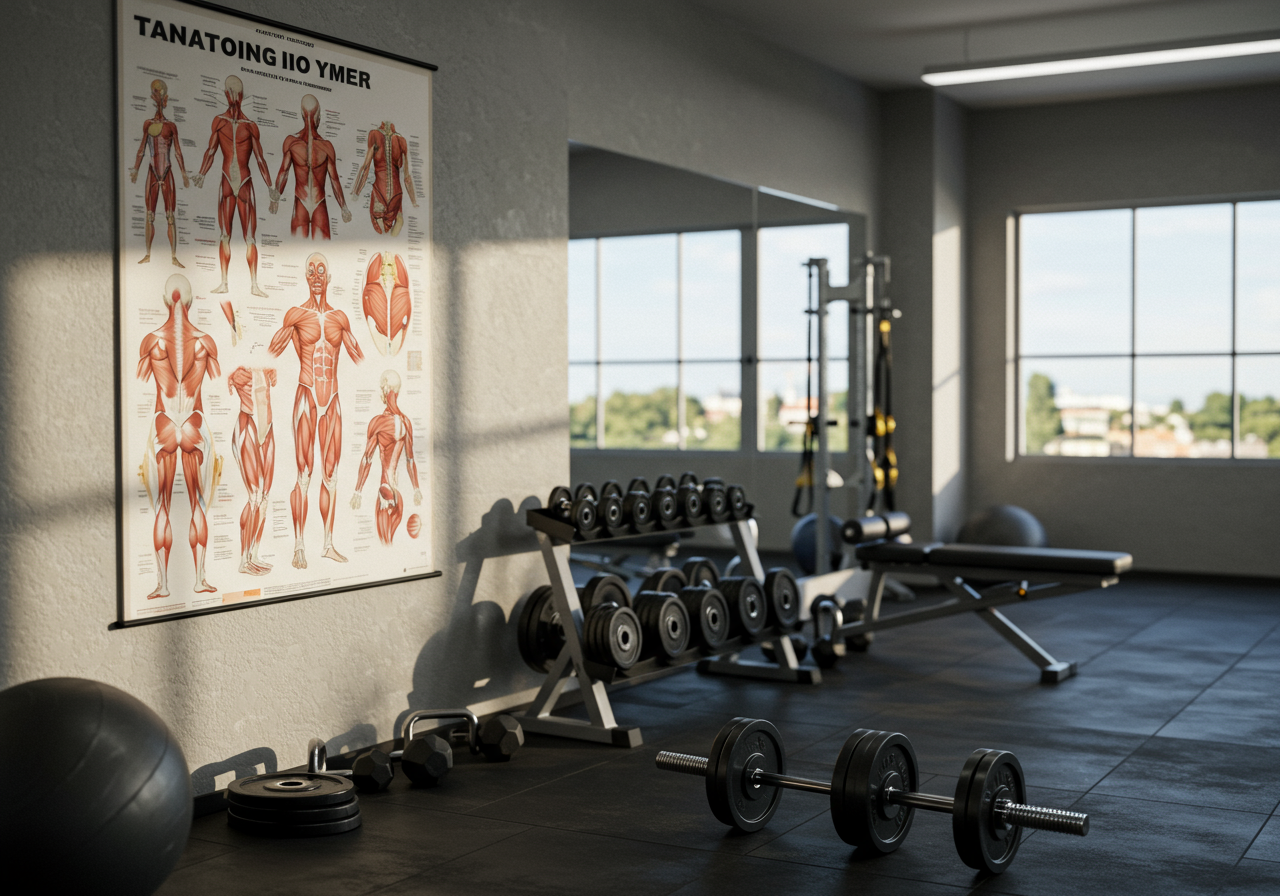
Understanding tissue adaptation and workload spike risks
Heavy barbell work shapes strong bodies, but tissues adapt to what they can tolerate. Most setbacks come from rapid workload spikes, poor movement preparation, or ignoring early warning signs. Mobility that restores end-range control plus steady loading is a reliable buffer.
In practice and in peer‑reviewed research, gradual progress with proper sleep and protein improves resilience. Small deficits in ankle, hip, or shoulder range can shift stress to knees, low back, or elbows when loads climb. Breathing and bracing influence pelvic position and rib mechanics, which change how force transfers through the spine under the bar.
Client note: after adding two-minute readiness checks and a 10‑minute mobility primer, a masters lifter I coach reported fewer nagging aches and no missed sessions over two training blocks. That is anecdotal, but it mirrors what many strength coaches observe.
Ten-minute mobility primer with joint-specific drills
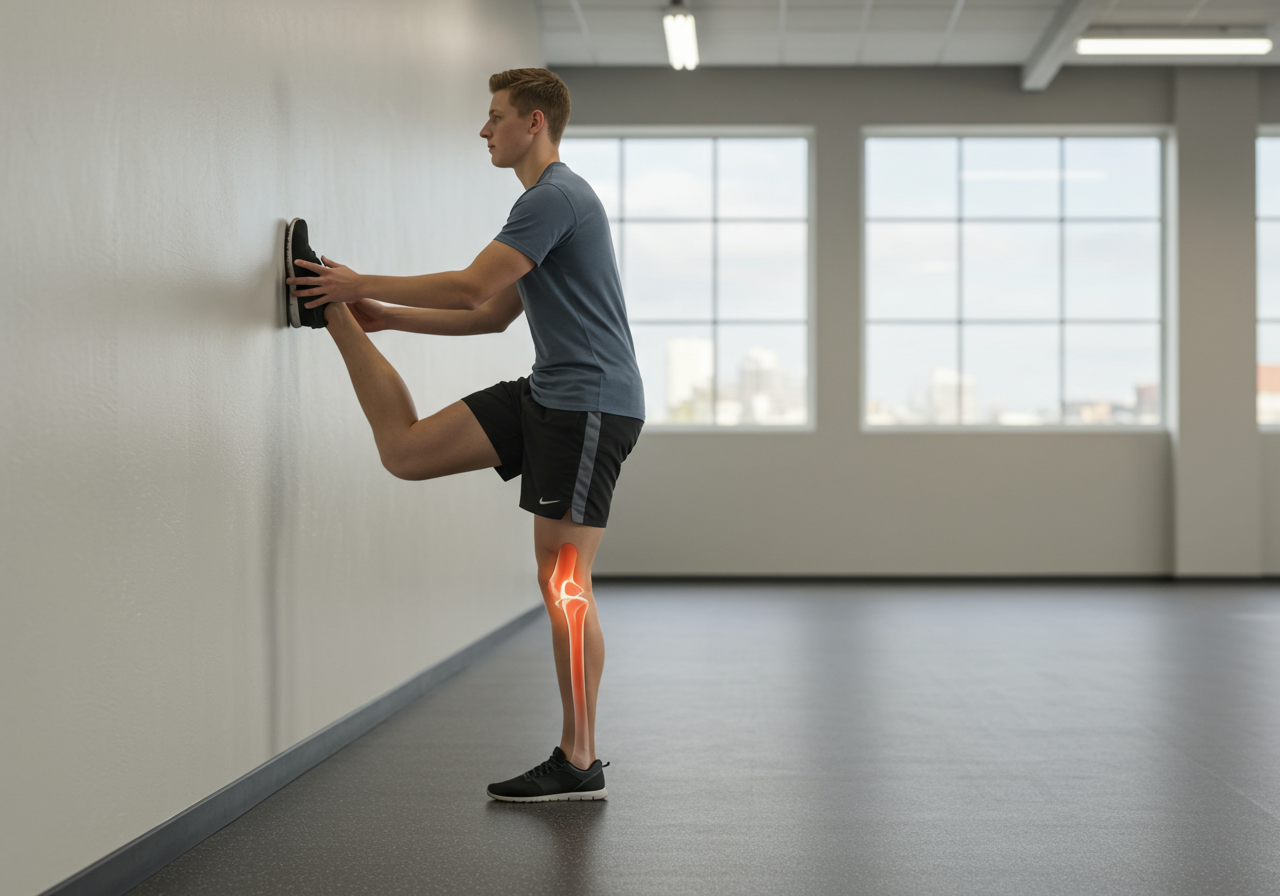
Daily mobility flow (10–12 minutes) Goal: restore end-range control in joints that take the brunt under load. • 90/90 breathing with long exhales, 1–2 minutes. • T‑spine rotations and reach‑throughs, slow and controlled. • Ankles: knee‑to‑wall glides and calf eccentrics. • Hips: 90/90 switches, hip airplanes, and adductor rock-backs. • Shoulders: dowel flexion/extension, controlled circles, light band external rotations. • Wrists/elbows (benchers): forearm flexor/extensor flossing.
Two-minute readiness checks Goal: decide if today is full go, modified, or technique‑only. • Ankles: knee-to-wall on both sides; compare feel and range. • Hips: bodyweight squat to heels; check if pelvis tucks early. • Shoulders: hand-behind-back reach; compare sides. Decision rule: if any check feels sticky or asymmetrical, reduce load target or switch to a friendlier variation (e.g., heeled shoe or tempo squat, block pulls, neutral‑grip bench) and retest after warm-up.
General warm-up (5–8 minutes) Light bike or brisk walk to reach easy breathing (Zone 1–2 by Garmin/Apple). Follow with dynamic leg swings, band pull-aparts, and a few empty-bar complexes.
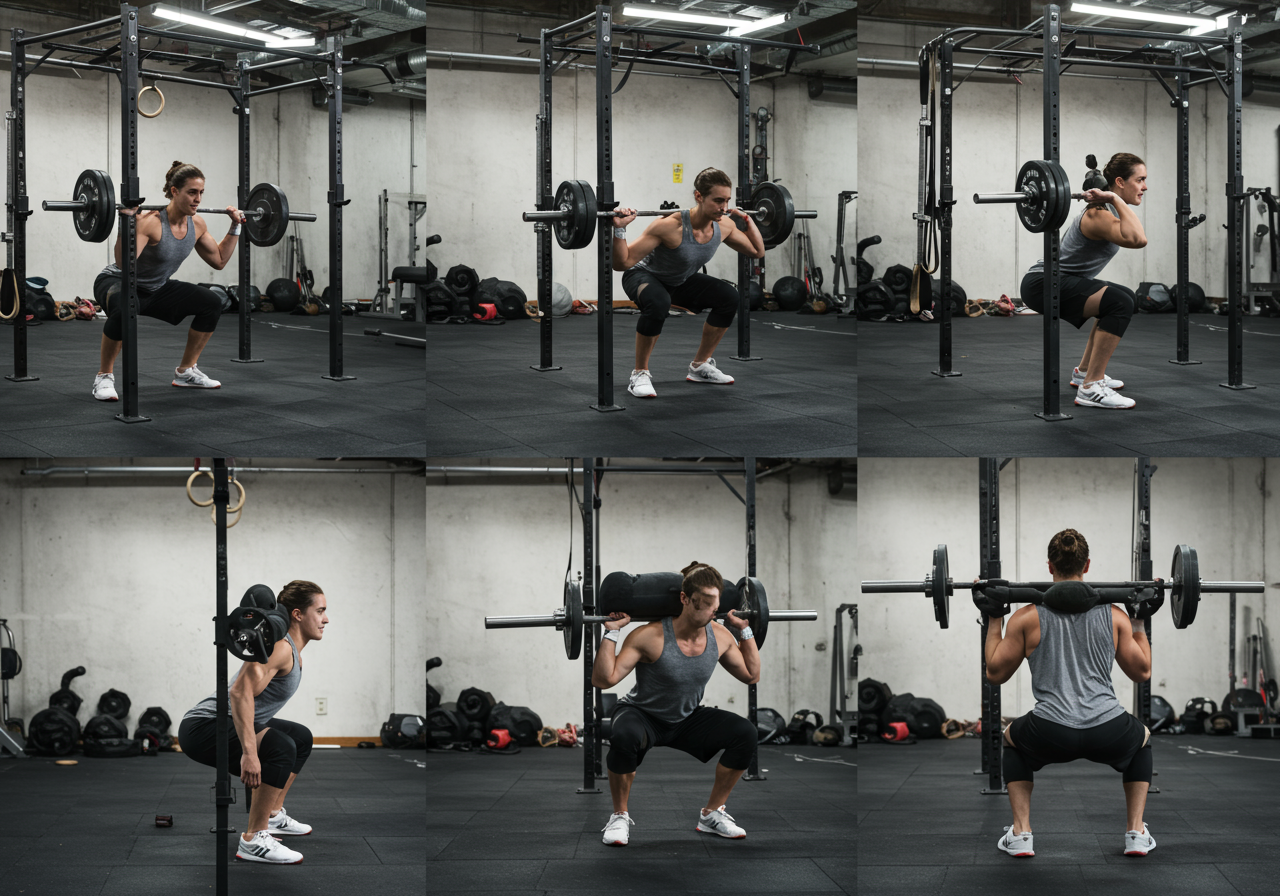
Build sets & auto-regulated loading • Ramp with small jumps (e.g., ~20–40–60% of your expected top work) while rating effort (RPE). • Stop the top set around RPE 8 most days; save true maxing for planned tests. • Watch bar speed and form. If reps slow dramatically or technique drifts, end the set. With a VBT device, cap velocity loss; without one, use honest RPE and video.
Accessory balance (15–20 minutes) • Posterior chain: RDL or hip hinge rows. • Single‑leg work: split squats or step‑ups. • Scapular control: chest‑supported rows and face pulls. • Core: loaded carries or anti‑rotation holds.
Post-lift downregulation (3–6 minutes) Nasal breathing (4–6 second exhales), light carries, gentle soft‑tissue work on hotspots. Recheck one screen you failed; note improvements for next time.
Recovery anchors • Protein roughly 1.6–2.2 g/kg/day; spread across meals. • Carbs around training for performance and tendon energy needs. • Hydration: clear urine by midday is a simple cue. • Sleep 7–9 hours with a consistent schedule. • Creatine monohydrate 3–5 g/day is widely supported. • Deload every 4–8 weeks or when fatigue outpaces performance.
My training snapshot: On heavy squat day I spend ~10 minutes on the flow above, then ramp sets to an RPE‑8 triple. Garmin shows me hovering in easy aerobic zones during the warm-up, which keeps me calm before the big set. I log RPE and notes in the Strong app and track protein in MyFitnessPal.
Client feedback: A competitive bencher added shoulder eccentrics and the elbow flossing above; in her words, “pressing finally feels smooth again,” and she’s kept weekly volume steady without flare‑ups this block.
Four-week foundation building at controlled intensity
Roll this out over weeks so the habits stick and loads rise without surprises. Use RPE and your readiness checks to guide the day.
Progression roadmap for heavy lifters (mobility + checks integrated):
Level 1 (Weeks 1–4): Learn the system

Week 1–2: 3 days lifting; mobility 10–12 min daily; top sets at RPE 6–7; readiness checks decide variation.

Week 3–4: 3–4 days; keep mobility daily; 1 lift/day reaches RPE 7–8; stop sets early if bar speed tanks.


Level 2 (Weeks 5–8): Build capacity

Week 5–6: 4 days; two heavy days capped at RPE 8; add 1 accessory set/session; repeat failed screens after warm-up.

Week 7–8: Slight volume bump or small load increase only if recovery markers (sleep, soreness, mood) are solid; deload if stale.


Level 3 (Weeks 9–12+): Advanced refinement

Weeks 9–10: Introduce microcycles with one overreach day (RPE 8–9) and one technical day (RPE 6–7) per lift.

Weeks 11–12: Stabilize; optional test single at RPE 8–9 if all screens pass; otherwise keep submaximal.
Plateau playbook: If numbers stall for two weeks, first reduce fatigue: cut one accessory, add a rest day, and perform tempo or paused variations. If that fails, deload 5–7 days and resume at lower volume.
Overuse warning signs: Range feels worse day to day, technique degrades at light loads, or you need caffeine just to warm up. Pull back before pain demands it.
Weekly rhythm with RPE guardrails and recovery tracking
Weekly rhythm: Most lifters do well with 3–4 lifting days. Keep one day clearly easier. Short daily mobility beats occasional marathons.
Intensity guardrails: Live in RPE 6–8 most of the time. Use test singles sparingly and only when screens pass and sleep is on point.
Technique first: Film your heaviest work set. If bracing, depth, or bar path degrade, adjust the plan before adding weight.
Monitor simply: Track sleep, soreness, and motivation (1–5). If two of three trend down for a week, pivot to lighter work.
Equipment helpers: Belts, sleeves, and shoes are useful, not magic. They complement mobility and load management; they do not replace them.
When to see a pro: Sharp pain, night pain, or loss of strength warrants a qualified clinician. Keep training the patterns that are symptom‑free while you evaluate.
Outcome check: In client logs (TrainHeroic/Sheets), adherence to the readiness checks and mobility minutes correlates with steadier progress and fewer missed sessions. That is observational, but it has held across new and experienced lifters I coach.
If you want my printable mobility flow, readiness checklist, and logging template.
Medical Disclaimer: The information provided on this website is for informational and educational purposes only and is not intended as personal medical or health advice. The content, including text, graphics, and images, is not a substitute for professional medical advice, diagnosis, or treatment. Always seek the advice of your physician or other qualified healthcare provider…
Medical Disclaimer: The information provided on this website is for informational and educational purposes only and is not intended as personal medical or health advice. The content, including text, graphics, and images, is not a substitute for professional medical advice, diagnosis, or treatment. Always seek the advice of your physician or other qualified healthcare provider…
Medical Disclaimer: The information provided on this website is for informational and educational purposes only and is not intended as personal medical or health advice. The content, including text, graphics, and images, is not a substitute for professional medical advice, diagnosis, or treatment. Always seek the advice of your physician or other qualified healthcare provider…
Medical Disclaimer: The information provided on this website is for informational and educational purposes only and is not intended as personal medical or health advice. The content, including text, graphics, and images, is not a substitute for professional medical advice, diagnosis, or treatment. Always seek the advice of your physician or other qualified healthcare provider…
Medical Disclaimer: The information provided on this website is for informational and educational purposes only and is not intended as personal medical or health advice. The content, including text, graphics, and images, is not a substitute for professional medical advice, diagnosis, or treatment. Always seek the advice of your physician or other qualified healthcare provider…
Medical Disclaimer: The information provided on this website is for informational and educational purposes only and is not intended as personal medical or health advice. The content, including text, graphics, and images, is not a substitute for professional medical advice, diagnosis, or treatment. Always seek the advice of your physician or other qualified healthcare provider…