Medical Disclaimer: The information provided on this website is for informational and educational purposes only and is not intended as personal medical or health advice. The content, including text, graphics, and images, is not a substitute for professional medical advice, diagnosis, or treatment. Always seek the advice of your physician or other qualified healthcare provider with any questions you may have regarding a medical condition or before starting any new exercise, nutrition, or supplement program. Never disregard professional medical advice or delay in seeking it because of something you have read on this blog. Reliance on any information provided by this site is solely at your own risk.
How to Select a Home Exercise Bike comes down to fit, resistance, noise, durability, and connectivity.
Compare resistance type, flywheel, adjustability, Q-factor, weight limit, warranty, and app support; then test-ride and choose the quietest option within budget.
In this guide I show you how to pick the right bike and turn it into a complete training system: structured cardio, simple strength and mobility, tracking, and recovery. You will leave with a step-by-step plan from first ride to advanced intervals.
Why specs and fit impact your results
If the bike fits and feels smooth, you will ride more often—consistency wins. Magnetic resistance and a belt drive reduce noise and maintenance, so you do not skip sessions in apartments or early mornings. Good adjustability helps align your joints, which may lower the chance of knee or hip irritation.
Cardio training improves heart health and work capacity when you accumulate enough weekly time in easy-to-moderate zones. Indoor cycling offers low-impact conditioning compared with running, which many beginners find friendlier for joints. In practice, clients who enjoy the feel and interface of their bike tend to log more minutes and progress faster.
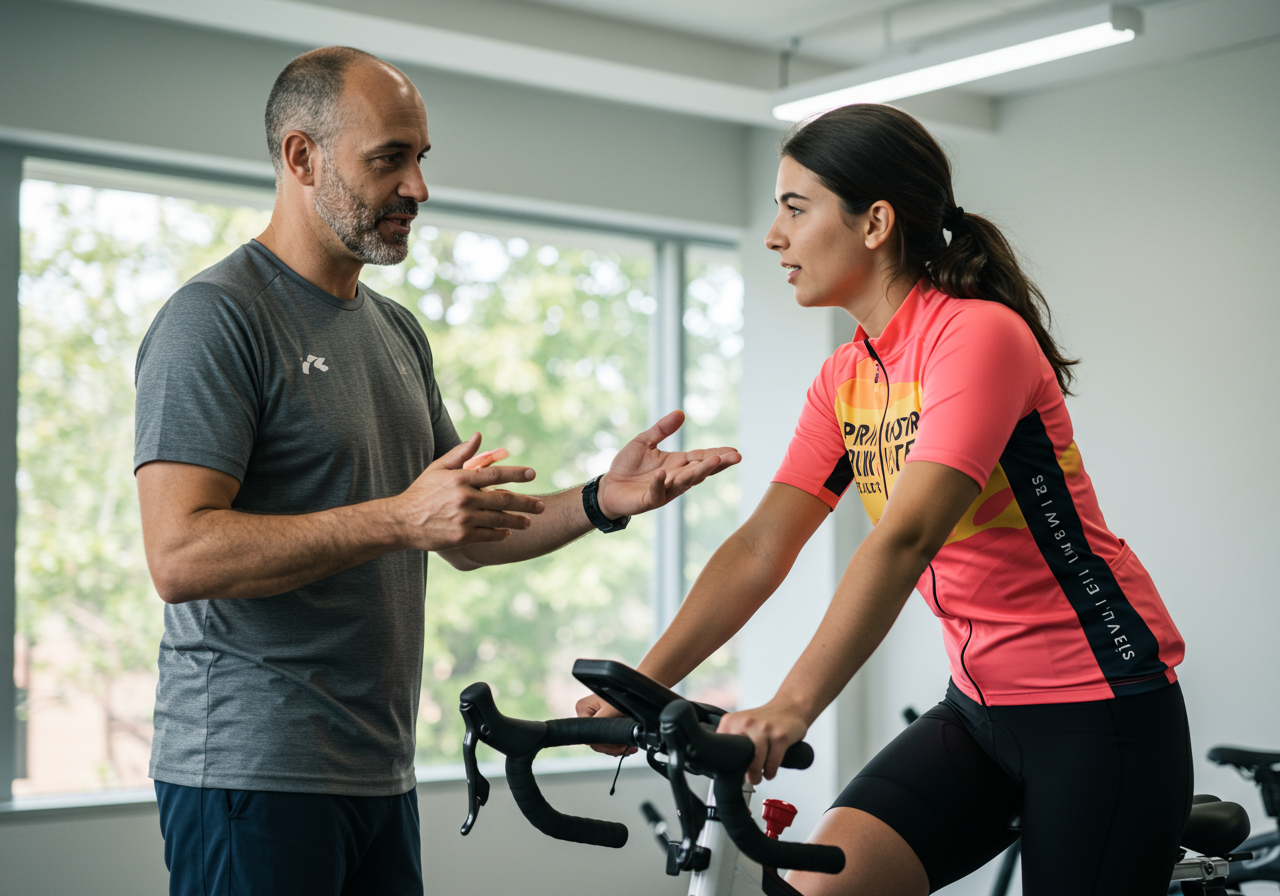
Quick anecdote: one client, Maya, had knee twinges on a wide-stance bike. We switched to a model with a slightly narrower Q-factor and refined saddle height; discomfort eased within two weeks as cadence smoothed. While everyone differs, careful spec selection and fit commonly help comfort and adherence. For general training targets, see major sports health org guidelines.
Choose the right bike, fit it, and take your first ride
Clarify your goal. Endurance (quiet, smooth, comfortable), intervals (fast resistance changes, sturdy), or rehab/general fitness (high adjustability, supportive contact points).
Measure your space and set a budget. Allow room for safe mounting and a mat. Think total cost: bike, mat, fan, HR monitor, shoes, and potential app subscriptions.
Compare resistance. Magnetic is quiet, low-wear, and consistent. Friction is cheaper but louder and can feel less smooth. Smart bikes add ERG modes and app control for structured workouts.
Check flywheel/inertia. Heavier flywheels can feel smoother at steady cadence; balanced systems with magnetic resistance often feel stable even with modest flywheel mass.
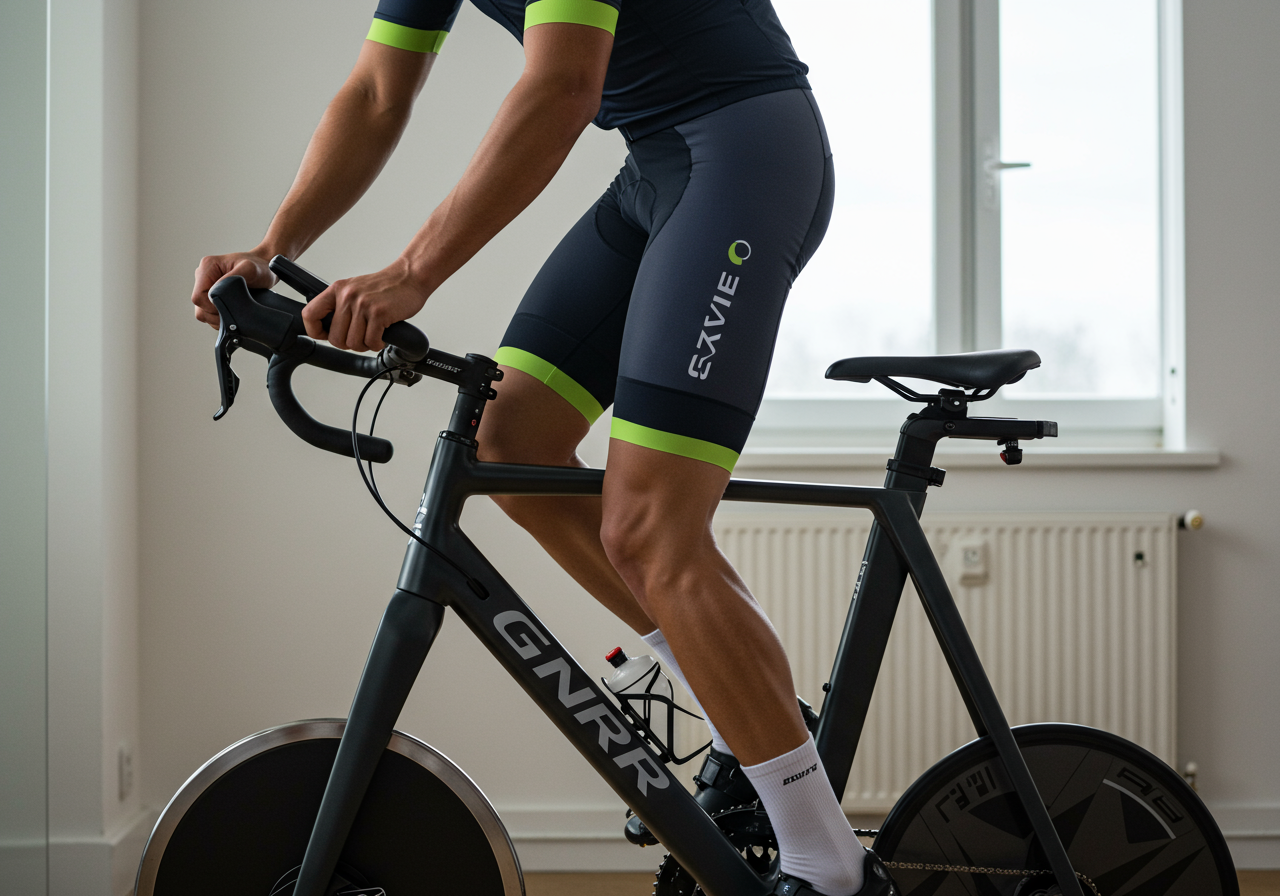
Drive system. Belt drives are quieter and lower maintenance than chains.
Adjustability and fit. Look for precise seat height and fore/aft, plus handlebar height and reach. Aim for a soft knee bend at the bottom of the pedal stroke (commonly about 25–35 degrees).
Q-factor and ergonomics. A stance width that matches your hip structure can feel more natural; many riders prefer moderate widths rather than extremely wide pedals.
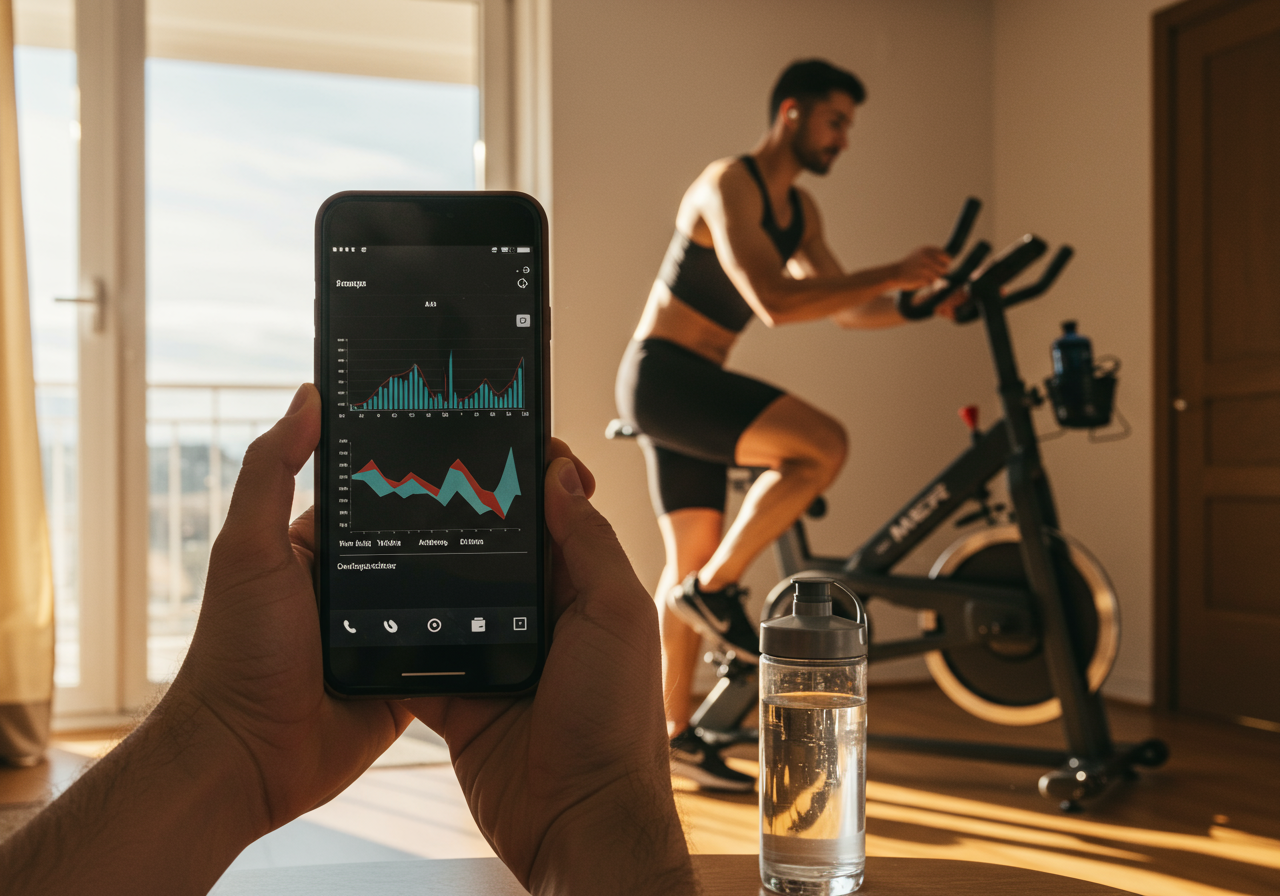
Console and connectivity. Bluetooth FTMS or ANT+ helps you pair HR straps and apps (Zwift, TrainerRoad, Kinomap). Power estimates vary by model; use them to track trends even if absolute accuracy is imperfect.
Weight limit and warranty. Choose a model that exceeds your bodyweight and intended use; check frame and electronics coverage.
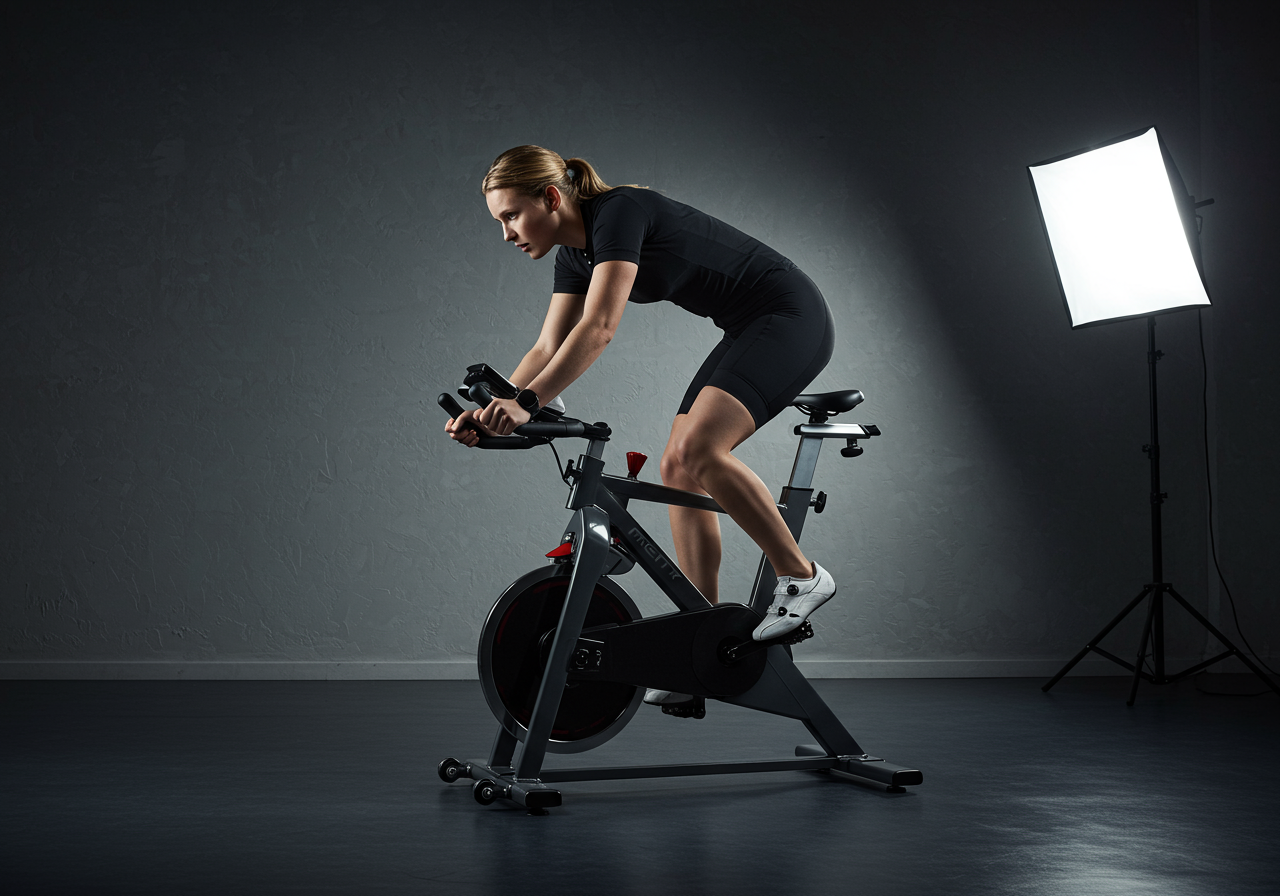
Test ride if possible. Listen for noise, check stability when standing, and confirm you can achieve your preferred saddle and handlebar positions.
Comparison cheat sheet — match specs to goals.
Spec: Resistance | Why: Noise/control | Aim: Magnetic; smart control if you want app workouts Spec: Drive | Why: Maintenance/noise | Aim: Belt over chain for most homes Spec: Adjustability | Why: Comfort/injury risk | Aim: Seat and bar height + fore/aft micro‑adjust Spec: Q‑factor feel | Why: Knee/hip comfort | Aim: Moderate stance that feels natural at 80–95 RPM Spec: Console/connectivity | Why: Tracking/motivation | Aim: Bluetooth FTMS, HR strap compatible Spec: Stability | Why: Hard efforts | Aim: No wobble when standing; solid base and weight Spec: Warranty/limit | Why: Longevity/safety | Aim: Coverage on frame and parts; weight limit above yours
Set your fit and ride
Fit quick-start: Adjust seat height so your heel on the pedal at bottom yields a straight knee; then clip in or place forefoot and you’ll have a slight bend. Set saddle fore/aft so your knee roughly stacks over the pedal spindle at mid‑stroke. Raise handlebars to reduce back/neck tension if you’re new.
First session (about 30–35 minutes):
Warm‑up — 5 minutes easy spinning at RPE 3–4 (conversational).
Cadence drill — 3 x 30 seconds fast legs (95–105 RPM) with 60 seconds easy between, light resistance.
Main set — 15–20 minutes steady Zone 2 (RPE 4–5). Breathe through your nose, talk in short sentences.
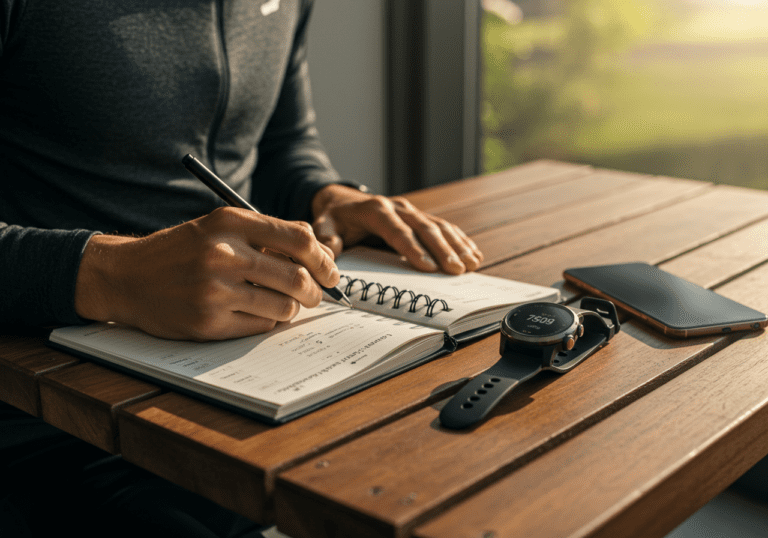
Tracking: Pair a heart rate strap to your bike or app. Log duration, average HR, and perceived effort in Strava, Garmin, or Fitbit. I encourage beginners to note seat and handlebar settings in their phone notes for repeatable comfort.
From your first month to advanced intervals
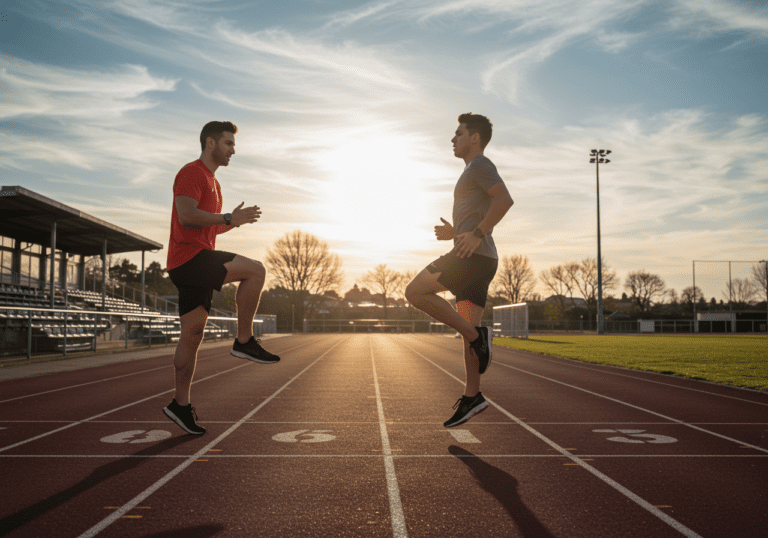
Foundation (Weeks 1–4): Ride 3 days/week. Two steady Zone 2 rides (20–35 minutes), one light interval day: 6 x 1 minute at RPE 6 with 2 minutes easy. Add 2 short strength sessions at home (goblet squat, push‑up or incline push‑up, hip hinge, row, plank), 2–3 sets of 8–12.
Build (Weeks 5–8): Ride 4 days/week. Two Zone 2 rides (30–45 minutes), one threshold sampler: 3 x 5 minutes at RPE 7 with 3 minutes easy, and one cadence/skills day. Keep strength twice weekly; add single‑leg work (split squat) and a glute bridge variation.
Peak practice (Weeks 9–12): Ride 4–5 days/week. One long Zone 2 (45–60 minutes), one VO2‑style session (e.g., 5 x 2 minutes at RPE 8 with 3 minutes easy), one threshold set (2 x 8–10 minutes RPE 7), plus one easy recovery spin. Deload every 4th week by trimming volume 20–30%.
Progress checks: Every 3–4 weeks, repeat a 20‑minute steady ride at the same cadence and RPE; note average HR or power estimate. If HR trends down or power trends up at the same effort, you are adapting. If not, reduce intensity for a week and prioritize sleep.
Client snapshots (anecdotal): “I’m finally riding before the kids wake up because it’s quiet,” said Erin, who moved from two 20‑minute rides to three 35‑minute rides over six weeks. Another client reported numb hands early on; a slightly higher handlebar and light core/bracing cues resolved it.
Linking the system: Cardio builds your engine, strength stabilizes joints for better pedaling, and mobility keeps positions comfortable. Together, they support fat loss, endurance, and day‑to‑day energy.
References & Further Reading
The following peer-reviewed research and authoritative guidelines support the recommendations in this article:
Frequency: Start with 3 rides/week and reach 4–5 if recovery is good. Keep most work easy; sprinkle hard sessions sparingly.
Intensity control: Use RPE or heart rate zones. If intervals spill into the next day’s fatigue, reduce reps before cutting easy volume.
Plateau fixes: Add 10–15 minutes to one easy ride, or insert short tempo blocks (RPE 6) inside a steady ride. Strengthen glutes, quads, and core twice weekly.
Overuse and comfort: Knee pain? Re‑check saddle height and resistance (avoid grinding at very low cadence). Numb hands? Raise bars slightly and alternate hand positions. Saddle soreness? Adjust tilt subtly and consider padded shorts.
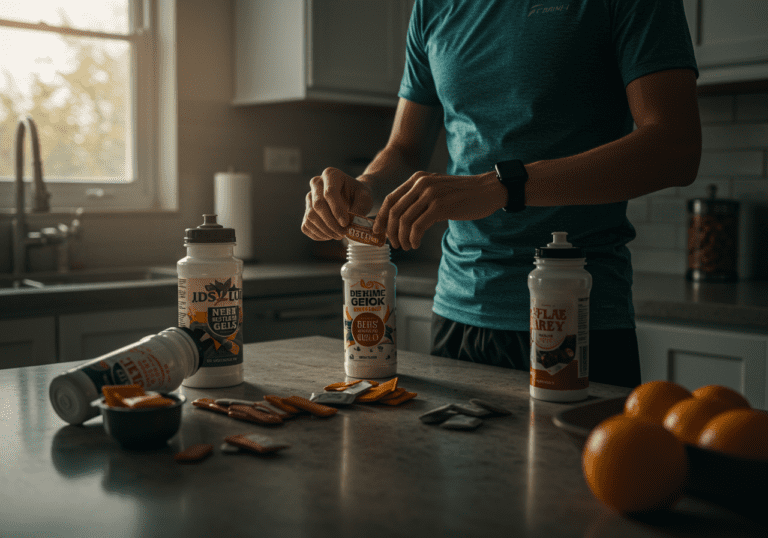
Recovery basics: Aim for 7–9 hours sleep. Hydrate during rides over 45 minutes; a pinch of electrolytes can help in hot rooms. Protein around 1.6–2.2 g/kg/day supports training; center carbs near sessions. If you use supplements, common options are caffeine pre‑ride and creatine for strength—consider personal tolerance and advice from a professional.
Tools that help: Track with Strava or Garmin; fuel and bodyweight with MyFitnessPal; ride apps like Zwift can boost motivation. I like a simple fan and floor mat; they matter more than flashy accessories.
Next steps: Once your setup feels dialed. Keep notes on settings, rides, sleep, and mood—simple tracking keeps progress visible.
Medical Disclaimer: The information provided on this website is for informational and educational purposes only and is not intended as personal medical or health advice. The content, including text, graphics, and images, is not a substitute for professional medical advice, diagnosis, or treatment. Always seek the advice of your physician or other qualified healthcare provider…
Medical Disclaimer: The information provided on this website is for informational and educational purposes only and is not intended as personal medical or health advice. The content, including text, graphics, and images, is not a substitute for professional medical advice, diagnosis, or treatment. Always seek the advice of your physician or other qualified healthcare provider…
Medical Disclaimer: The information provided on this website is for informational and educational purposes only and is not intended as personal medical or health advice. The content, including text, graphics, and images, is not a substitute for professional medical advice, diagnosis, or treatment. Always seek the advice of your physician or other qualified healthcare provider…
Medical Disclaimer: The information provided on this website is for informational and educational purposes only and is not intended as personal medical or health advice. The content, including text, graphics, and images, is not a substitute for professional medical advice, diagnosis, or treatment. Always seek the advice of your physician or other qualified healthcare provider…
Medical Disclaimer: The information provided on this website is for informational and educational purposes only and is not intended as personal medical or health advice. The content, including text, graphics, and images, is not a substitute for professional medical advice, diagnosis, or treatment. Always seek the advice of your physician or other qualified healthcare provider…
Medical Disclaimer: The information provided on this website is for informational and educational purposes only and is not intended as personal medical or health advice. The content, including text, graphics, and images, is not a substitute for professional medical advice, diagnosis, or treatment. Always seek the advice of your physician or other qualified healthcare provider…