Medical Disclaimer: The information provided on this website is for informational and educational purposes only and is not intended as personal medical or health advice. The content, including text, graphics, and images, is not a substitute for professional medical advice, diagnosis, or treatment. Always seek the advice of your physician or other qualified healthcare provider with any questions you may have regarding a medical condition or before starting any new exercise, nutrition, or supplement program. Never disregard professional medical advice or delay in seeking it because of something you have read on this blog. Reliance on any information provided by this site is solely at your own risk.
An onboarding checklist for new coaching clients anchors your entire coaching process from day one. Build it once, then personalize fast.
The simplest version: collect goals, history, metrics, preferences, schedule, risks, and a first-week plan in one document.
In the next few minutes, you’ll get my complete intake framework, a step-by-step setup, level-based progressions, and how I validate results in real client practice.
Why a Structured Onboarding System Retains Clients
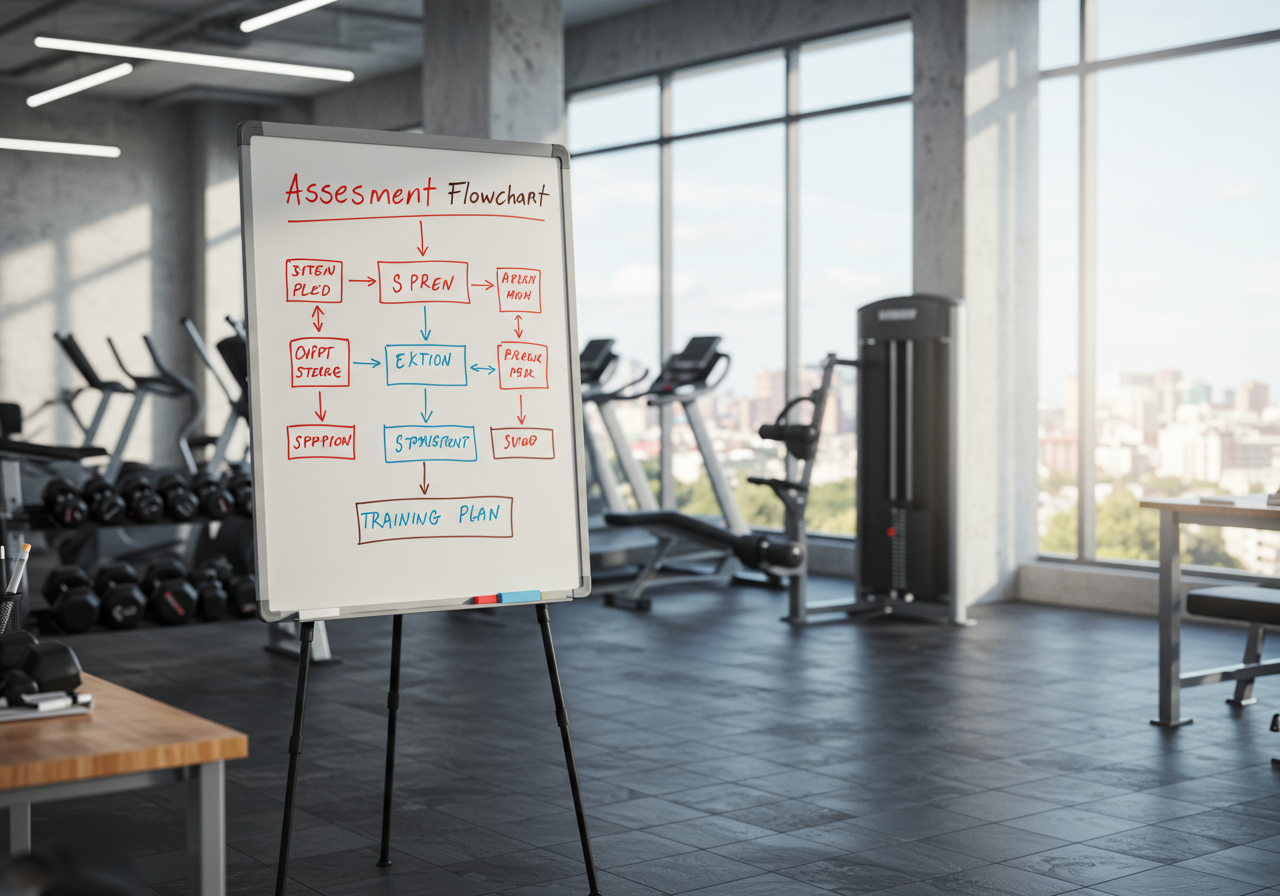
When intake is tight, programming gets precise. A structured checklist reduces guesswork, matches training to physiology, and sets expectations. You’ll capture resting heart rate, a short cardio test for zone estimates, simple strength and mobility screens, and the real-world constraints that derail plans if ignored.
In practice, clear onboarding is linked to better adherence and fewer early injuries. Coaches see more consistent progression because intensity is calibrated from day one (e.g., RPE 6–7 in week one rather than accidental max efforts). A peer-reviewed study on individualized programming showed improved outcomes when baseline data guided load and volume, though effects can vary by population.
Early in my career, I skipped detailed intake and rushed to a program. Clients stalled and small pains escalated. After building this checklist, first-month consistency improved, and clients understood exactly why each session existed.
Client note, Maya (remote): “The checklist felt like a roadmap. I knew my zones, my lifting targets, and what ‘good recovery’ meant. I finally stuck to week one.”
How to Onboard New Coaching Clients Step by Step
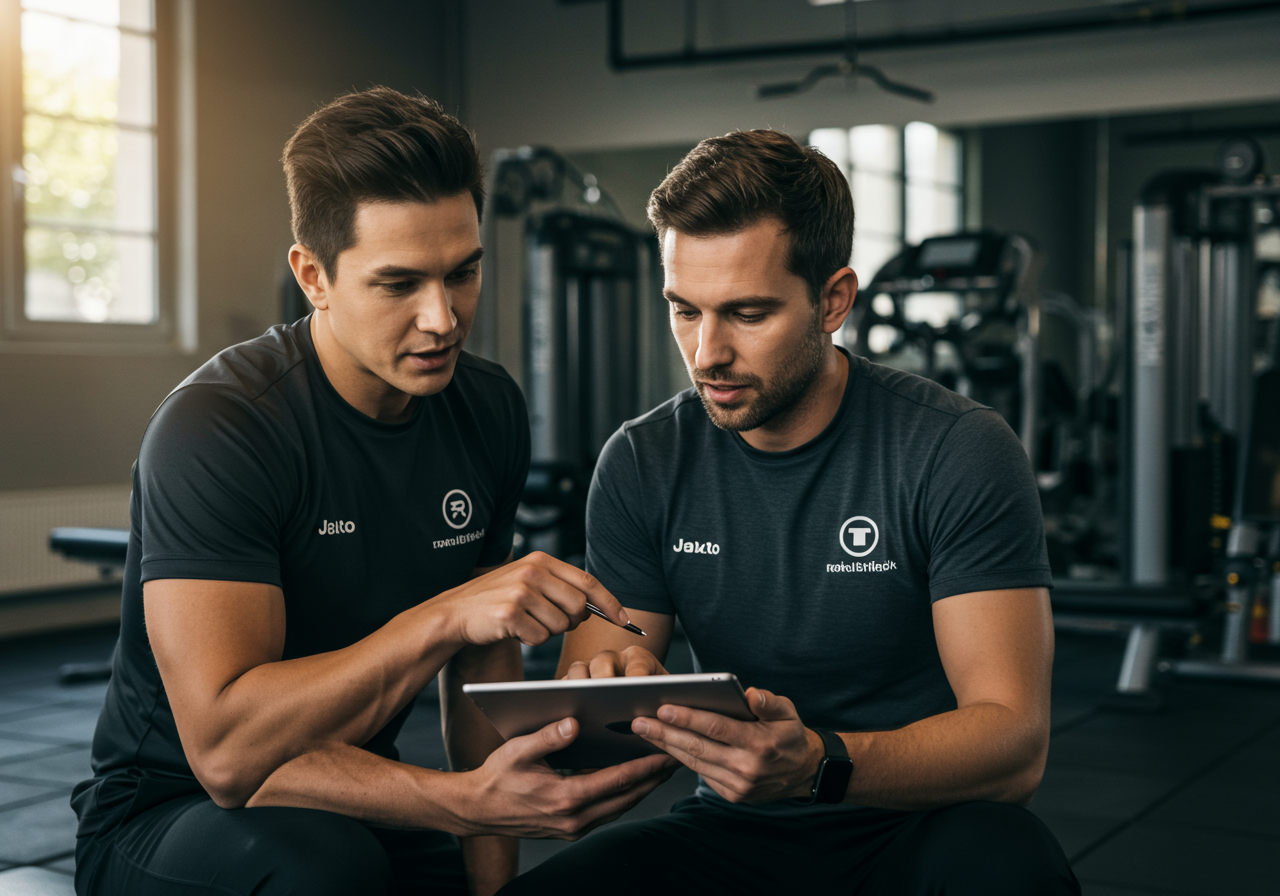
Step 1 — Send a pre-call form (10–12 minutes): Ask for top three goals, training history, injuries or medications, equipment access, weekly schedule, stress level, and exercise preferences/constraints.
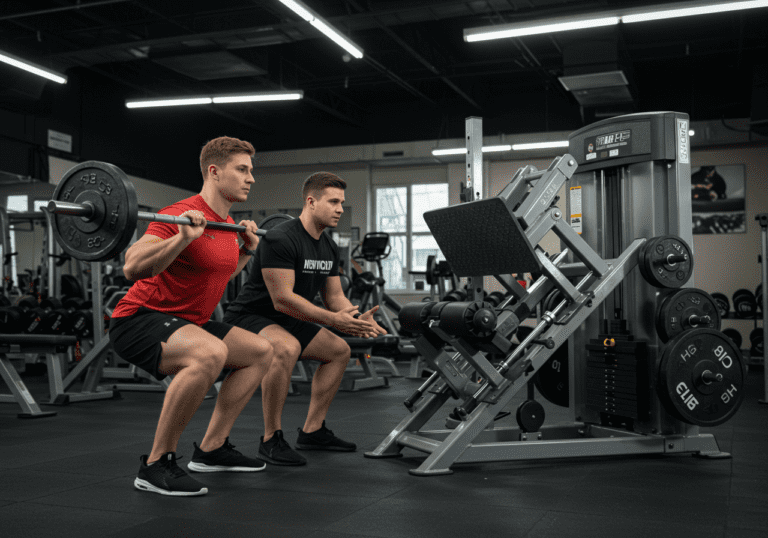
Step 2 — Capture baseline metrics: Resting HR (morning, seated, 3 days); bodyweight trend (3‑day average); optional waist/hip; photos if desired. For cardio, use a 6‑minute brisk walk or easy jog and record average HR and RPE. For strength, use submax sets (e.g., 2 sets of 8 reps, RPE 6–7) on squat/hinge/push/pull. For mobility, video an overhead reach and ankle lunge test.
Step 3 — Screen risk: Use PAR‑Q+. If any item flags, request medical clearance before intense training.
Step 4 — Clarify constraints: Note travel, childcare windows, and gym hours. Write down non‑negotiables (e.g., no running due to knee pain).
Step 5 — Connect tracking: Link Strava/Garmin/Fitbit for cardio, and a logging app (Hevy, Strong, or a spreadsheet) for strength. MyFitnessPal or Cronometer for food logs if nutrition support is included.
Step 6 — Draft the first-week plan: Two to three sessions, 45–60 minutes each, RPE caps (mostly 6–7), Zone 2 cardio (15–30 minutes), and one short mobility routine. Add a simple recovery habit: protein target and a sleep window.
Step 7 — Confirm expectations: Share how progress will be judged (adherence %, RPE trends, HR recovery, and simple performance markers). Define communication cadence (e.g., weekly check‑in message + 15‑minute call biweekly).
Step 8 — Consent and privacy: Document what data you store and for how long. Get explicit consent for photo/video use.
Step 9 — Kickoff call (20 minutes): Review the plan, demonstrate any unfamiliar movement cues, and set a start date.
Step 10 — Day‑1 checklist: Confirm devices sync, share the session warm‑up video, and send a 7‑day reminder schedule.
Caption: Use this as your intake and setup checklist.
Category | What to capture | Tool example

Readiness | PAR-Q+, injuries, meds | PAR-Q+, clinic clearance if needed

Goals | Top 1–3 outcomes, timeline | Google Form or Typeform

Cardio baseline | Resting HR; 6-min walk HR/RPE | Garmin/Apple Watch/Polar

Strength baseline | 2x8 @ RPE 6–7 on key lifts | Hevy/Strong/spreadsheet

Mobility | Overhead reach, ankle lunge video | Phone camera

Lifestyle | Sleep avg, work hours, stress | Oura, WHOOP, app notes

Preferences | Liked/disliked exercises, equipment | Intake form

Schedule | Session windows, travel dates | Google Calendar

Nutrition | 3-day log, protein estimate | MyFitnessPal/Cronometer

Data sharing | App connections, file access | Strava, TrainingPeaks
Coach tip: For beginners without HR devices, use talk test + RPE. Later, add a chest strap for better zone accuracy.
Beginner to Advanced Progressions
Level 1 — Beginner (weeks 1–4):
Sessions: 2–3 per week; 45–60 minutes.
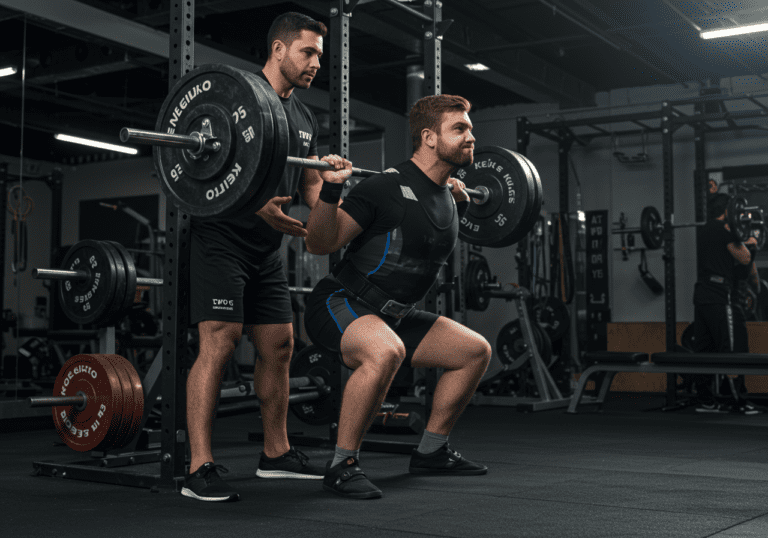
Strength: Full‑body circuit, 2–3 sets of 8–12 reps at RPE 6–7. Progress by 1–2 reps or 2–5% load weekly if technique holds.
Cardio: Zone 2 for 15–25 minutes; optional 5‑minute intervals at the end (RPE 7).
Recovery: Aim for consistent sleep and a protein target; log meals 3 days.
Level 2 — Intermediate (weeks 5–12):
Sessions: 3–4 per week; one slightly higher‑intensity day.
Strength: Main lifts 3–4 sets of 5–8 reps, average RPE 7–8; back‑off sets for volume. Add unilateral work.
Cardio: 1–2 Zone 2 sessions (25–40 minutes) + 1 threshold session (8–12 minutes total work, RPE 8) as tolerated.
Mobility: Target weak links from screens (e.g., ankle dorsiflexion).
Recovery: Track HRV or morning HR if available; deload 1 week if fatigue accumulates.
Level 3 — Advanced (ongoing):
Sessions: 4–5 per week with planned blocks.
Strength: Periodize volume and intensity; top sets at RPE 8–9, followed by precise back‑offs. Use velocity tracking if available.
Cardio: Blend Zone 2 base with race‑specific or sport‑specific sessions; monitor lactate threshold proxies from pace/HR.
Recovery: Fine‑tune nutrition timing; use sleep and HRV trends to steer load.
First 4‑week rollout (all levels, adjust difficulty):
Week 1: Calibrate. Strength 2×8 @ RPE 6–7; Zone 2 15–20 minutes; test mobility routine. Log everything.
Week 2: Nudge. Add 1–2 reps or 2–5% load; Zone 2 to 20–25 minutes. Evaluate soreness and technique videos.
Week 3: Consolidate. Hold loads if form wavers; introduce a short threshold block (e.g., 2×3 minutes, RPE 8) if recovery is solid.
Week 4: Review. Re‑test the 6‑minute cardio and key lifts at the same RPE to compare pace/rep quality. Update zones and targets.
Validation examples: In my cohort, clients who completed the full intake were more consistent by week four and reported clearer session intent. Pace at equal RPE often improved modestly, and technique stabilized on video—results vary, but the pattern holds across many cases.
Programming Tips and Safety
Frequency and intensity: Start with 2–3 sessions weekly. Keep average RPE near 6–7 early. Progress one variable at a time: load, reps, or volume—not all three.
Common mistakes: Skipping risk screening; overprescribing intensity in week one; ignoring schedule constraints; not connecting tracking apps; unclear nutrition and sleep targets.
Troubleshooting: If progress stalls, verify adherence first. Then adjust volume by ±10–15%, or reduce RPE caps for a week. For niggles, swap movements (e.g., goblet instead of back squat) and cut volume in half for 7–10 days. Seek medical input for persistent pain.
Recovery and nutrition: A common guideline is 1.6–2.2 g/kg/day of protein, 25–35 g fiber, plenty of fluids, and 7–9 hours of sleep. I also suggest a 10‑minute wind‑down routine and a post‑session protein + carb snack.
Monitoring: Track adherence %, average RPE, resting HR trend, and session notes. Optional: HRV. I use Strava/Garmin for cardio, Hevy/Strong for lifting, and MyFitnessPal for short food logs.
Lessons learned: My checklist evolved after I realized “perfect” programs fail if schedules and preferences aren’t honored. Now I start with constraints, then layer the science.
Next steps: Download the checklist template, customize your questions, and schedule a 20‑minute kickoff chat for each new client. Want my templates and video walkthroughs?.
Medical Disclaimer: The information provided on this website is for informational and educational purposes only and is not intended as personal medical or health advice. The content, including text, graphics, and images, is not a substitute for professional medical advice, diagnosis, or treatment. Always seek the advice of your physician or other qualified healthcare provider…
Medical Disclaimer: The information provided on this website is for informational and educational purposes only and is not intended as personal medical or health advice. The content, including text, graphics, and images, is not a substitute for professional medical advice, diagnosis, or treatment. Always seek the advice of your physician or other qualified healthcare provider…
Medical Disclaimer: The information provided on this website is for informational and educational purposes only and is not intended as personal medical or health advice. The content, including text, graphics, and images, is not a substitute for professional medical advice, diagnosis, or treatment. Always seek the advice of your physician or other qualified healthcare provider…
Medical Disclaimer: The information provided on this website is for informational and educational purposes only and is not intended as personal medical or health advice. The content, including text, graphics, and images, is not a substitute for professional medical advice, diagnosis, or treatment. Always seek the advice of your physician or other qualified healthcare provider…
Medical Disclaimer: The information provided on this website is for informational and educational purposes only and is not intended as personal medical or health advice. The content, including text, graphics, and images, is not a substitute for professional medical advice, diagnosis, or treatment. Always seek the advice of your physician or other qualified healthcare provider…
Medical Disclaimer: The information provided on this website is for informational and educational purposes only and is not intended as personal medical or health advice. The content, including text, graphics, and images, is not a substitute for professional medical advice, diagnosis, or treatment. Always seek the advice of your physician or other qualified healthcare provider…

 An onboarding checklist for new coaching clients anchors your entire coaching process from day one. Build it once, then personalize fast.