Save Training Time with Compression and Elevation Cycles
How to use compression and elevation for acute swelling can save training time and protect healing tissue. Apply snug compression and raise the limb above heart level for 20–30 minutes, 3–6 times daily.
In this guide, you’ll learn the exact wrap method, elevation angles, safe movement pairings, and step-by-step progressions. I’ll show you how I keep clients training—cardio, strength, and mobility—while swelling calms down.
Evidence Shows Early Edema Control Improves Joint Function
Swelling increases tissue pressure and limits motion. Compression provides external support that reduces fluid accumulation, while elevation uses gravity to help venous and lymphatic return. Combined, they can lower pain, restore range, and improve joint position sense so you can move sooner and safer.
In practice and in peer‑reviewed reports, early edema control is associated with better short-term function. We still respect healing timelines, but smart compression/elevation keeps the environment favorable for recovery and training modifications. Clinically, I’ve seen beginners regain pain‑free range faster when they pair gentle movement with well-dosed compression cycles.
Master Wrap Technique and Two-Finger Safety Test
Screen first: seek urgent care for severe deformity, inability to bear weight, unusual numbness, rapidly increasing pain, or signs of infection.
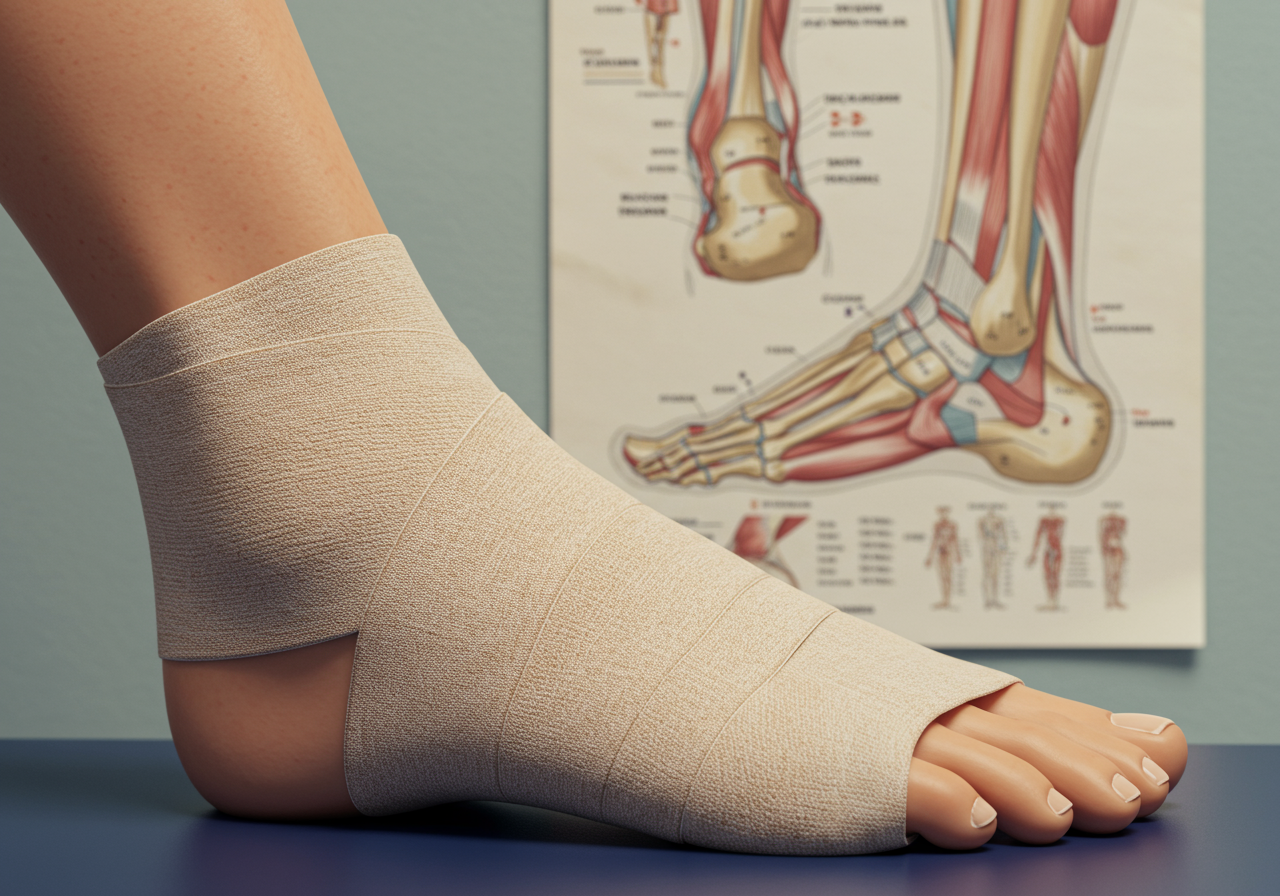
Choose the tool: elastic bandage, short‑stretch wrap, or a graded compression sleeve. Avoid anything that feels tourniquet‑tight.
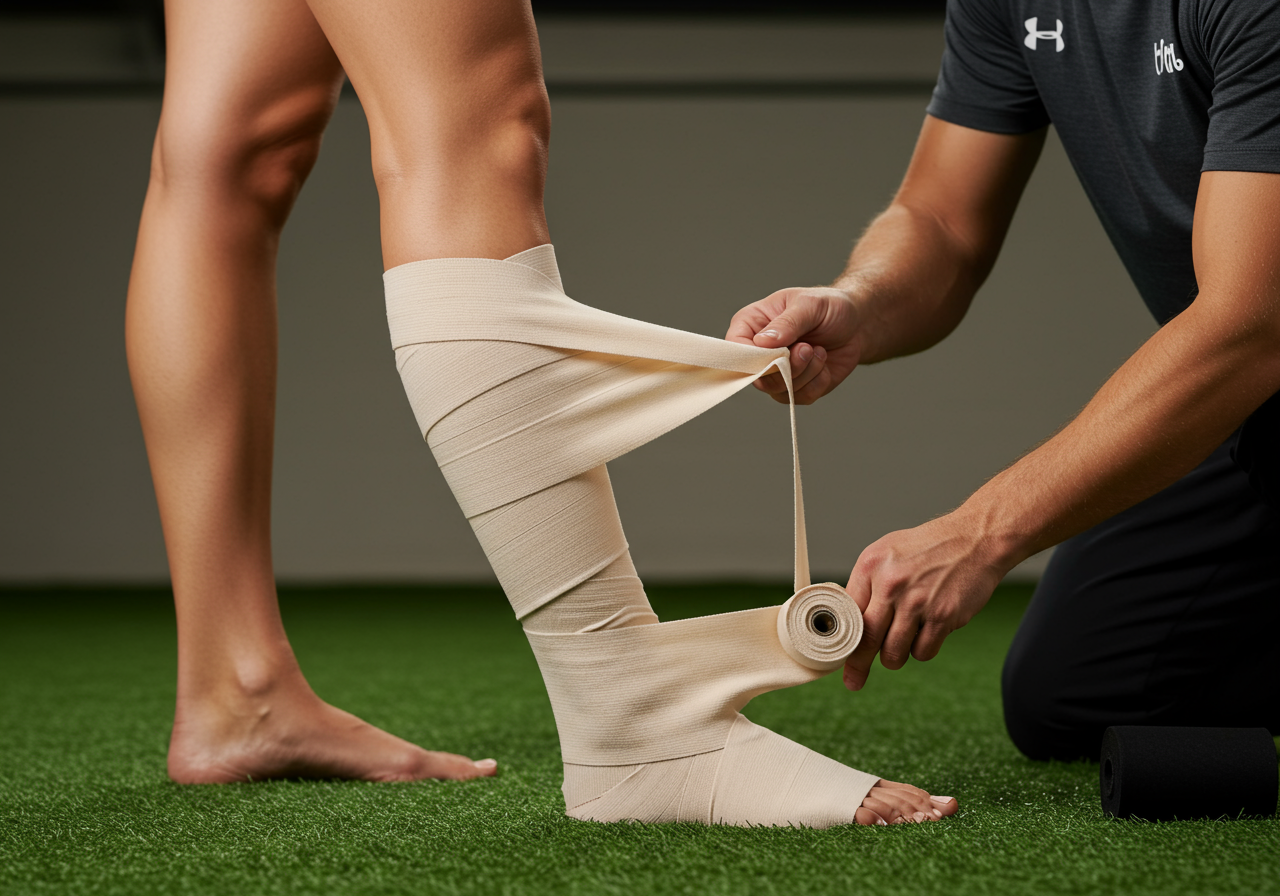
Wrap technique (distal to proximal): start farthest from the heart and spiral upward with ~50% overlap. Apply gentle stretch—firm, not biting. Leave fingers/toes visible when possible. Perform the two‑finger test: you should slide two fingers under the wrap. If you feel pins and needles, coldness, or color change, loosen immediately.
Dosage: use cycles. Typical starting point is 20–30 minutes on, 60–90 minutes off, 3–6 times daily. Re‑apply after activity. For sleeves, wear during activity and early post‑activity, then reassess comfort.
Elevation setup: position the limb 6–12 inches above heart level. Keep joints in neutral alignment with pillows. Every 2–3 minutes, perform gentle muscle pumps (e.g., ankle pumps, quad sets, hand opens/closes). Add slow nasal‑diaphragmatic breathing to aid venous return.
Movement pairings while you heal:
Isometrics: 5–10 pain‑free contractions x 5–10 seconds, 2–3 rounds daily (e.g., quad set for knee, calf set for ankle, grip squeeze for wrist).
Active range: small circles and flex‑extend within a pain‑respecting range for 60–120 seconds, 2–3 times daily.
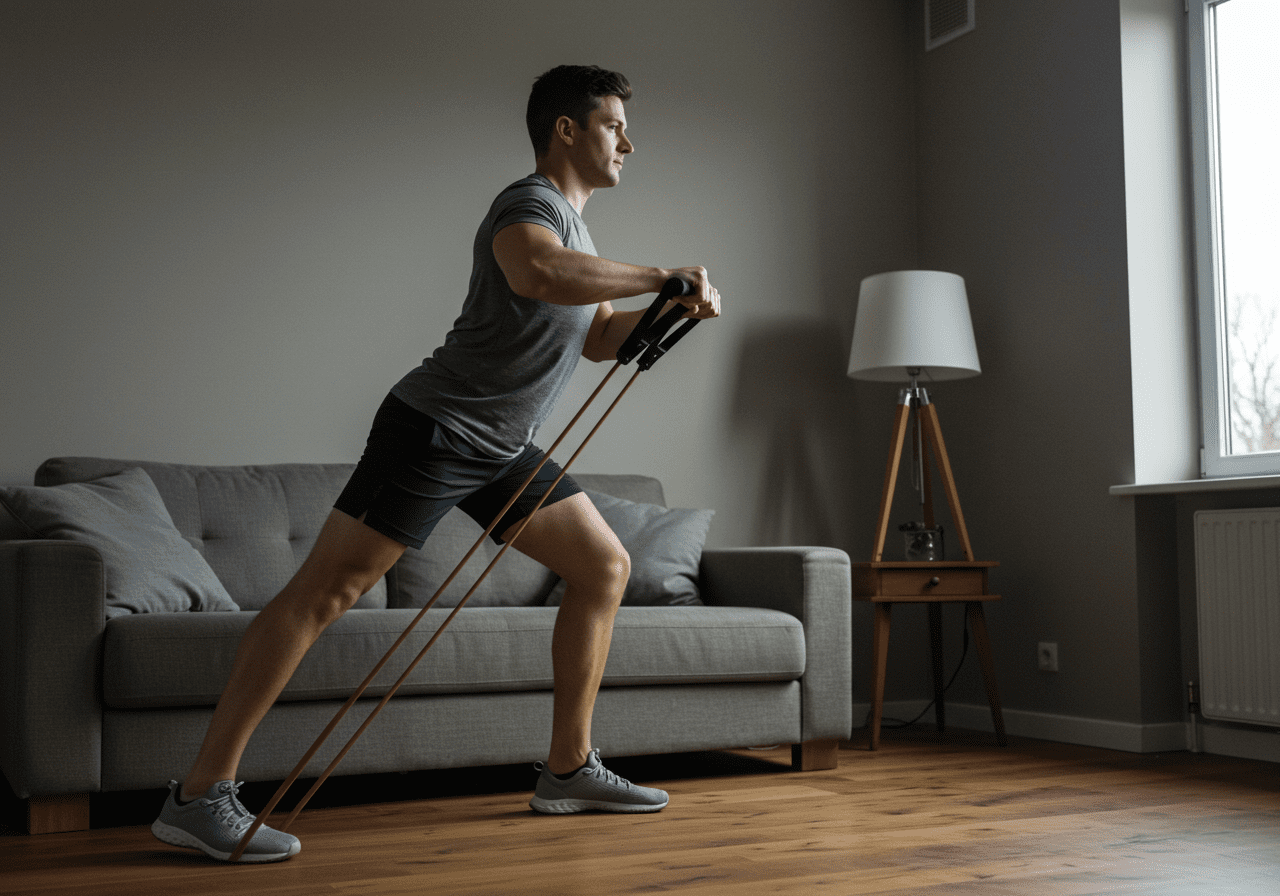
Cardio: choose a modality that unloads the area. Examples: upper‑body ergometer or seated bike with low resistance. Aim Zone 2 effort (conversational pace) for 10–20 minutes. I use Garmin to keep heart rate around easy-to-moderate.
Strength maintenance: train non‑injured areas normally. Add core and contralateral work (e.g., single‑arm presses, hip hinges) while protecting the affected limb.
Track results: measure limb circumference at a consistent landmark (e.g., 10 cm above the malleolus), take same‑time‑of‑day photos, and log pain (0–10), motion, and step count. Apps I like: Strava or Garmin for activity, a phone note or spreadsheet for swelling measures, and MyFitnessPal to keep protein on point.
Fuel and recovery: prioritize protein (about a palm per meal), colorful produce, fluids, and sleep (7–9 hours). If you use collagen, some coaches pair 10–15 g with vitamin C ~30–60 minutes before rehab sessions; the evidence is mixed, but I’ve seen it help compliance and routine.
Client note: “I kept my sleeve on during walks and elevated after. My ankle looked smaller each morning, and I could do pain‑free calf sets by day three.”
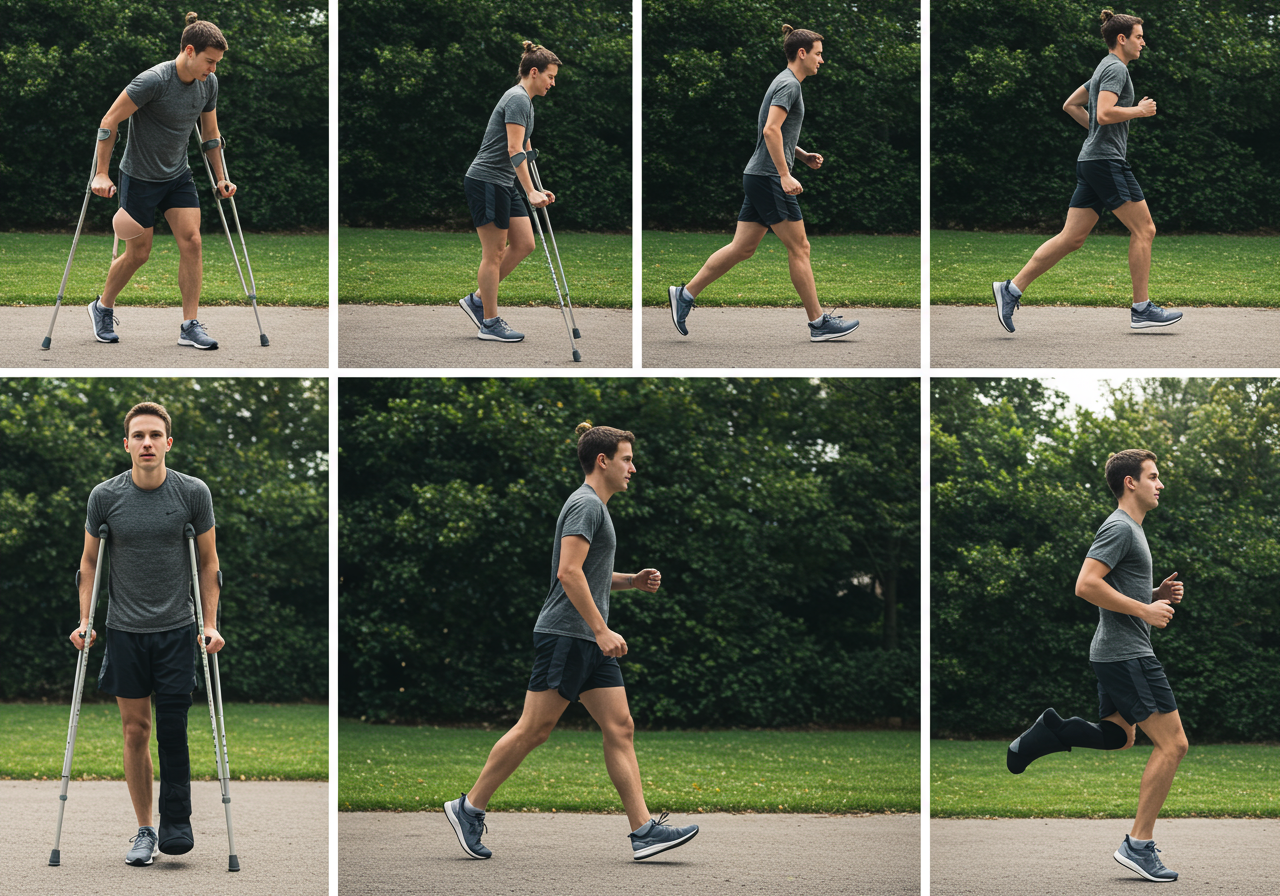
Four-Stage Return Protocol from Protection to Sport-Specific
Use the phases below as a guide. Advance only if swelling is trending down, pain ≤3/10 during and after, and morning stiffness improves.
Return-to-training stages and criteria (plain-text table): Stage 1 (0–48h): Protect. Compression/elevation cycles 3–6x/day; gentle pumps and isometrics; upper‑body cardio 10–15 min Zone 2. Stop if pain spikes >3/10. Stage 2 (48–96h): Continue cycles. Add active range 2–3x/day, isometrics 2–3 rounds/day; 15–20 min Zone 2 (unloaded). Wrap during activity. Stage 3 (Days 3–7): Reduce elevation frequency as morning measures improve. Light resistance for surrounding muscles; 20–25 min Zone 2. Walk tolerance test: no swelling rebound next morning. Stage 4 (Week 2–3): Introduce tempo strength (2–3 sets, RPE 5–6) for the limb; balance drills 3–5 minutes. Cardio 20–30 min Zone 2–3. Criteria: circumference difference < ~1 cm; gait normalized. Stage 5 (Weeks 3–6): Gradual return to running/lifting (intervals or 5–10% load jumps). No 24‑hour swelling rebound or pain >3/10; resume sport skills.
Example weekly flow (modify to body part):
Mon: Wrap + elevate AM; isometrics; upper‑body strength. PM: 20 min Zone 2.
Wed: Wrap during walk; mobility circuit; core and single‑arm/leg strength.
Fri: Light resistance on injured limb if criteria met; 20–25 min Zone 2–3.
Daily: Measure circumference once, same time. If next‑day size increases, step back a phase.
In similar beginner cases, I’ve seen swelling reductions across a week and a smooth transition to strength at RPE 5–6 without flare‑ups when criteria were followed.
Track Morning Metrics and Avoid Common Wrapping Mistakes
Frequency: 3–6 compression/elevation cycles early on, tapering as morning measures normalize. Intensity: pain‑limited movement, usually RPE 3–6 until swelling settles.
Common mistakes: wrapping too tight, skipping movement, applying heat or alcohol early, and returning to impact before the morning check clears. If tingling, coldness, or color changes occur, loosen or remove the wrap and reassess.
Monitoring: track one metric daily—circumference, pain at end‑range, or step count. If any worsens two days in a row, reduce load and increase recovery. Sleep 7–9 hours and keep protein high to support tissue repair.
When to get help: sudden sharp pain, instability, locking, or swelling that worsens despite rest and compression merit a clinical evaluation. For a printable checklist and sample logs, subscribe to my newsletter—I send the exact templates I use with clients.
Build Your Weekly Plan in Minutes A weekly cardio plan can be built in minutes and scaled to any schedule. You’ll learn how to pick session types, set heart rate zones, and progress safely. Direct answer: Set 3–5 sessions, mix zones 2–5, start with 90–150 weekly minutes, and add 5–10% time or intensity every 1–2…
Build Your Weekly Training and Recovery Schedule This recovery tools buying guide sits inside a full training plan that blends cardio, strength, and mobility for consistent results. Quick answer: Start with a firm foam roller and a mid-pressure massage ball, train 3–4 days weekly, track effort, and sleep 7–9 hours. You will learn how to…
Dynamic Warm-Ups and Strategic Cool-Downs for HIIT Warm-up and cool-down decide whether high-intensity cardio feels sharp or sloppy. Today you’ll get a complete system that scales from beginner to advanced. The best approach is 10–12 minutes of dynamic ramp-up and 8–10 minutes of easy aerobic plus breathing and light mobility afterward. You’ll learn why these…
Compound Lifts Build Strength, Isolations Refine Details Compound vs Isolation Movements decide how fast you gain strength, muscle, and resilience. I’ll show you when each shines and how to blend them. Quick answer: Base training on compound lifts, then plug isolation where you need joint-friendly volume, symmetry, or rehab-friendly workload. You’ll leave with a full…
Build engagement through small wins and progression A 30-day challenge can keep users engaged when it blends simple wins with steady progression, clear tracking, and recovery. Build it by mixing small daily wins, progressive difficulty, and clear tracking. In this guide you’ll get a complete template: cardio, strength, mobility, and activity days; level-based progressions; tracking…
Three-Phase Periodization Loop for Real-World Client Progress Implement periodization into client programming easily to replace guesswork with a clear plan that fits real lives. The simplest approach is a three-phase loop: build volume, raise intensity, then deload for one week, repeating every 8–12 weeks. In this guide, you’ll see a complete system I use with…