Medical Disclaimer: The information provided on this website is for informational and educational purposes only and is not intended as personal medical or health advice. The content, including text, graphics, and images, is not a substitute for professional medical advice, diagnosis, or treatment. Always seek the advice of your physician or other qualified healthcare provider with any questions you may have regarding a medical condition or before starting any new exercise, nutrition, or supplement program. Never disregard professional medical advice or delay in seeking it because of something you have read on this blog. Reliance on any information provided by this site is solely at your own risk.
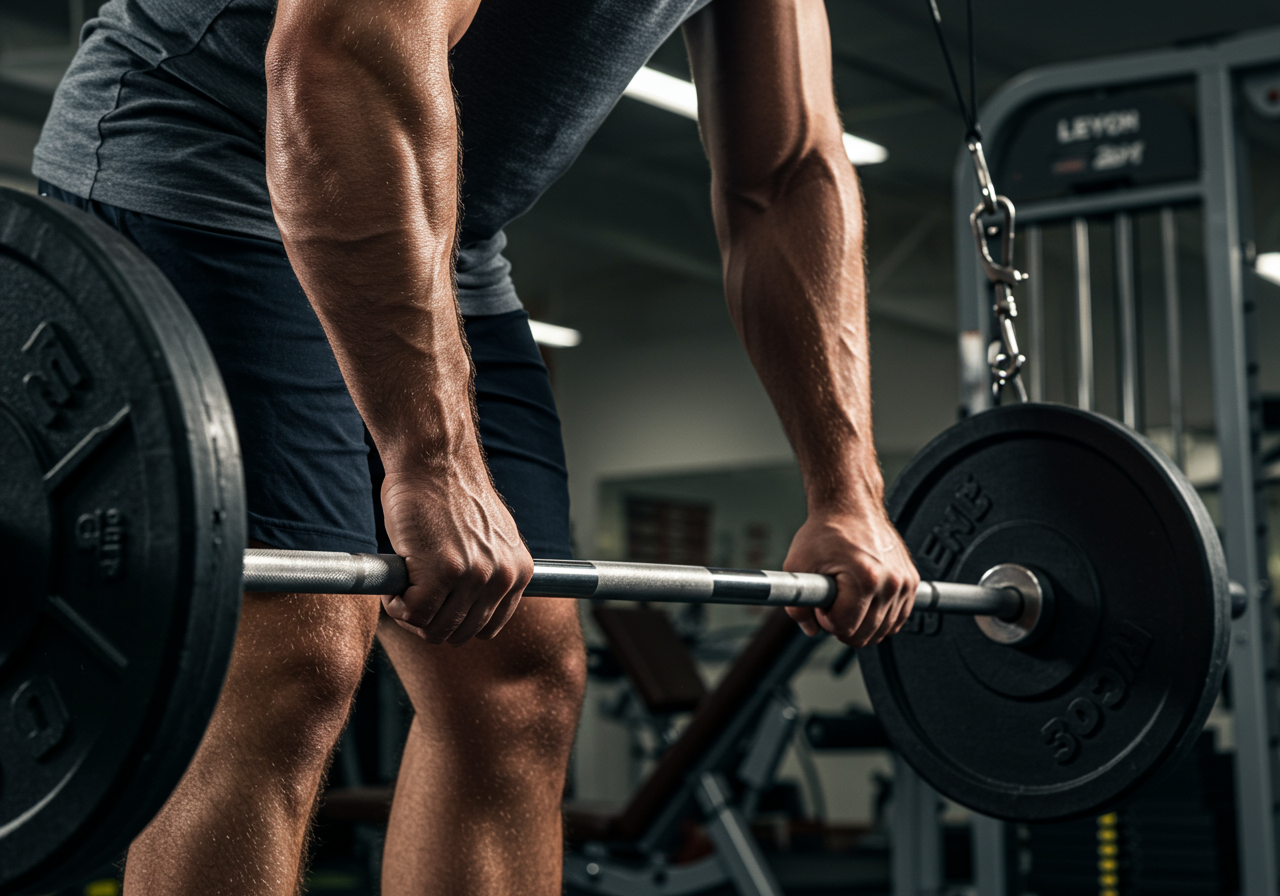
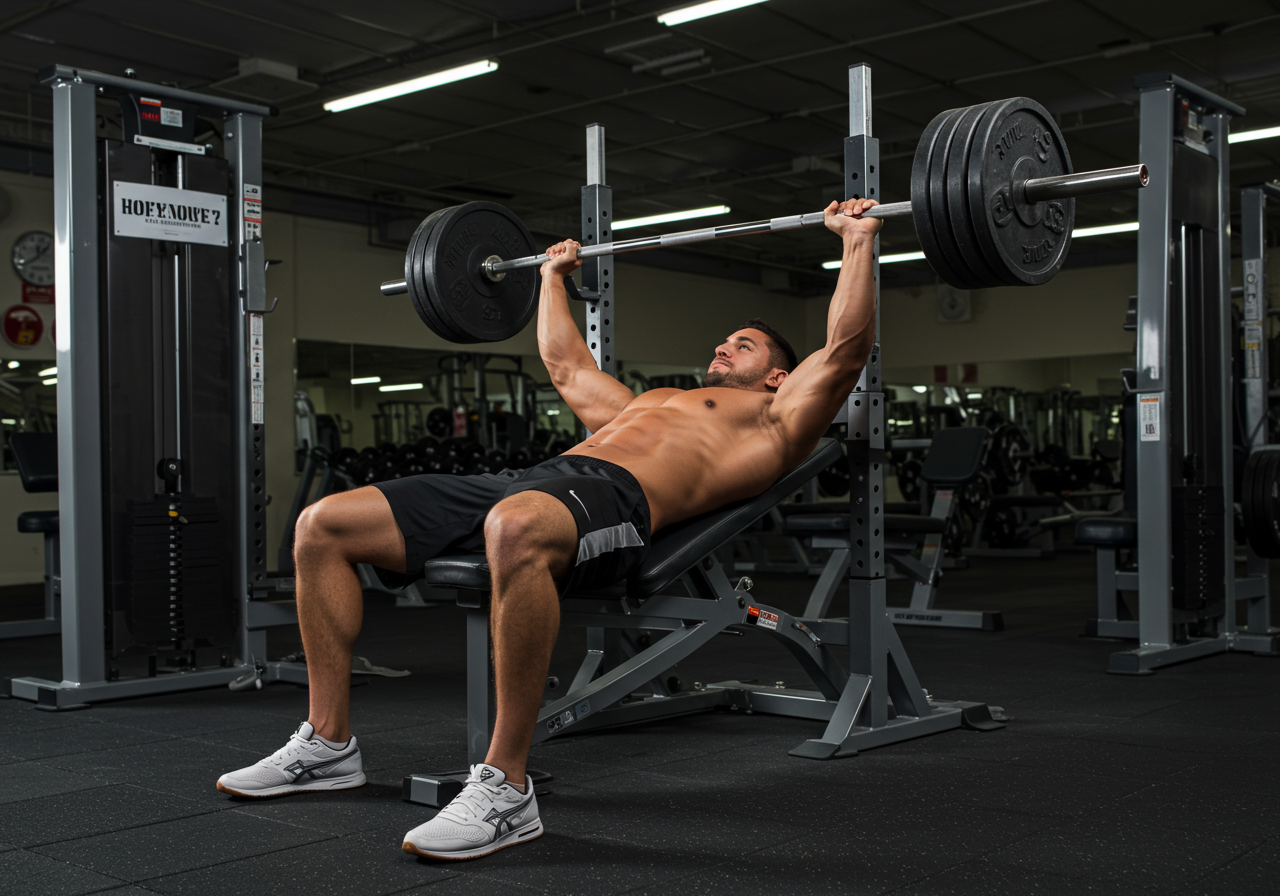
Barbell vs Machine can feel confusing when you are new to training. Use barbells to build maximal strength and skill; use machines to target muscles safely and consistently.
In this guide, you will learn a simple system to match tools to your goals, plan sessions, progress week by week, and validate results with easy tracking, recovery habits, and real-world examples from my coaching practice.
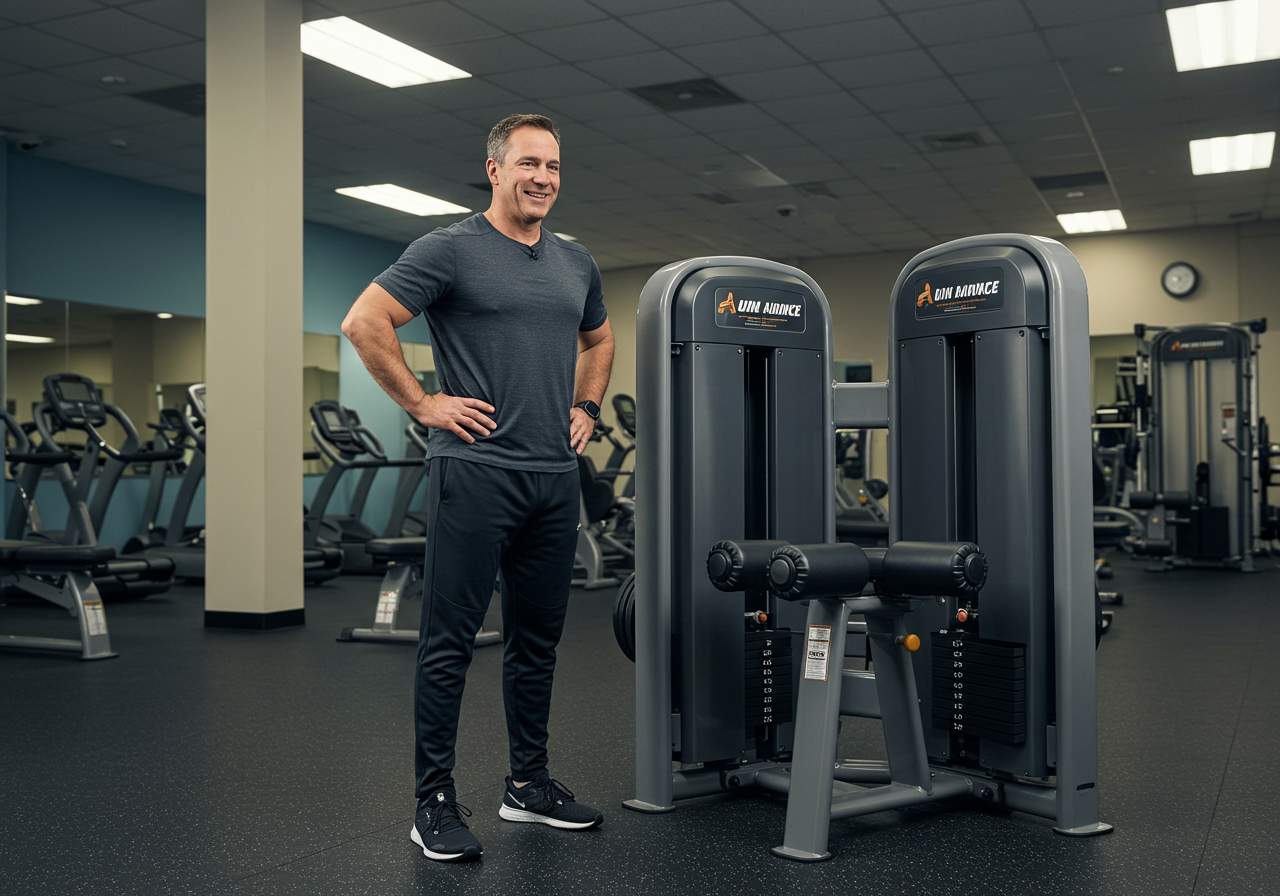
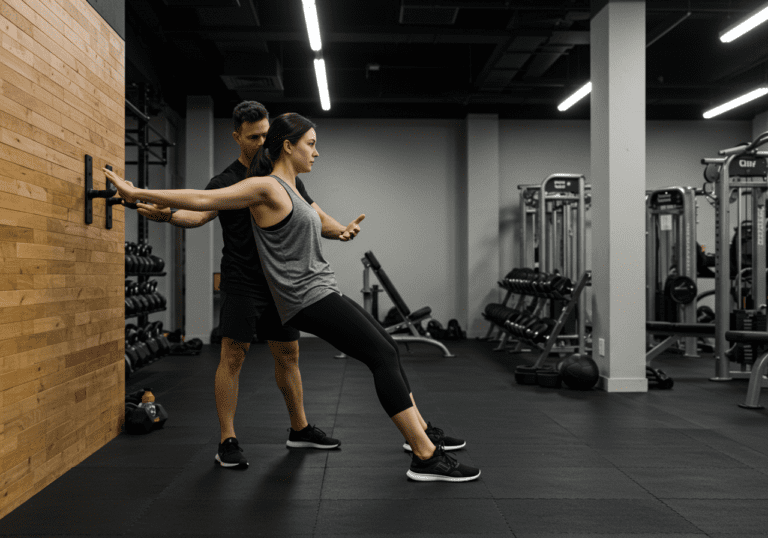
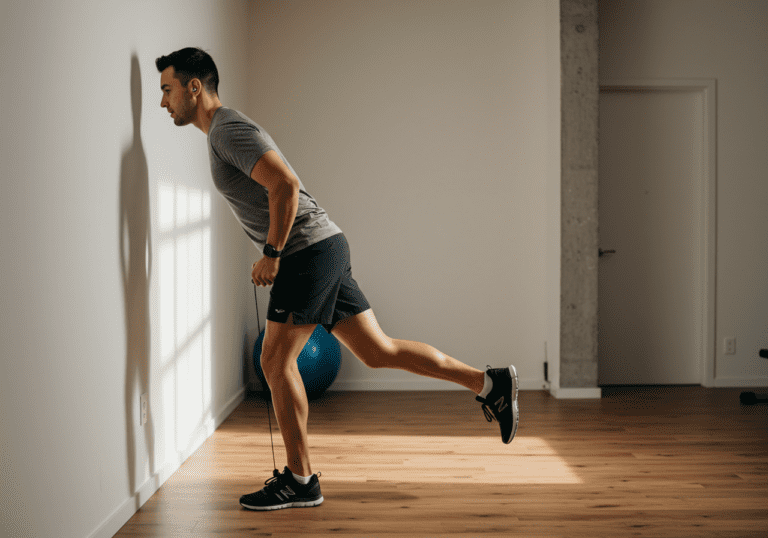
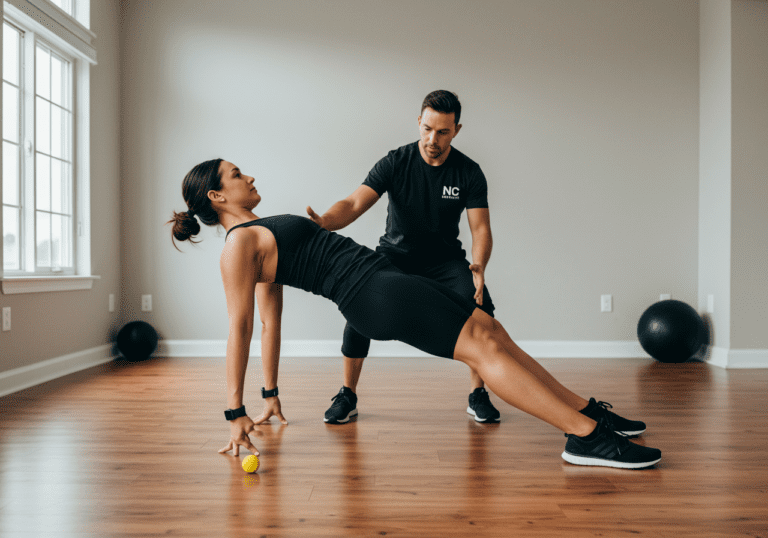
Barbells challenge stability and coordination while loading the entire kinetic chain. That makes them ideal for building maximal strength, bone density, and movement skill. Machines guide the path and reduce balance demands, which helps isolate muscles, extend sets safely, and keep tension on target tissues even when you are fatigued.
In practice and in peer-reviewed comparisons, hypertrophy outcomes are often similar when effort and volume are matched. Barbells may better develop intermuscular coordination and force production; machines often improve mind–muscle connection and joint comfort. For beginners or during rehab phases, machines can deliver reliable stimulus with lower technical risk.
Energy and time also matter. Machines can shorten setup and let you accumulate volume without spotters. Barbells teach transferable skills for daily life—lifting, bracing, and controlling load in space. Both tools belong in a complete program; the mix depends on your goal, tolerance, and schedule.
Client note: Maya, a busy nurse, started with machine-dominant lower body work while learning barbell technique twice weekly. Over 12 weeks, her estimated squat 5RM rose roughly 10%, and knee pain stayed quiet. She reported feeling more confident moving patients at work.
How to Choose and Program Each Tool
Step 1 — Set your goal (choose one primary):
Max strength and skill: prioritize barbell compounds; keep machine volume as supportive accessories.
Muscle gain and shape: blend both; use machines for extra sets near failure safely.
Joint-friendly fat loss or return-to-training: start machine-heavy; sprinkle in barbells you can perform pain-free.
Step 2 — Map each movement pattern to a tool:
Squat: barbell back/front squat; or machine hack squat/leg press.
Hinge: barbell deadlift/RDL; or machine hamstring curl/back extension.
Horizontal push: barbell bench; or machine chest press.
Horizontal pull: barbell row; or cable/machine row.
Vertical push: barbell overhead press; or machine shoulder press.
Vertical pull: pull-up/lat pulldown; or assisted pull-up machine.
Carry/core: farmer carry/pallof press; or machine crunch/back extension.
Step 3 — Session layout (45–60 minutes):
Warm-up — 5–8 minutes: easy cardio, dynamic hips/shoulders, and 2–3 lighter ramp-up sets for your first lift.
Main lift (barbell or machine based on goal) — 3–5 sets of 3–8 reps at RPE 6–8. Rest 2–3 minutes.
Secondary lift — 3–4 sets of 6–10 reps at RPE 7–9. Machines shine here for safe fatigue.
Accessories — 10–15 total sets across 3–5 moves. Choose machines or dumbbells to hit weak links.
Conditioning — 8–12 minutes: bike or rower in Zone 2–3; finish with light mobility for the trained areas.
Step 4 — Load selection and cues:
Pick a weight you can lift with 2–3 reps in reserve (RIR) on the first set. If last set has 0–1 RIR, progress next time.
Barbell cues: brace 360°, keep bar close, and use full-foot pressure. Machines: align joint with machine pivot, control tempo, squeeze end ranges.
Step 5 — Track and review:
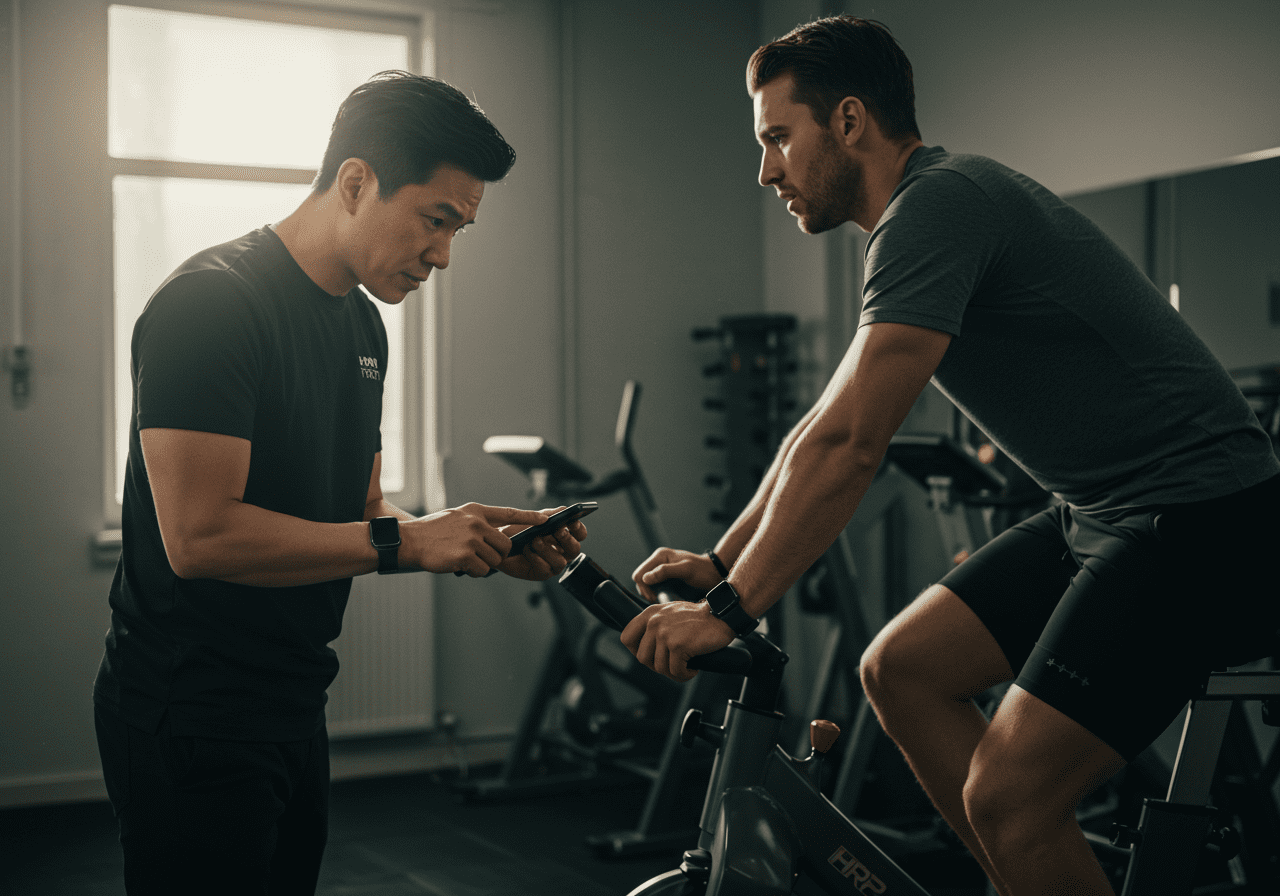
Log sets/reps/RPE in Strong or Trainerize. Track HR and sleep with Garmin or Fitbit. Use MyFitnessPal for protein.
Weekly check-in: average RPE, mood, and steps. If you hit all planned reps with RPE ≤7, add 2–5% next week.
Step 6 — Nutrition & recovery (simple rules):
Protein 1.6–2.2 g/kg/day; carbs around training; healthy fats to fill calories.
Hydration: clear urine most of the day. Sleep 7–9 hours.
Supplements (if appropriate): creatine monohydrate 3–5 g/day; caffeine pre-workout if you tolerate it.
Coach lesson learned: I used to push barbells for everything. Adding machine volume let clients train hard without beating up joints, especially during busy or stressful weeks.
Beginner to Advanced Progressions
Use this phased outline to scale from learning technique to pushing performance. Adjust loads by RPE/RIR and your recovery.
Caption: Level-by-level progression mixing barbells and machines with RPE and HR zones.
Beginner Weeks 1–4: 3 full-body days. 1–2 barbell lifts/session at RPE 6–7; machines for 8–12 reps at RPE 7–8. Conditioning: 10 min Zone 2–3. Focus: technique and consistency. Beginner Weeks 5–8: Add one set to main lifts. Keep one machine move per muscle near RPE 9 for the final set. Conditioning: 12–15 min Zone 2 plus 30–60 sec Zone 4 finishers. Beginner Weeks 9–12: Alternate heavy/light sessions. Heavy day: barbell 4×4 @ RPE 8; Light day: machines 3×12 @ RPE 7–8. Optional test: AMRAP set with 2 RIR.
Intermediate Weeks 1–4: Lower/Upper split. Lower: barbell squat + machine leg press; Upper: barbell bench + cable row. Main sets 5×5 @ RPE 7–8. Conditioning: 2x/week Zone 2 (20 min). Intermediate Weeks 5–8: Rotate lifts weekly (e.g., front squat for back squat). Add a back-off machine set to near-failure (0–1 RIR). Deload every 4th week by cutting volume ~40%. Intermediate Weeks 9–12: Emphasize weak links: add 6–8 sets/week on lagging muscles via machines. Barbell top sets 3–5 reps @ RPE 8–9.
Advanced Weeks 1–4: Daily Undulating Pattern. Day A strength barbell 3–5 reps; Day B hypertrophy machines 10–15 reps; Day C power technique work. Total hard sets per muscle: 12–18/week. Advanced Weeks 5–8: Specialize one lift (e.g., squat). Keep barbell volume specific; move extra volume to machines to spare joints. Conditioning stays low: 1–2 easy Zone 2 sessions 15–25 min. Advanced Week 9: Deload. Reduce sets by 50%, keep movement patterns, no sets above RPE 6. Week 10+: Retest and cycle emphasis.
Signals to advance: you complete all planned reps at ≤RPE 7 for two consecutive weeks; technique remains crisp; morning energy and appetite are steady.
References & Further Reading
The following peer-reviewed research and authoritative guidelines support the recommendations in this article:
Frequency & balance: Start with 3 days/week full-body. Include 1–2 barbell compounds per session, then machines for safe volume. Add a 4th day only when recovery is solid.
Intensity & monitoring: Use RPE/RIR to self-regulate. Most work at RPE 6–8, with 1–2 machine sets near RPE 9 when fresh. For cardio, stay mostly Zone 2; sprinkle short Zone 4 doses. If HRV and sleep tank for 3+ days, cut volume.
Safety musts: Use safeties/spotters for barbell presses and squats. Ramp-up sets matter. On machines, match seat height and joint alignment; control eccentric phases.
Troubleshooting:
Plateau: add one machine set for the lagging muscle, or switch the barbell variant for fresh stimulus for 3–4 weeks.
Overuse aches: swap a barbell pattern for its machine counterpart temporarily (e.g., hack squat for back squat). Keep intensity modest and restore range of motion.
Motivation dip: shorten sessions to 30 minutes—one barbell lift, two machine supersets, 8 minutes Zone 2. Momentum beats perfection.
Recovery & fuel: Keep protein high, carbs around training, and sleep 7–9 hours. A brief walk after meals aids digestion and recovery. Creatine helps most lifters; check with your clinician if unsure.
Validation in practice: Across my last two 8–12 week client blocks using this mix, lifters maintained technique under heavier barbell loads while adding machine volume without flare-ups. In my latest mesocycle, I kept deadlifts at RPE 7 and chased leg press near-failure; knee stress was lower, and weekly volume climbed steadily.
Next steps: Save this framework, log every session, and review weekly. If you want a printable template and video cues.
Medical Disclaimer: The information provided on this website is for informational and educational purposes only and is not intended as personal medical or health advice. The content, including text, graphics, and images, is not a substitute for professional medical advice, diagnosis, or treatment. Always seek the advice of your physician or other qualified healthcare provider…
Medical Disclaimer: The information provided on this website is for informational and educational purposes only and is not intended as personal medical or health advice. The content, including text, graphics, and images, is not a substitute for professional medical advice, diagnosis, or treatment. Always seek the advice of your physician or other qualified healthcare provider…
Medical Disclaimer: The information provided on this website is for informational and educational purposes only and is not intended as personal medical or health advice. The content, including text, graphics, and images, is not a substitute for professional medical advice, diagnosis, or treatment. Always seek the advice of your physician or other qualified healthcare provider…
Medical Disclaimer: The information provided on this website is for informational and educational purposes only and is not intended as personal medical or health advice. The content, including text, graphics, and images, is not a substitute for professional medical advice, diagnosis, or treatment. Always seek the advice of your physician or other qualified healthcare provider…
Medical Disclaimer: The information provided on this website is for informational and educational purposes only and is not intended as personal medical or health advice. The content, including text, graphics, and images, is not a substitute for professional medical advice, diagnosis, or treatment. Always seek the advice of your physician or other qualified healthcare provider…
Medical Disclaimer: The information provided on this website is for informational and educational purposes only and is not intended as personal medical or health advice. The content, including text, graphics, and images, is not a substitute for professional medical advice, diagnosis, or treatment. Always seek the advice of your physician or other qualified healthcare provider…
 Barbell vs Machine can feel confusing when you are new to training. Use barbells to build maximal strength and skill; use machines to target muscles safely and consistently.