Medical Disclaimer: The information provided on this website is for informational and educational purposes only and is not intended as personal medical or health advice. The content, including text, graphics, and images, is not a substitute for professional medical advice, diagnosis, or treatment. Always seek the advice of your physician or other qualified healthcare provider with any questions you may have regarding a medical condition or before starting any new exercise, nutrition, or supplement program. Never disregard professional medical advice or delay in seeking it because of something you have read on this blog. Reliance on any information provided by this site is solely at your own risk.
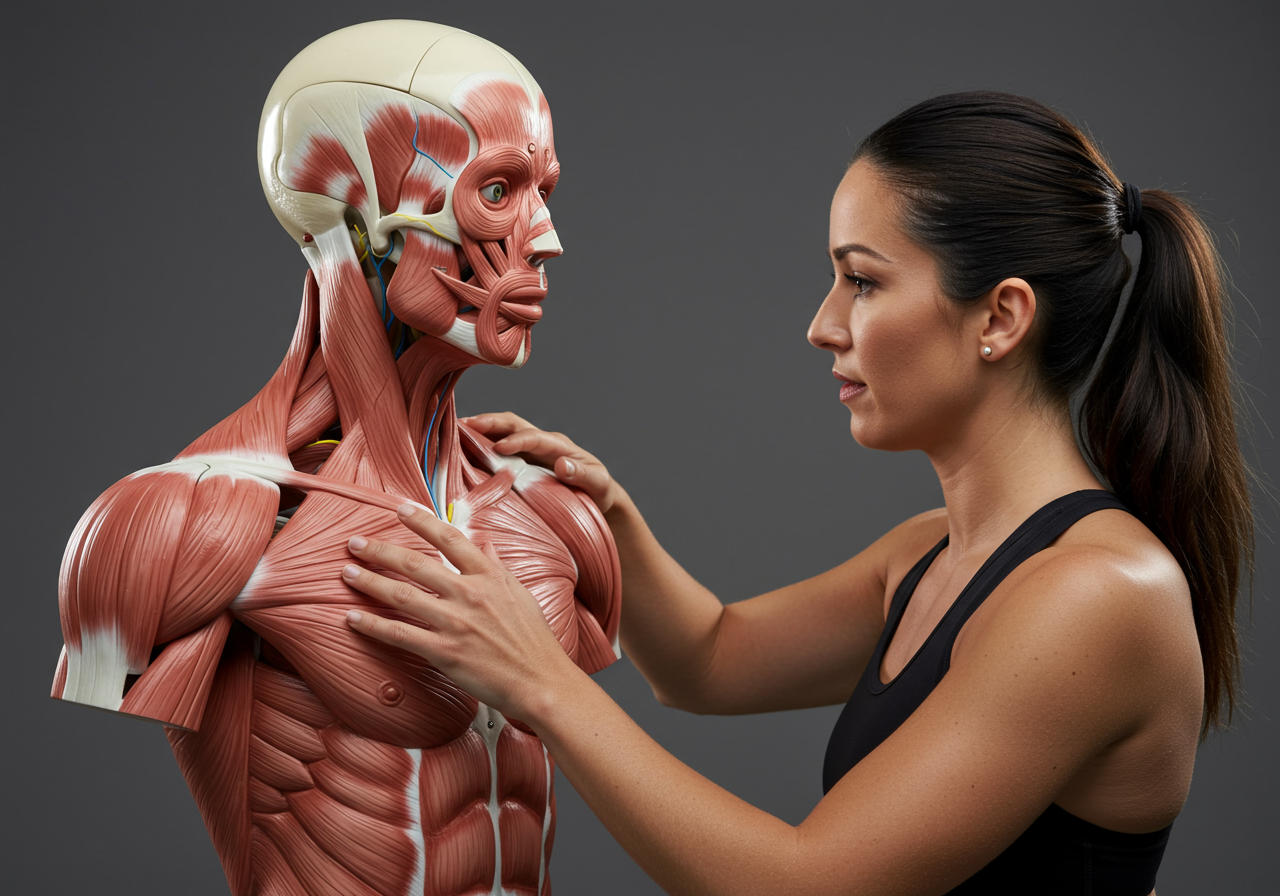
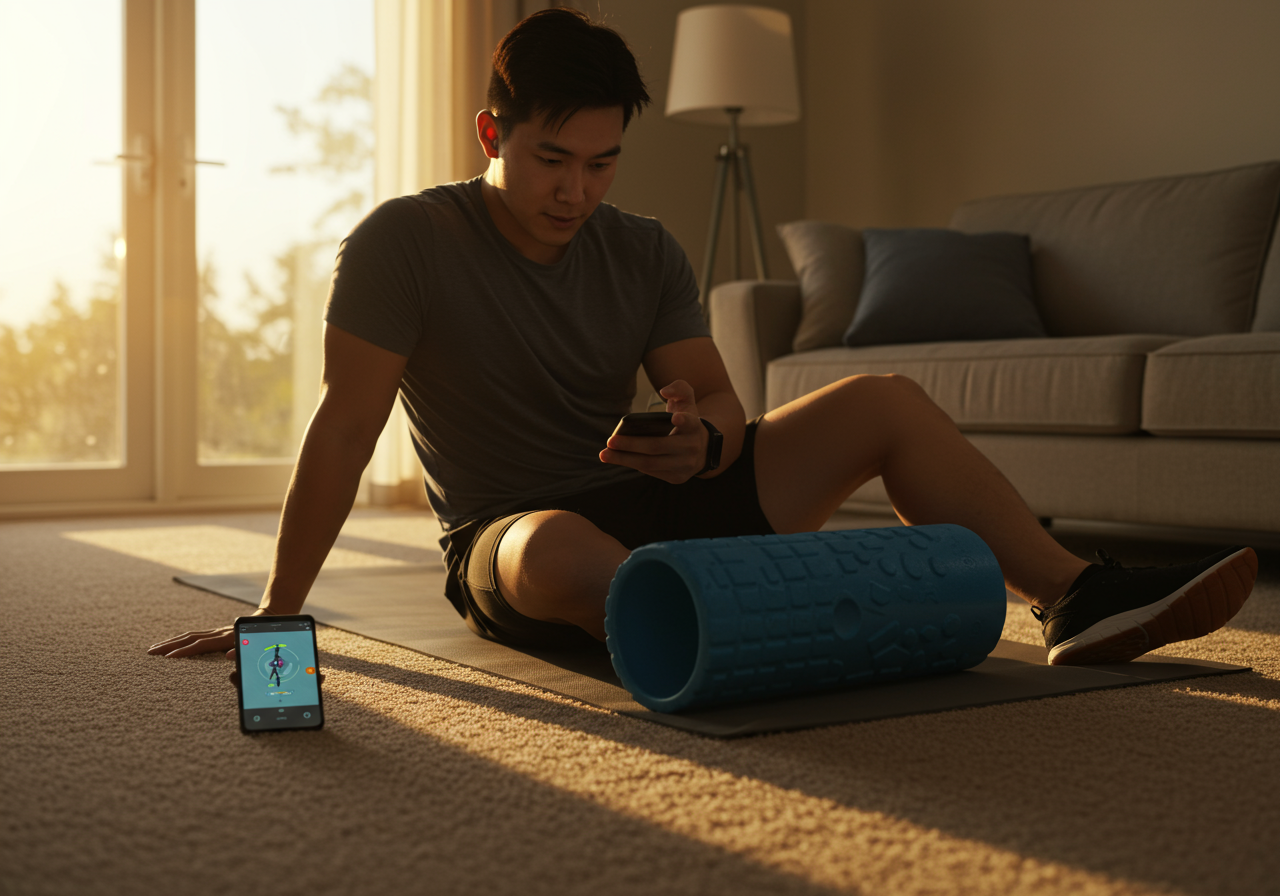
Active Release Techniques at home can unlock stiff, overworked tissues without clinic visits. Done correctly, it blends targeted pressure with movement to restore glide and ease.
Direct answer: At home, use gentle pin-and-glide on tender spots for 30–60 seconds, 1–2 sets, three times weekly, stopping if numbness or sharp pain occurs.
In this guide, you will learn safe self‑ART methods, how to progress from beginner to advanced, and how to pair it with strength, cardio, and mobility so it actually improves performance.
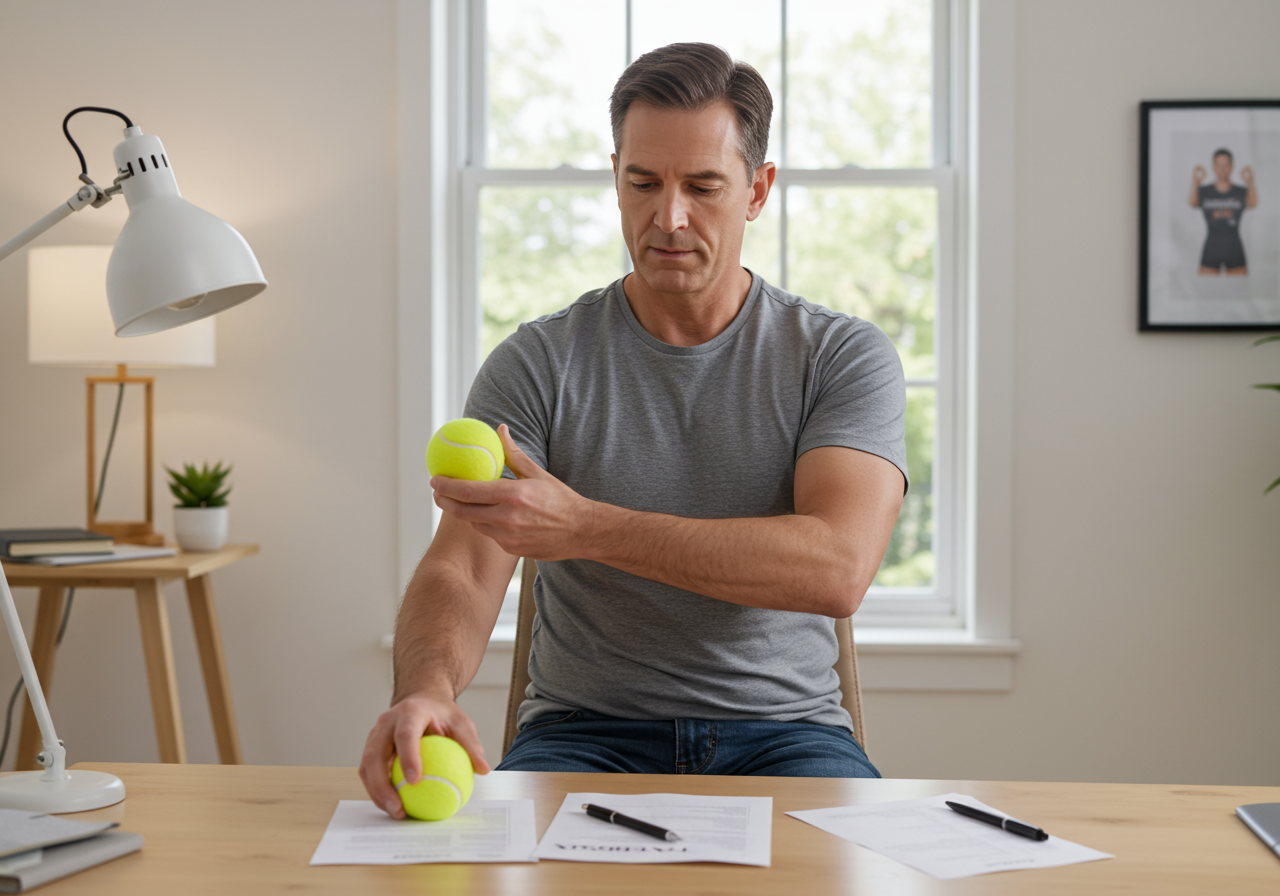
Pin-and-Glide Technique for Tight Tissues at Home
Soft tissue gets grumpy when we stack volume, sit too long, or move with poor mechanics. Self‑ART uses targeted pressure while the muscle lengthens or shortens. This can reduce protective tone, improve local blood flow, and restore sliding between tissues. In practice studies and clinic reports, people often notice easier movement and less perceived tightness afterward.
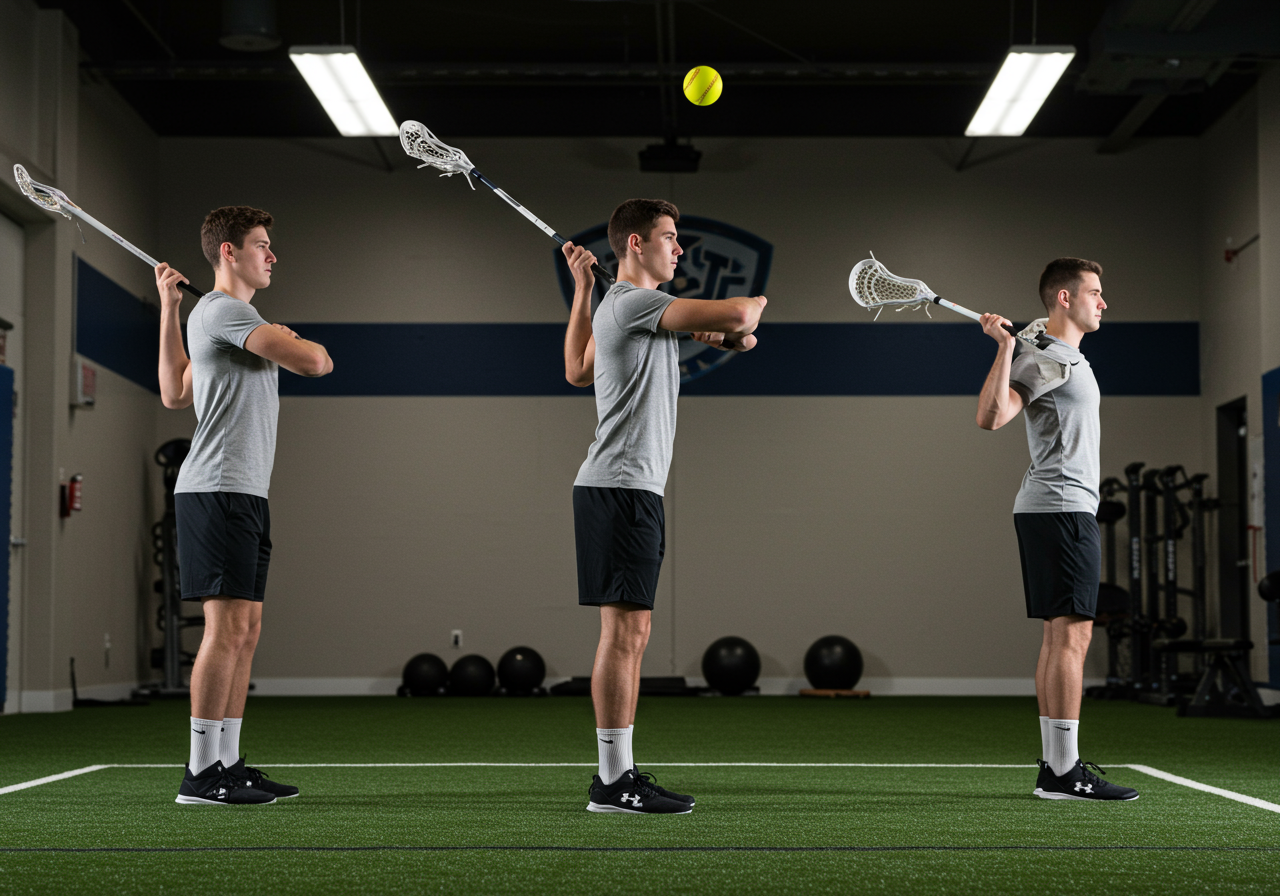
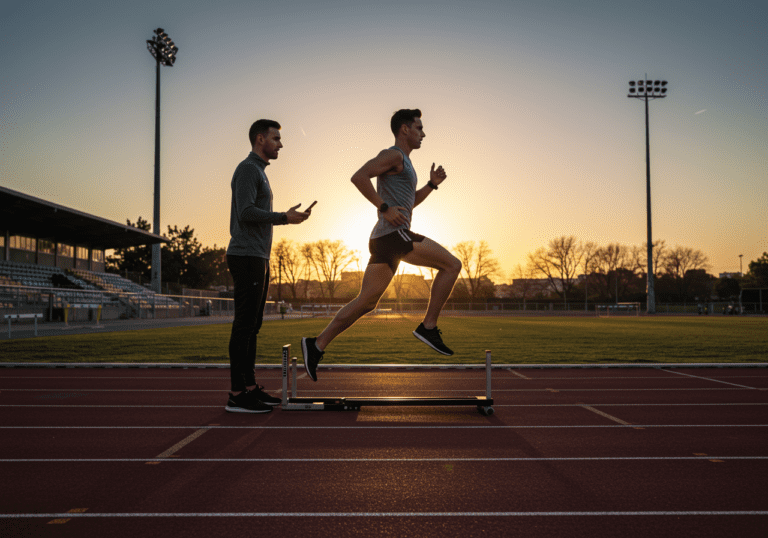
In my coaching, pairing self‑ART with strength work helps clients access cleaner positions: ankles for squats, hips for running, forearms for gripping. After tempo runs, a brief calf pin‑and‑glide has reliably made my ankle dorsiflexion wall test feel smoother with less tugging.
Maria, desk worker: “Five minutes on my pecs and forearms before rows stopped that pinchy shoulder feeling. I could lift with better form the same day.”
Devin, beginner runner: “Hip flexor release plus glute activation made my stride feel lighter. No magic, just less resistance where it used to feel stuck.”
Results vary, but when combined with progressive training, self‑ART commonly supports mobility work, reduces perceived muscle guarding, and makes positioning more repeatable.
How Soft Tissue Work Improves Movement and Performance
Before you start
Warm-up: 3–5 minutes of easy movement (walk, arm circles, air squats) to increase tissue temperature.
Tools: fingertips/thumb, lacrosse ball, massage ball, foam roller, or a massage stick. Softer ball for bony or sensitive areas.
Find a tender, tight, or ropey spot (not sharp pain). Rate it 3–6/10 discomfort max.
Core method: Pin‑and‑glide (60–120 seconds total per area)
Pin: Apply gentle to moderate pressure on the target point.
Move: Actively move the limb through a comfortable range while holding pressure. Example: pin calf, then flex/extend ankle.
Breathe: Slow, nasal breathing. Exhale during the movement; relax your jaw and shoulders.
Modulate: If the sensation spikes, lighten pressure or choose a neighboring spot.
Nerve‑safe flossing (for tingling/liney sensations, not sharp pain): Light pressure only, small movements, stop if symptoms spread.
Dosage: 1–3 sets of 30–60 seconds per spot, 3–5 spots max per session. Re‑test your movement after each spot.
Where to use it (caption: quick reference for common areas and movements)
Area | Position & Tool | Movement while pressing | Dosage
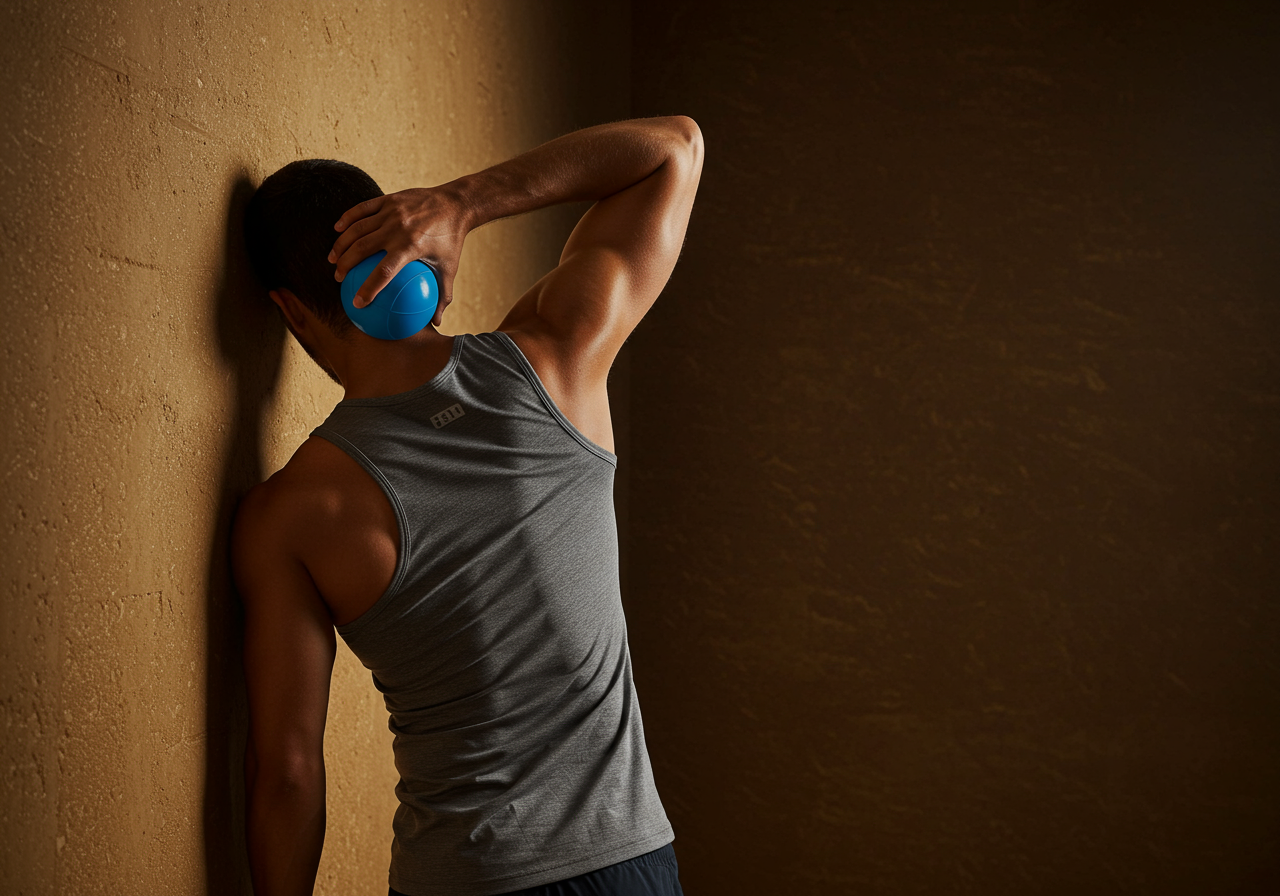
Neck (upper) | Sit, soft ball vs wall | Gentle head turns/nods | 1–2 x 30s
Pecs | Stand, ball vs doorway | Arm abduction & external rotation | 1–2 x 45s
Forearm flex. | Sit, thumb or ball table | Wrist extend/flex, finger open/close| 1–3 x 30s
Lats | Side-lying, foam roller | Reach overhead, slow breathing | 1–2 x 60s
Hip flexor | Prone, soft ball | Bend/extend knee, small hip shifts | 1–2 x 45s
Glute/piriform| Sit, ball on box/chair | Cross/uncross leg, small hip pivots| 1–2 x 45s
Calf | Sit, ball on floor | Ankle pumps/circles | 1–3 x 30–45s
Plantar fascia| Stand, ball under foot | Slow heel-to-toe rolling | 1–2 x 45s
Integrate with training
Before lifting/running: 4–8 minutes on the one area limiting your key movement, then do your warm-up sets.
After sessions: 6–10 minutes on the muscles that did most of the work to downshift tone.
Off days: 10–12 minutes paired with mobility (e.g., calf release then ankle rocks).
When to stop: Sharp pain, numbness, or symptoms that radiate. Avoid pressing directly on joints, bones, or fresh bruises.
Step-by-Step Method: Pressure, Movement, and Breathing
Weeks 1–2: Build the habit (Beginner)
Frequency: 3 short sessions/week (8–10 minutes).
Pressure: Light to moderate; stop at 4/10 discomfort.
Focus: One region that limits your main lift or run form.
Pairing: After warm-up walks or easy spins to keep tissues warm.
Test–retest: Simple screen like ankle wall test or shoulder reach.
Weeks 3–4: Expand coverage (Intermediate)
Frequency: 4 sessions/week (10–12 minutes).
Pressure: Moderate; still smooth breathing and no guarding.
Complexity: Add movement arcs and joint rotations under pressure.
Pairing: Before a key session to open range, plus quick post-session downshift.
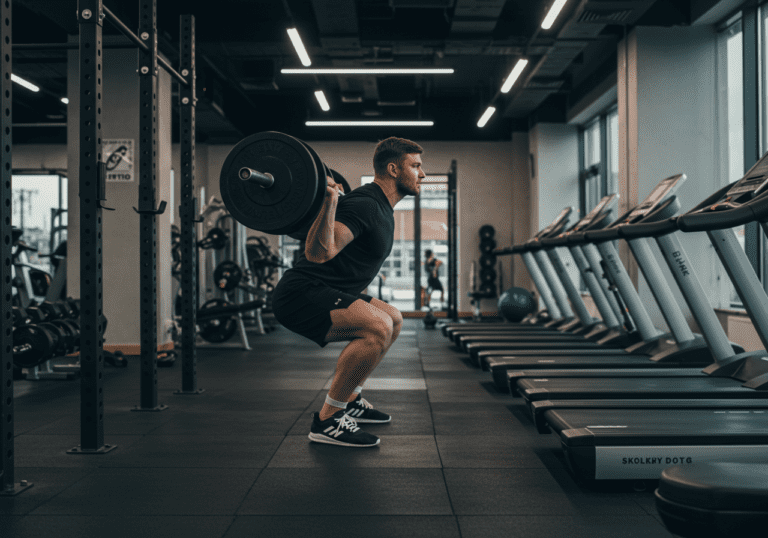
Strength link: Follow releases with 1–2 sets of control work (e.g., calf raises, band external rotation, hip airplanes).
Frequency: 4–5 sessions/week (micro‑doses of 6–8 minutes before hard days; 12–15 minutes on off days).
Pressure: Moderate to firm only if relaxed breathing holds steady; reduce if you tense up.
Specificity: Target layers—broad sweep first (foam roller), then pinpoint (ball), then active glide.
Performance bridge: Retest range, then load it. Example: calf release → ankle rocks → goblet squats with heels down.
Deload: Every 3–4 weeks, run a lighter week (half volume) to let sensitivity normalize.
What I’ve seen in practice: New trainees often report easier first reps after 2–3 weeks of consistent, brief sessions. Endurance athletes notice smoother strides when they keep doses short before runs and longer after.
References & Further Reading
The following peer-reviewed research and authoritative guidelines support the recommendations in this article:
Building Consistency from Beginner to Advanced Protocols
Weekly rhythm
Strength days: 4–6 minutes pre‑lift on the limiter (e.g., lats for pressing), 6–10 minutes after on primary movers.
Cardio days: Short pre‑run releases on calves/hip flexors; longer post‑run work on calves, TFL/glute med.
Mobility day: 10–12 minutes release + 10 minutes active mobility to cement gains.
Intensity & monitoring
Discomfort cap: 3–6/10. Pain beyond that often makes tissue guard up.
Stop rules: Tingling, numbness, sharp or spreading pain, dizziness, or unusual swelling.
Track: Log areas, time, and before/after notes in a simple app (Notes, Notion) or your Garmin/Strava activity description.
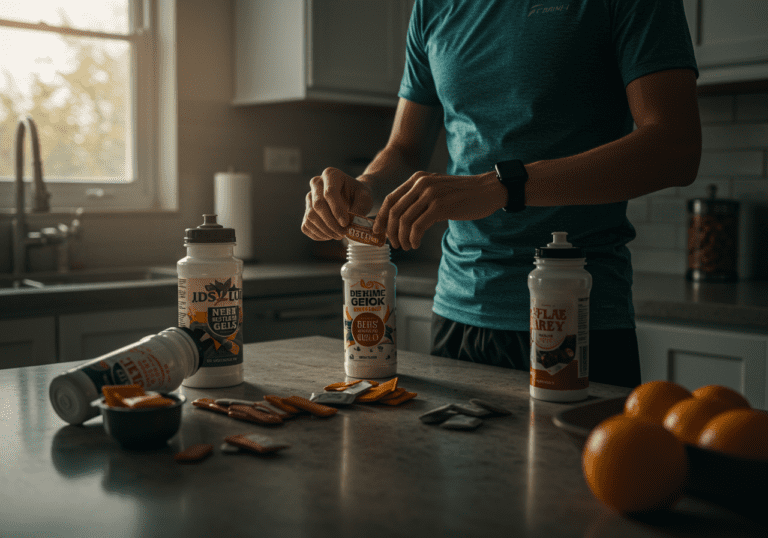
Recovery & nutrition
Hydration helps clearance; sip water before/after.
Protein: Aim for roughly 1.6–2.2 g/kg/day if training regularly (see major sports health org guidelines). I verify intake with MyFitnessPal when pushing volume.
Sleep: 7–9 hours supports tissue sensitivity and recovery. Short naps help after hard intervals.
Real‑world pairing examples
My lower‑body day: 8 minutes of calf and adductor release, then squats. Heart rate in Zone 2 during warm‑up, then sets at RPE 7–8. Post‑lift, 6 minutes on glutes and hip flexors.
Client return‑to‑run: 4 minutes hip flexor/glute release pre‑easy run, longer lower‑leg session after. Stride felt less restricted within two weeks of consistent practice.
Troubleshooting
Plateau in mobility: Reduce pressure, change angles, then immediately load the new range with light control work.
Overdoing it: Soreness that lingers >24–36 hours? Cut volume in half and increase rest day spacing.
Motivation dips: Keep releases to 6 minutes on busy days. Habit beats perfection.
Injuries or red flags: Acute tears, fractures, infections, or unexplained swelling—skip self‑work and consult a qualified professional.
Next steps: Save this routine. Consistent, calm sessions will deliver the best long‑term change.
Medical Disclaimer: The information provided on this website is for informational and educational purposes only and is not intended as personal medical or health advice. The content, including text, graphics, and images, is not a substitute for professional medical advice, diagnosis, or treatment. Always seek the advice of your physician or other qualified healthcare provider…
Medical Disclaimer: The information provided on this website is for informational and educational purposes only and is not intended as personal medical or health advice. The content, including text, graphics, and images, is not a substitute for professional medical advice, diagnosis, or treatment. Always seek the advice of your physician or other qualified healthcare provider…
Medical Disclaimer: The information provided on this website is for informational and educational purposes only and is not intended as personal medical or health advice. The content, including text, graphics, and images, is not a substitute for professional medical advice, diagnosis, or treatment. Always seek the advice of your physician or other qualified healthcare provider…
Medical Disclaimer: The information provided on this website is for informational and educational purposes only and is not intended as personal medical or health advice. The content, including text, graphics, and images, is not a substitute for professional medical advice, diagnosis, or treatment. Always seek the advice of your physician or other qualified healthcare provider…
Medical Disclaimer: The information provided on this website is for informational and educational purposes only and is not intended as personal medical or health advice. The content, including text, graphics, and images, is not a substitute for professional medical advice, diagnosis, or treatment. Always seek the advice of your physician or other qualified healthcare provider…
Medical Disclaimer: The information provided on this website is for informational and educational purposes only and is not intended as personal medical or health advice. The content, including text, graphics, and images, is not a substitute for professional medical advice, diagnosis, or treatment. Always seek the advice of your physician or other qualified healthcare provider…