Medical Disclaimer: The information provided on this website is for informational and educational purposes only and is not intended as personal medical or health advice. The content, including text, graphics, and images, is not a substitute for professional medical advice, diagnosis, or treatment. Always seek the advice of your physician or other qualified healthcare provider with any questions you may have regarding a medical condition or before starting any new exercise, nutrition, or supplement program. Never disregard professional medical advice or delay in seeking it because of something you have read on this blog. Reliance on any information provided by this site is solely at your own risk.
Train Through Minor Injuries Without Making Them Worse
Minor injury training keeps you progressing while protecting irritated tissues. Yes — you can train safely by swapping pain‑free patterns, lowering intensity, and checking symptoms daily.
In minutes, you will learn a simple decision process, proven substitutions for common aches, a three‑level progression, and how I track recovery with real workouts, wearable data, and client feedback.
Research-Backed Load Management Reduces Pain While Maintaining Fitness
Pain usually signals a mismatch between tissue capacity and the load you placed on it. Easing intensity and changing the angle, range, or speed reduce stress while maintaining fitness. In practice and in peer‑reviewed research, training the non‑injured side often helps preserve strength on the injured side, a cross‑education effect.
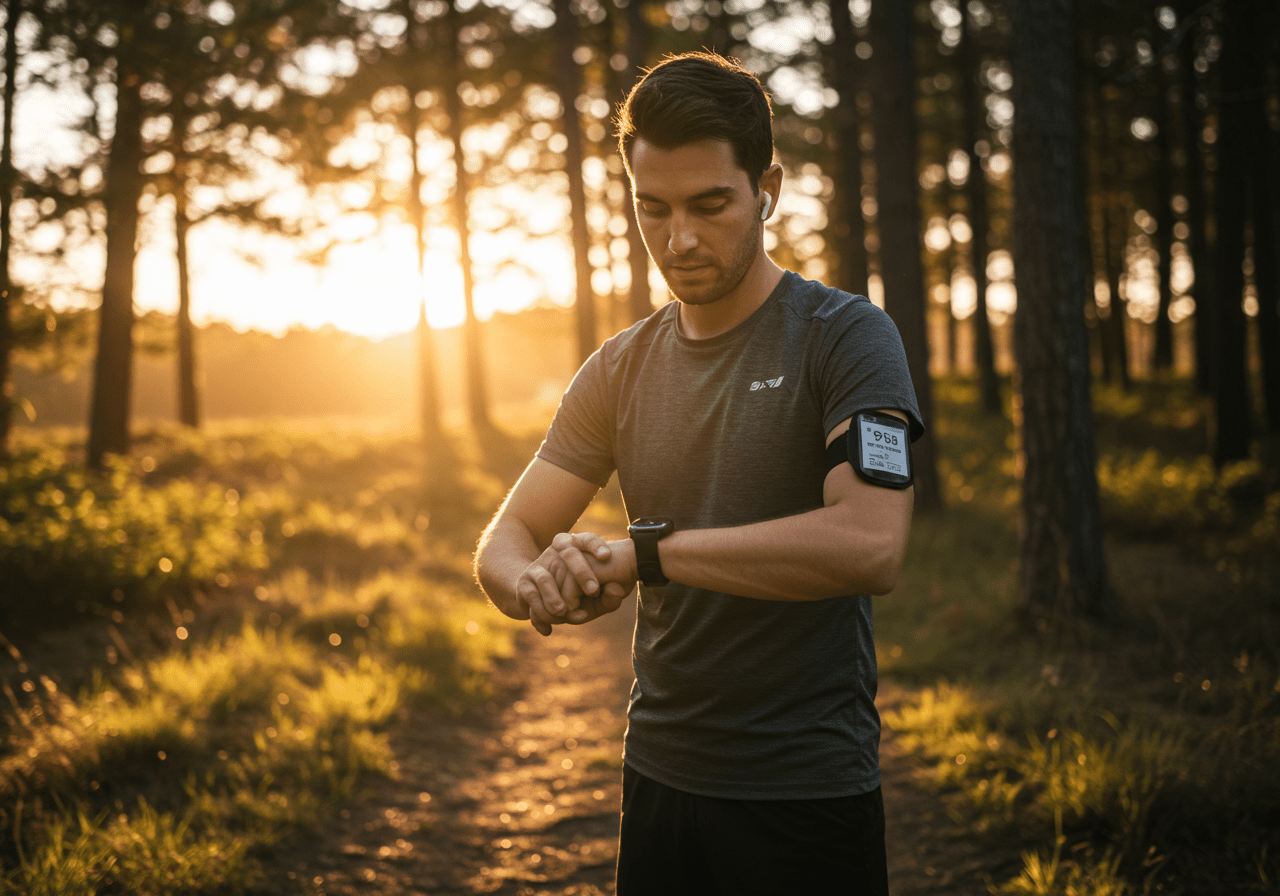
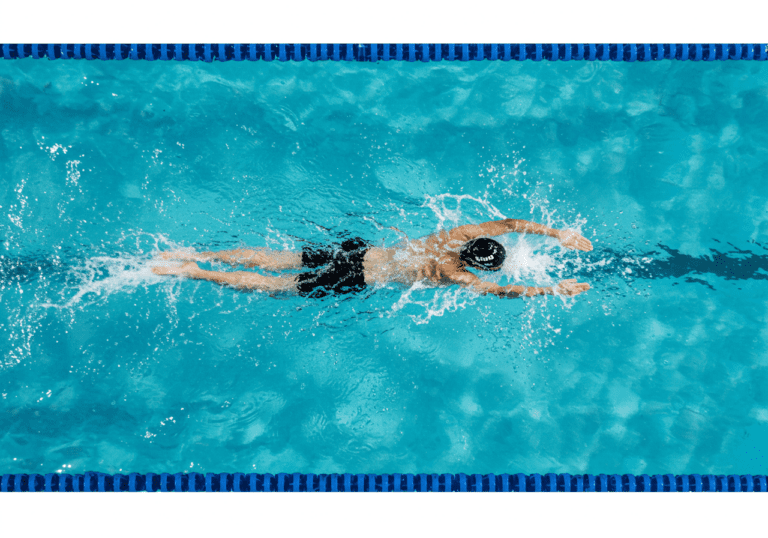
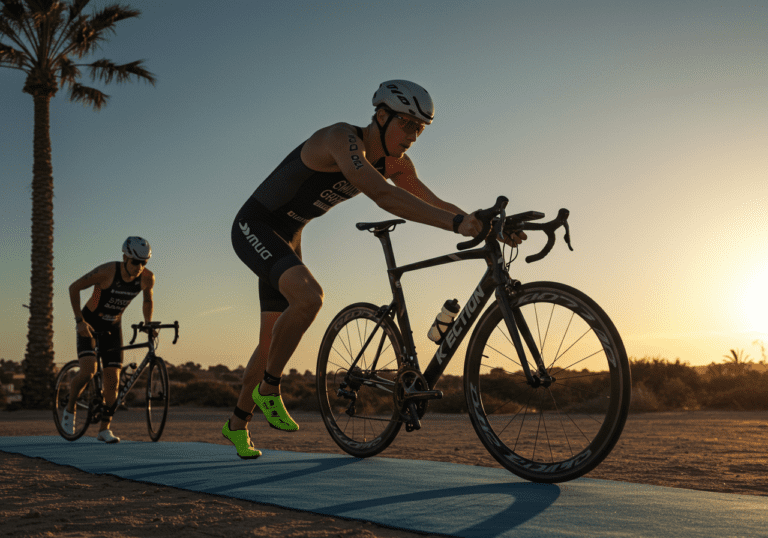
Keeping cardio in Zones 1–2 limits deconditioning. Gentle strength work at moderate effort (about RPE 5–7) stimulates healing without flaring symptoms for most minor issues. If pain spikes above your normal baseline and does not settle within 24–48 hours, step back and consider a professional check‑in.
Client note: Lena S. had a nagging shoulder. We swapped overhead pressing for neutral‑grip floor press and moved her conditioning from jump rope to the bike. After three weeks, her pressing strength returned to previous loads with no night pain.
Green-Yellow-Red System Plus Pain-Free Exercise Substitutions
1) Use the green‑yellow‑red guide
Green: 0–3 out of 10 pain during and after. Proceed.
Yellow: 4–5 out of 10 that settles to baseline within 24 hours. Proceed with caution and do not increase load.
Red: 6+ out of 10 or pain that worsens overnight. Stop and substitute.
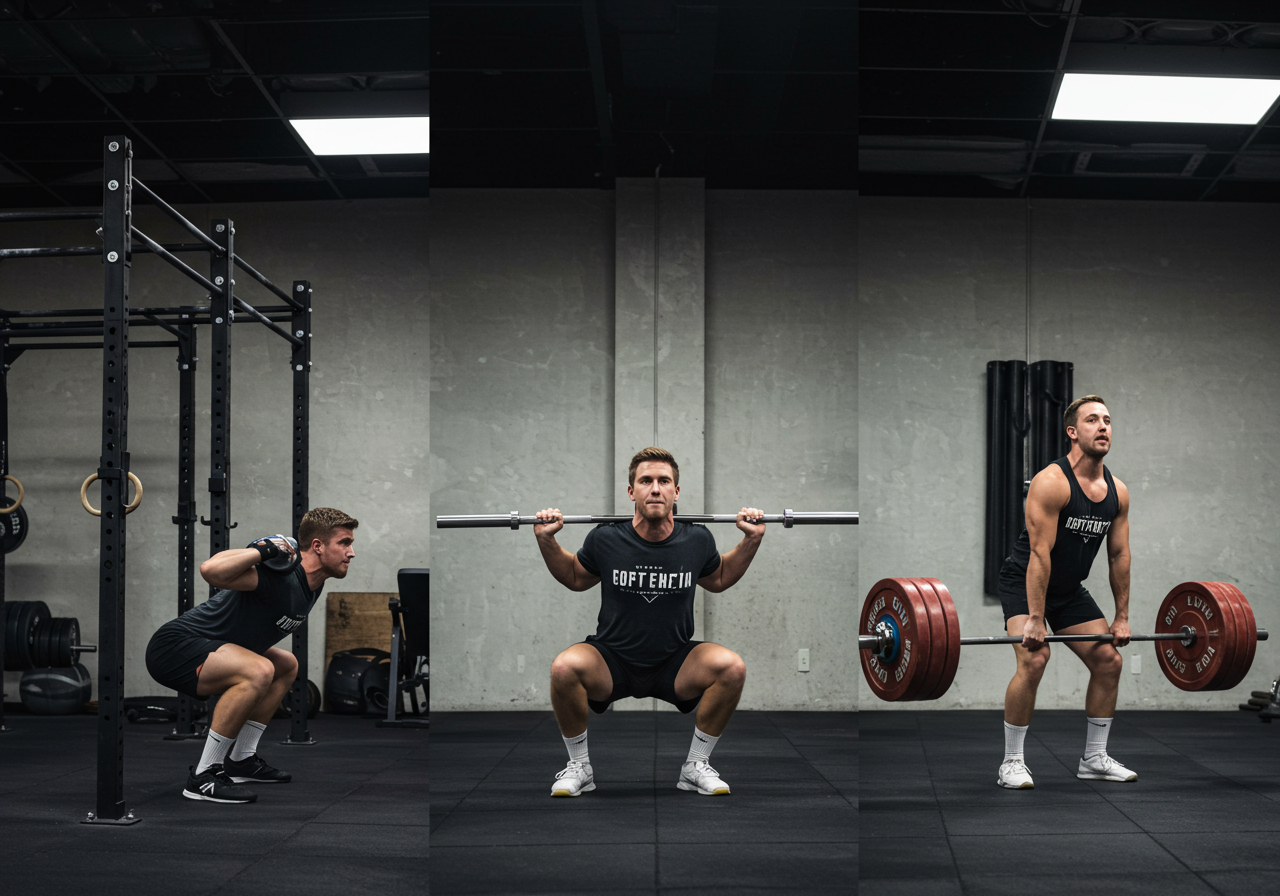
2) Modify the stress
Range: shorten depth or arc. Example: half squat instead of full depth.
Angle: change grip or stance. Example: neutral‑grip press instead of wide grip.
Tempo: slow the lowering phase 3–4 seconds to reduce peak forces.
External support: use straps, a box, or a sled to unload tissues.
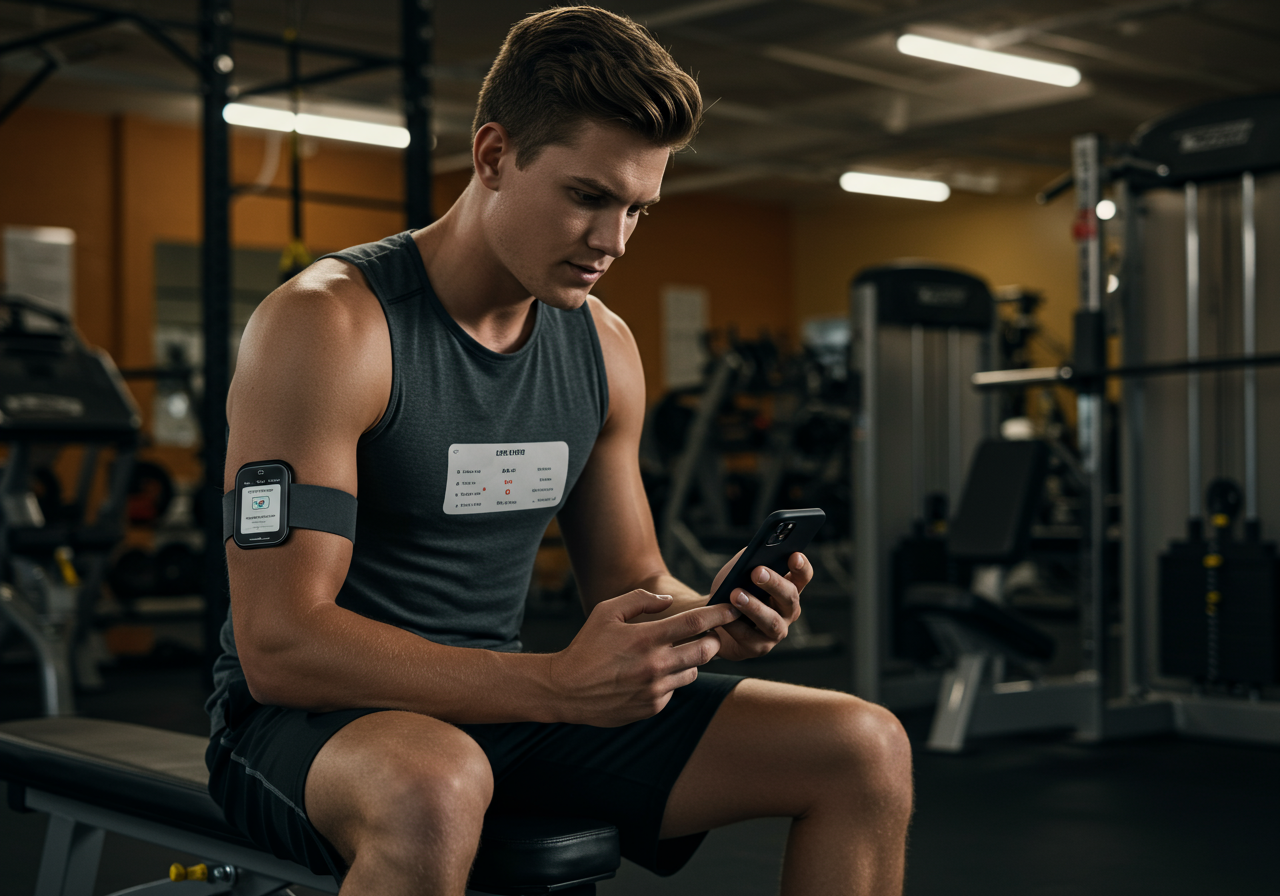
Duration: 45 minutes. Shoulder cranky after sleep. Swapped overhead press for neutral‑grip floor press at 24 kg dumbbells, 3×10 at RPE 6. Bike 25 minutes in Zone 2 (average HR 132, logged on Strava via Wahoo). Pain stayed at 2 out of 10 and was baseline the next day.
Apps: Strava or Garmin Connect for HR; MyFitnessPal for protein intake; notes section for red‑yellow‑green log.
Rule: change only one variable per week — load, volume, or impact.
Three-Level Protocol From Limited Range to Full Training
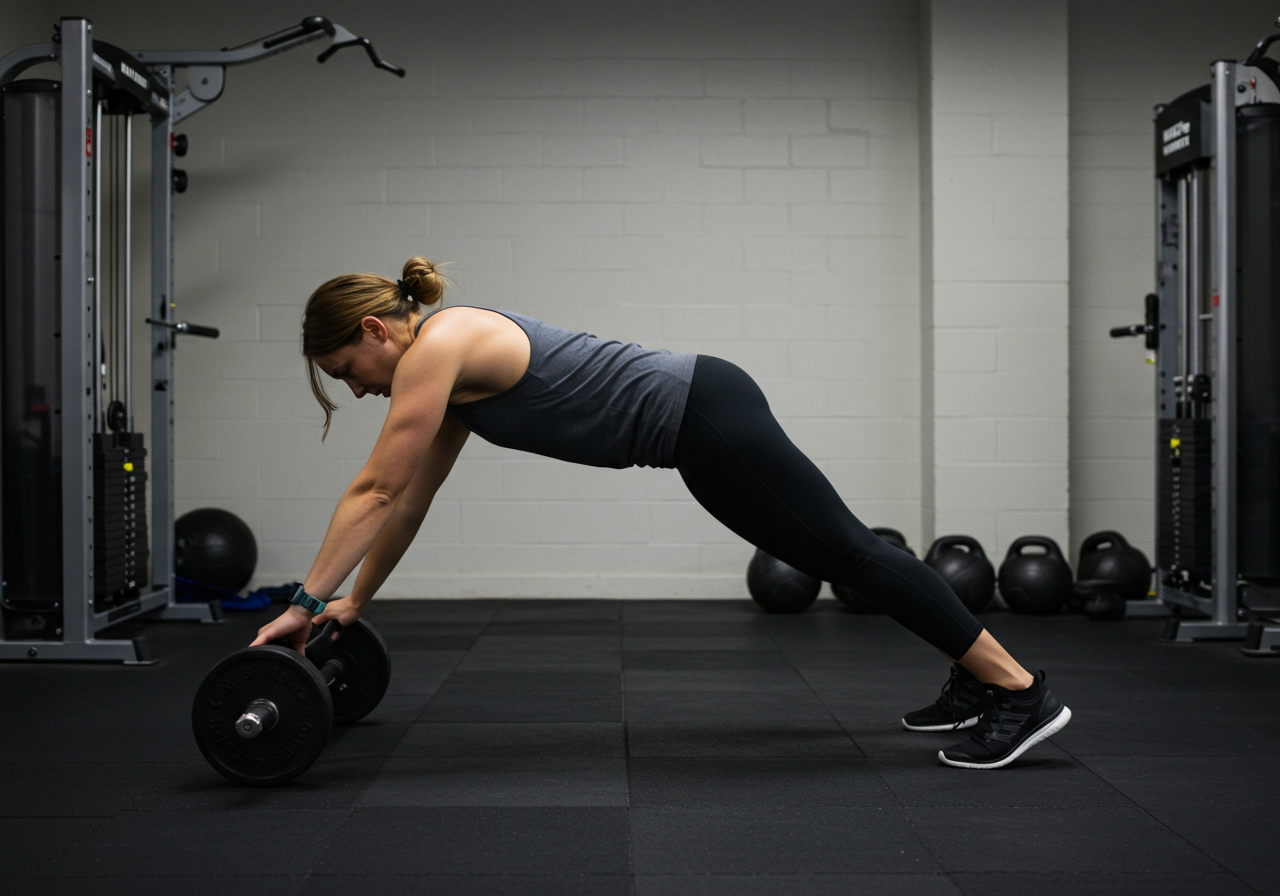
Caption: Return‑to‑training progression around a minor injury.
Level 1 — Beginner (Weeks 1–2): RPE 5–6; 2–3 sets; impact‑free cardio 20–30 min Z1–Z2; range limited to pain‑free; tempo slow eccentrics.

Level 2 — Intermediate (Weeks 3–4): RPE 6–7; 3–4 sets; add 5–10% load or volume; light impact if tolerated; expand range slightly.

Level 3 — Advanced (Weeks 5–6): RPE 7–8 selectively on last set; 3–5 sets; reintroduce original lifts with modifications; short Zone 3 intervals if symptom‑free.

Weekly Checkpoint: pain stays ≤3/10 during and returns to baseline within 24 hours; no swelling or night pain; performance trends stable.

If a red day occurs: drop one level for 3–5 days, then retest.
Criteria to move up
Three consecutive sessions without symptom escalation.
Sleep and mood stable; no increase in morning stiffness.
Technique crisp at current load and range.
How reintroduction looks
Shoulder: incline press to flat press to overhead press with neutral grip, then standard grip.
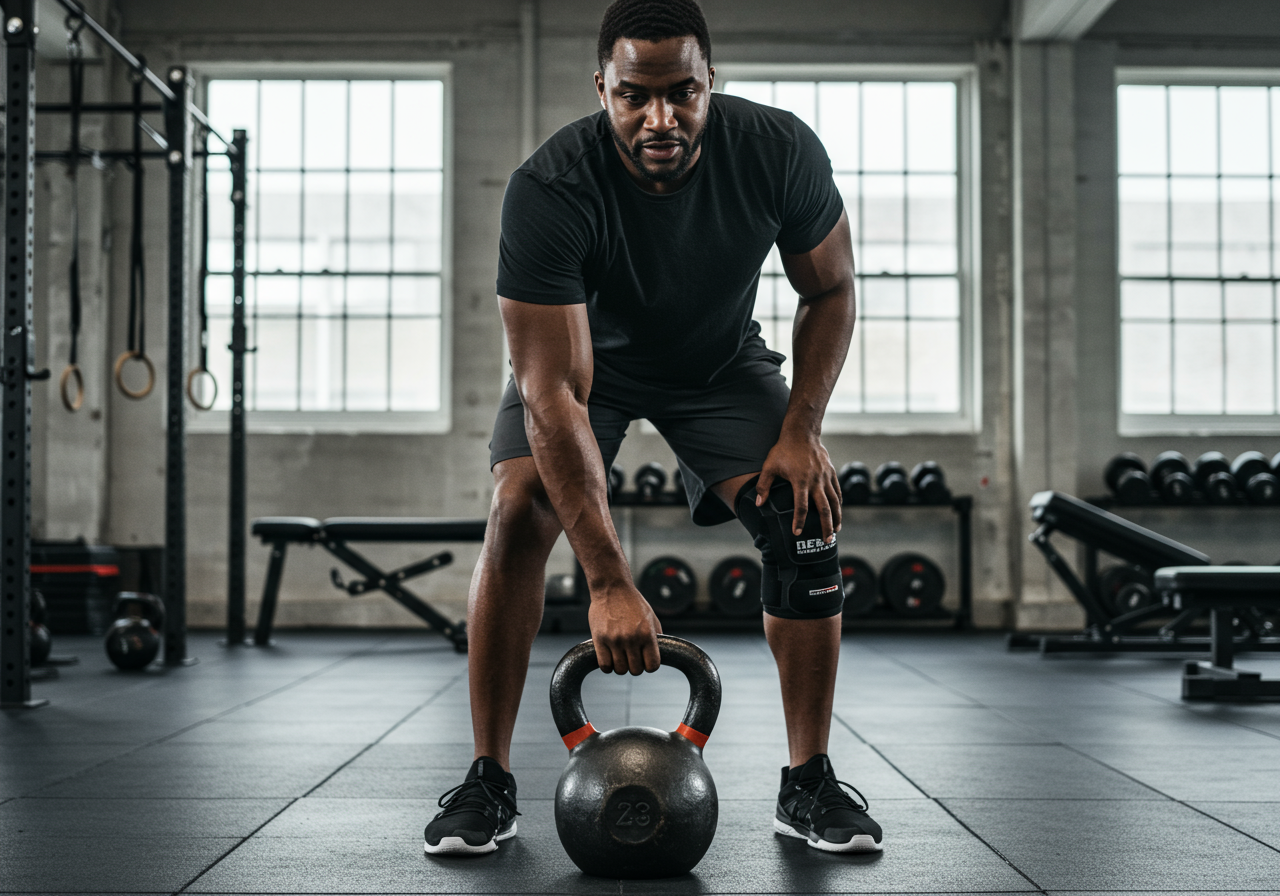
Knee: box squat height gradually lower; step‑ups progress to split squats; reintroduce easy jogs as 1 minute on, 2 minutes walk.
Back: hinge pattern starts with hip bridges, moves to trap‑bar, later to conventional deadlift.
Progress validation
In client reviews, we watch for consistent RPE at slightly higher loads and steady Zone 2 pace at the same heart rate. When those improve without symptom flare, the plan is working.
References & Further Reading
The following peer-reviewed research and authoritative guidelines support the recommendations in this article:
Medical Disclaimer: The information provided on this website is for informational and educational purposes only and is not intended as personal medical or health advice. The content, including text, graphics, and images, is not a substitute for professional medical advice, diagnosis, or treatment. Always seek the advice of your physician or other qualified healthcare provider…
Medical Disclaimer: The information provided on this website is for informational and educational purposes only and is not intended as personal medical or health advice. The content, including text, graphics, and images, is not a substitute for professional medical advice, diagnosis, or treatment. Always seek the advice of your physician or other qualified healthcare provider…
Medical Disclaimer: The information provided on this website is for informational and educational purposes only and is not intended as personal medical or health advice. The content, including text, graphics, and images, is not a substitute for professional medical advice, diagnosis, or treatment. Always seek the advice of your physician or other qualified healthcare provider…
Medical Disclaimer: The information provided on this website is for informational and educational purposes only and is not intended as personal medical or health advice. The content, including text, graphics, and images, is not a substitute for professional medical advice, diagnosis, or treatment. Always seek the advice of your physician or other qualified healthcare provider…
Medical Disclaimer: The information provided on this website is for informational and educational purposes only and is not intended as personal medical or health advice. The content, including text, graphics, and images, is not a substitute for professional medical advice, diagnosis, or treatment. Always seek the advice of your physician or other qualified healthcare provider…
Medical Disclaimer: The information provided on this website is for informational and educational purposes only and is not intended as personal medical or health advice. The content, including text, graphics, and images, is not a substitute for professional medical advice, diagnosis, or treatment. Always seek the advice of your physician or other qualified healthcare provider…