Medical Disclaimer: The information provided on this website is for informational and educational purposes only and is not intended as personal medical or health advice. The content, including text, graphics, and images, is not a substitute for professional medical advice, diagnosis, or treatment. Always seek the advice of your physician or other qualified healthcare provider with any questions you may have regarding a medical condition or before starting any new exercise, nutrition, or supplement program. Never disregard professional medical advice or delay in seeking it because of something you have read on this blog. Reliance on any information provided by this site is solely at your own risk.
RPE and RIR help you auto‑regulate strength sessions when life, sleep, or stress change. Today you’ll learn to set targets, adjust loads, and progress safely.
Direct answer: Stop each set 1–3 reps before failure and adjust load set to set so your target RPE or RIR is met.
We’ll build a complete weekly system, show beginner to advanced progressions, and cover tracking, nutrition, recovery, and troubleshooting. You’ll leave with a plan you can run immediately.
Research Shows Effort-Based Loading Matches Percentage Programming
Effort beats a rigid percentage. RPE (Rate of Perceived Exertion) and RIR (Reps In Reserve) reflect how close you are to failure. As fatigue rises, bar speed slows, technique strains, and perceived effort climbs—useful signals to regulate load and volume.
In peer‑reviewed studies, RIR‑based prescriptions often match the accuracy of fixed %1RM work for sets of 5–12 reps, especially when lifters are familiar with the scale. In my coaching, beginners misjudge at first, but within 2–3 weeks they calibrate well using video and occasional check sets.
Practically, using RPE/RIR reduces random bad days and keeps quality high on good days. It also plays nicely with recovery: when sleep or soreness is rough, your RPE rises and the plan auto‑adjusts without derailing progress.
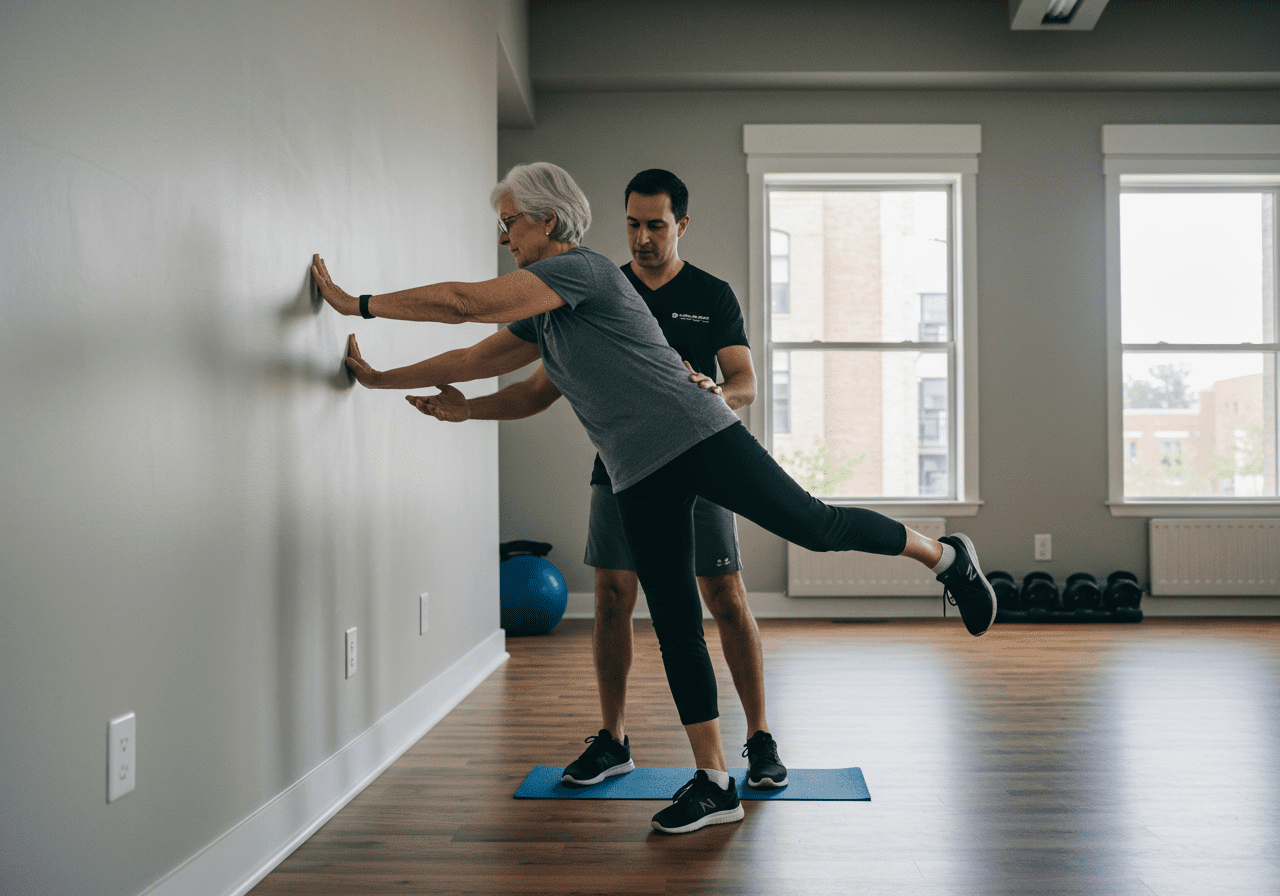
Adjust Weight Set-to-Set Based on Reps Left
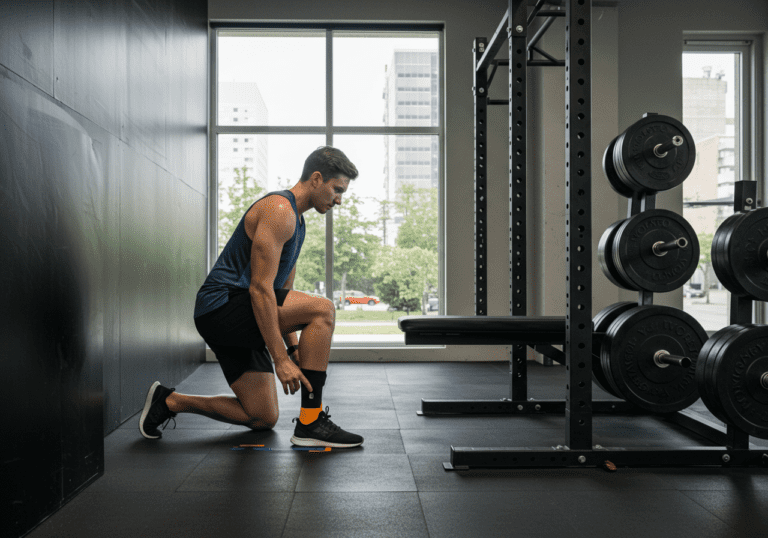
Warm‑up: 5–8 minutes light cardio (Zone 1–2), dynamic hips/shoulders, 3–4 ramp‑up sets for the first lift.
Step 1 — Set effort targets: For main lifts, use RPE 7–9 (RIR 3–1). For accessories, use RPE 6–8 (RIR 4–2). Keep 1–2 reps in reserve unless peaking.
Step 2 — Find your first working weight: Do a ramp‑up set for the prescribed reps that feels like you could do 2 more reps (RIR 2). That is your first working set.
Step 3 — Adjust set to set: If you finished with more reps left than planned (e.g., target RIR 2 but you had RIR 4), add 2.5–5 kg or 2–5%. If you overshot (e.g., target RIR 2 but hit RIR 0–1), reduce 2.5–5 kg or 2–5%.
Step 4 — Use structure: Option A: Straight sets (e.g., 3×5 @ RIR 2). Option B: Top set + back‑offs (1×5 @ RPE 8, then 2–3 back‑offs at −6–10% to RIR 2–3). Option C: Reps in reserve waves (e.g., 6@RIR3, 6@RIR2, 6@RIR1).
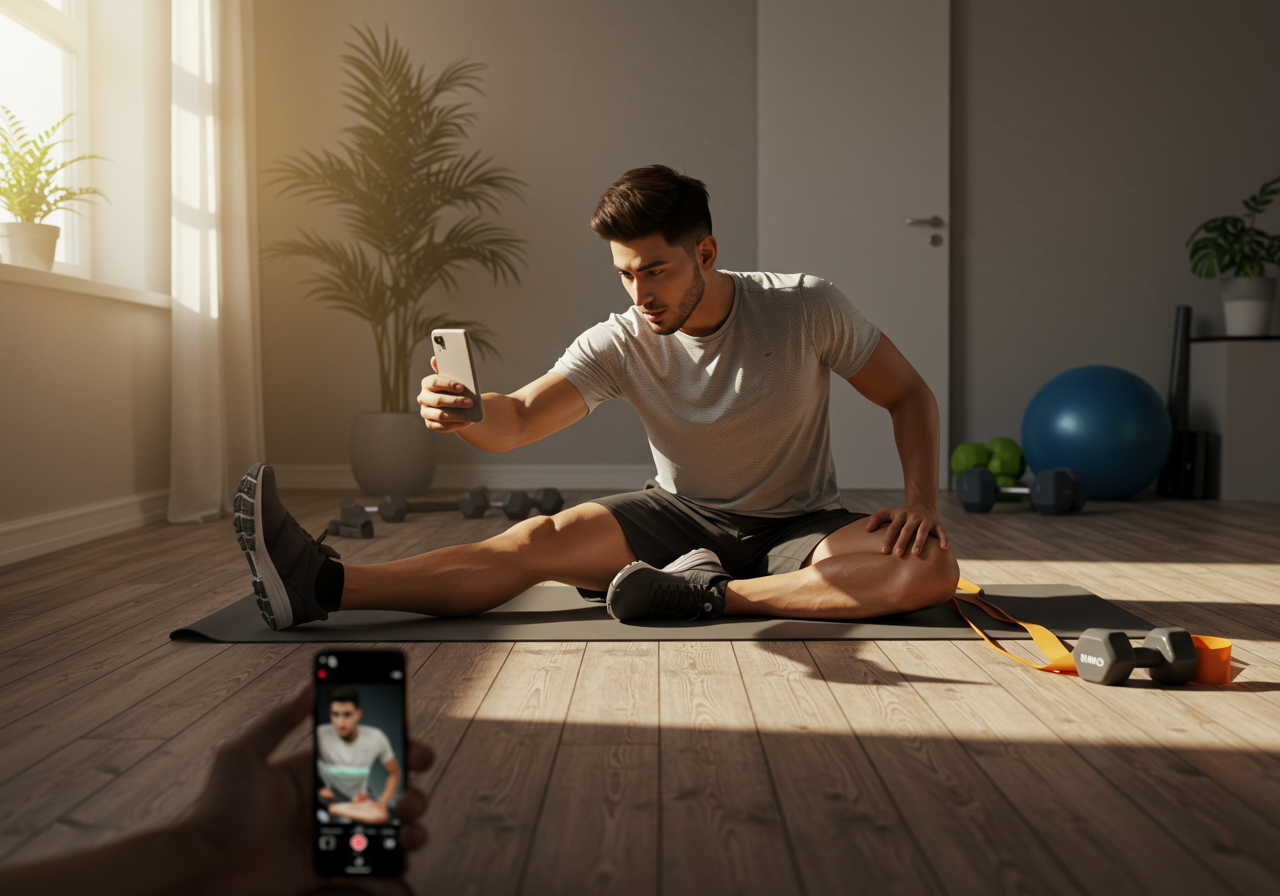
Step 5 — Calibrate weekly: Once per 2–3 weeks, include one conservative AMRAP cap (e.g., last set stop at RPE 9) to check your rating. Video your final 1–2 reps and note bar speed.
Example full‑body day (about 60–75 minutes):
Back Squat: 1×5 @ RPE 8 (top set), then 2×5 @ RIR 2 (back‑offs).
Bench Press: 3×6 @ RIR 2–3.
Romanian Deadlift: 3×8 @ RIR 2–3.
Row Variation: 3×10 @ RIR 2–3.
Optional finisher: 8–10 minutes easy bike, HR Zone 2.
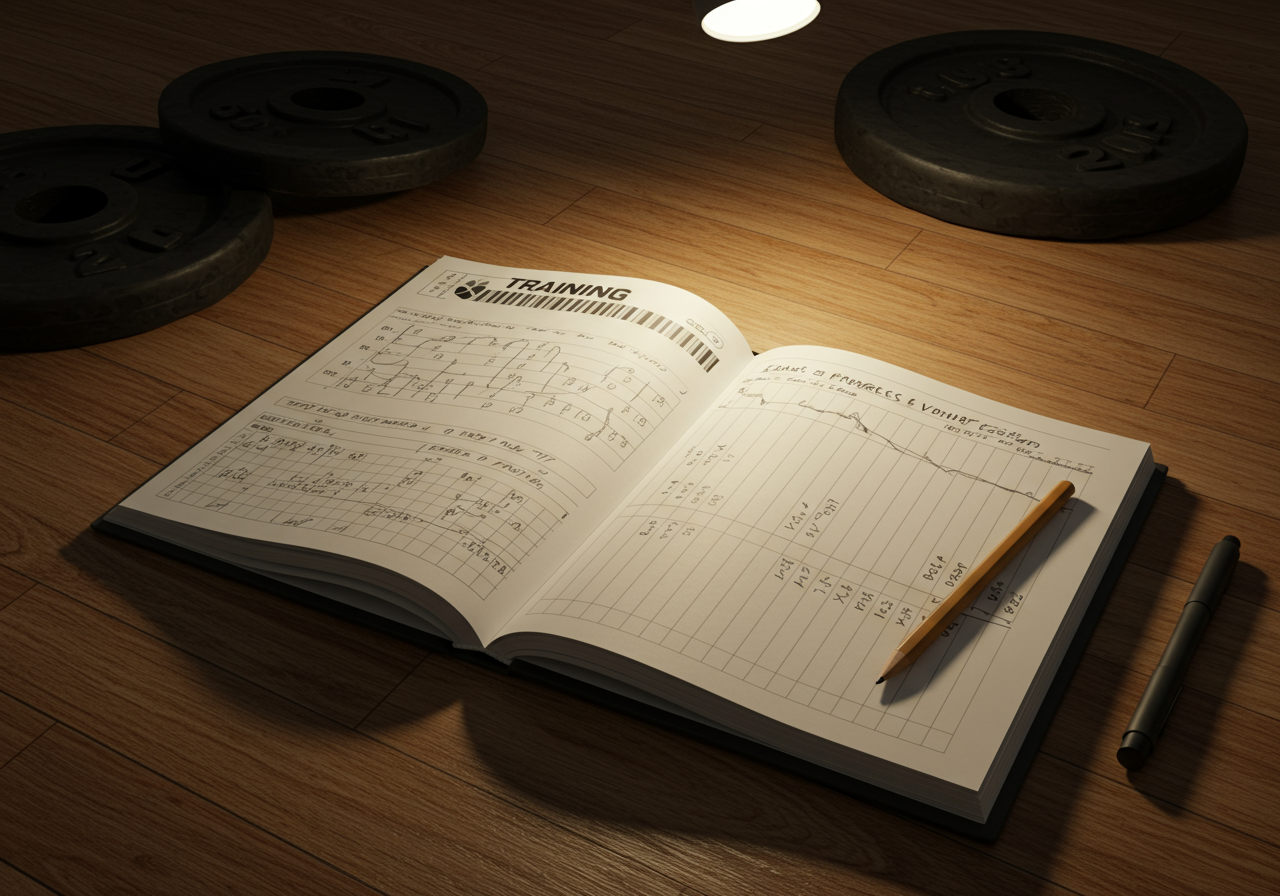
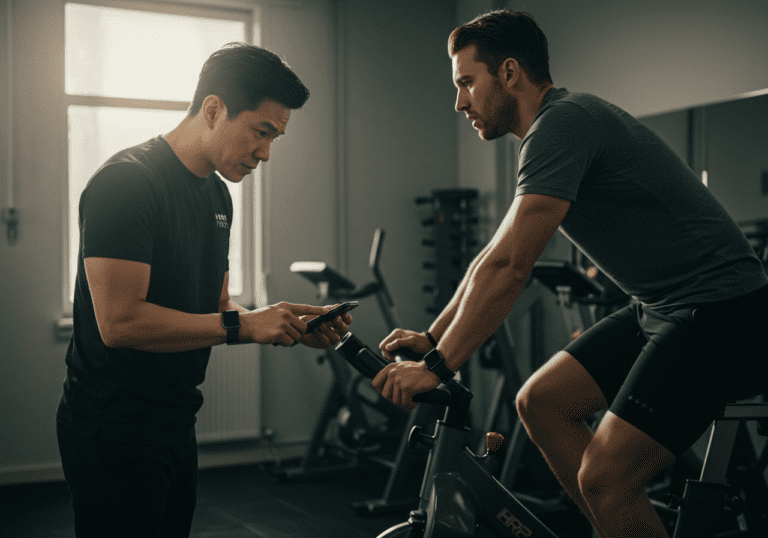
Tracking & tools: Log RPE/RIR per set in Strong, Google Sheets, or Trainerize. I track sleep and HRV with Garmin, and note morning readiness (1–5). Nutrition is logged in MyFitnessPal.
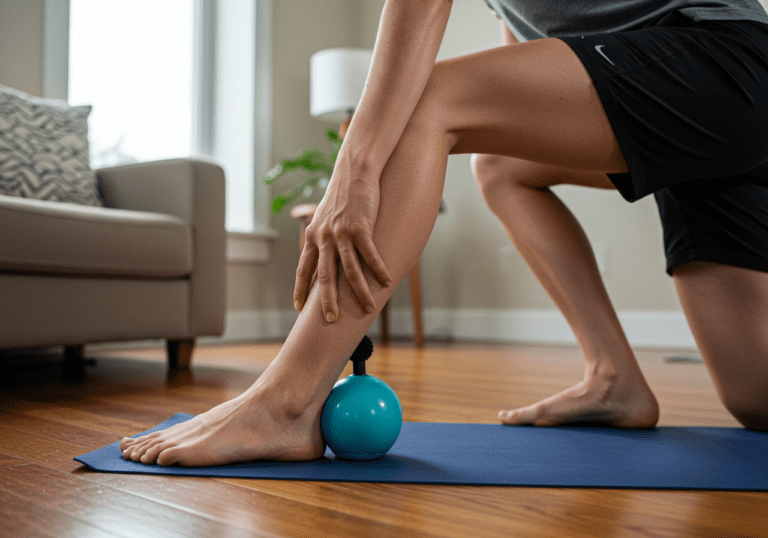
Nutrition & recovery basics: Protein 1.6–2.2 g/kg/day, carbs around training, hydrate with 500–750 ml during sessions. Caffeine 1–3 mg/kg if tolerated. Aim for 7–9 hours sleep; use a 5–10 minute walk after dinner to relax.
Common early mistakes: Rating too low (ego). Antidote: film sets and do periodic check sets. Overshooting every week. Antidote: cap at RPE 9 on most hard sets unless peaking. Rushing rests—use 2–3 minutes for compounds, 60–90 seconds for accessories.
Progress From RIR 3 to Top Sets
Start simple, then layer intensity and volume. Keep most sets shy of failure, and use small weekly nudges.
Caption: Example week‑by‑week flow using RPE/RIR.
Beginner (Weeks 1–6): 3 days/week full‑body; main lifts 3×5 @ RIR 3–2; accessories 2–3×10 @ RIR 3. Add 2.5 kg when all sets stay in target RIR. Week 1: Learn the scale; leave RIR 3–4 on compounds. Week 2: 3×5 @ RIR 3; accessories @ RIR 3–4. Week 3: 3×5 @ RIR 2; accessories @ RIR 2–3. Week 4: Repeat Week 3; add 2.5 kg if reps preserved. Week 5: 1×5 @ RPE 8, then 2×5 @ RIR 2 (−6–10%); accessories @ RIR 2. Week 6: Deload: reduce load ~10–15% and stop at RIR 4.
Intermediate (Weeks 7–14): 4 days/week upper/lower split; introduce a top set + back‑offs and small weekly load moves. Use RIR 2–1 on key lifts, RIR 3 on volume work. Deload every 6–8 weeks or as needed.
Advanced (ongoing): Periodize. Accumulation blocks emphasize volume (RIR 3–2), intensification blocks push heavier top sets (RPE 8–9) with fewer back‑offs. Keep frequent bar speed/video checks and rotate close variations (e.g., pause squat) to manage fatigue.
Plateau tactics: If the same weight/reps produces the same or higher RPE two weeks in a row, add a back‑off set or small rep change (e.g., 5s to 4s). If joints grumble, reduce to RIR 3–4 for a week and swap one barbell lift for a machine variant.
Peaking note: In the last 1–2 weeks before testing, keep volume low and hit singles at RPE 7–8 to keep confidence high without exhausting you.
Track Session RPE and Adjust for Recovery
Frequency: Beginners 3 days/week; intermediates 4 days. Per lift, 8–15 quality working sets/week is plenty for most. Keep most work at RPE 6–8; save RPE 9 for top sets or tests.
Safety and form: Technique is your governor. If form degrades, the true RPE is higher than you think—lower the load. Use full ROM you can control, and warm up joints before heavy sets.
Monitoring: Track session RPE (overall 1–10), sleep, and morning mood. If two or more are red flags, train but hold a higher RIR (e.g., shift to RIR 3–4).
A quick testimonial: “Using RIR stopped my habit of grinding to failure. I’m adding weight steadily and leave the gym feeling strong, not wrecked.” — Jenna, busy professional.
My lesson learned: Early on, I chased RPE 9 every session. Progress improved when I camped at RPE 7–8 most of the time and measured wins by rep quality.
Next steps: Run the beginner block for six weeks. Log every set’s RPE/RIR in your app, then review trends on Sundays. If you want my spreadsheet and check‑set tutorial.
Medical Disclaimer: The information provided on this website is for informational and educational purposes only and is not intended as personal medical or health advice. The content, including text, graphics, and images, is not a substitute for professional medical advice, diagnosis, or treatment. Always seek the advice of your physician or other qualified healthcare provider…
Medical Disclaimer: The information provided on this website is for informational and educational purposes only and is not intended as personal medical or health advice. The content, including text, graphics, and images, is not a substitute for professional medical advice, diagnosis, or treatment. Always seek the advice of your physician or other qualified healthcare provider…
Medical Disclaimer: The information provided on this website is for informational and educational purposes only and is not intended as personal medical or health advice. The content, including text, graphics, and images, is not a substitute for professional medical advice, diagnosis, or treatment. Always seek the advice of your physician or other qualified healthcare provider…
Medical Disclaimer: The information provided on this website is for informational and educational purposes only and is not intended as personal medical or health advice. The content, including text, graphics, and images, is not a substitute for professional medical advice, diagnosis, or treatment. Always seek the advice of your physician or other qualified healthcare provider…
Medical Disclaimer: The information provided on this website is for informational and educational purposes only and is not intended as personal medical or health advice. The content, including text, graphics, and images, is not a substitute for professional medical advice, diagnosis, or treatment. Always seek the advice of your physician or other qualified healthcare provider…
Medical Disclaimer: The information provided on this website is for informational and educational purposes only and is not intended as personal medical or health advice. The content, including text, graphics, and images, is not a substitute for professional medical advice, diagnosis, or treatment. Always seek the advice of your physician or other qualified healthcare provider…