Medical Disclaimer: The information provided on this website is for informational and educational purposes only and is not intended as personal medical or health advice. The content, including text, graphics, and images, is not a substitute for professional medical advice, diagnosis, or treatment. Always seek the advice of your physician or other qualified healthcare provider with any questions you may have regarding a medical condition or before starting any new exercise, nutrition, or supplement program. Never disregard professional medical advice or delay in seeking it because of something you have read on this blog. Reliance on any information provided by this site is solely at your own risk.
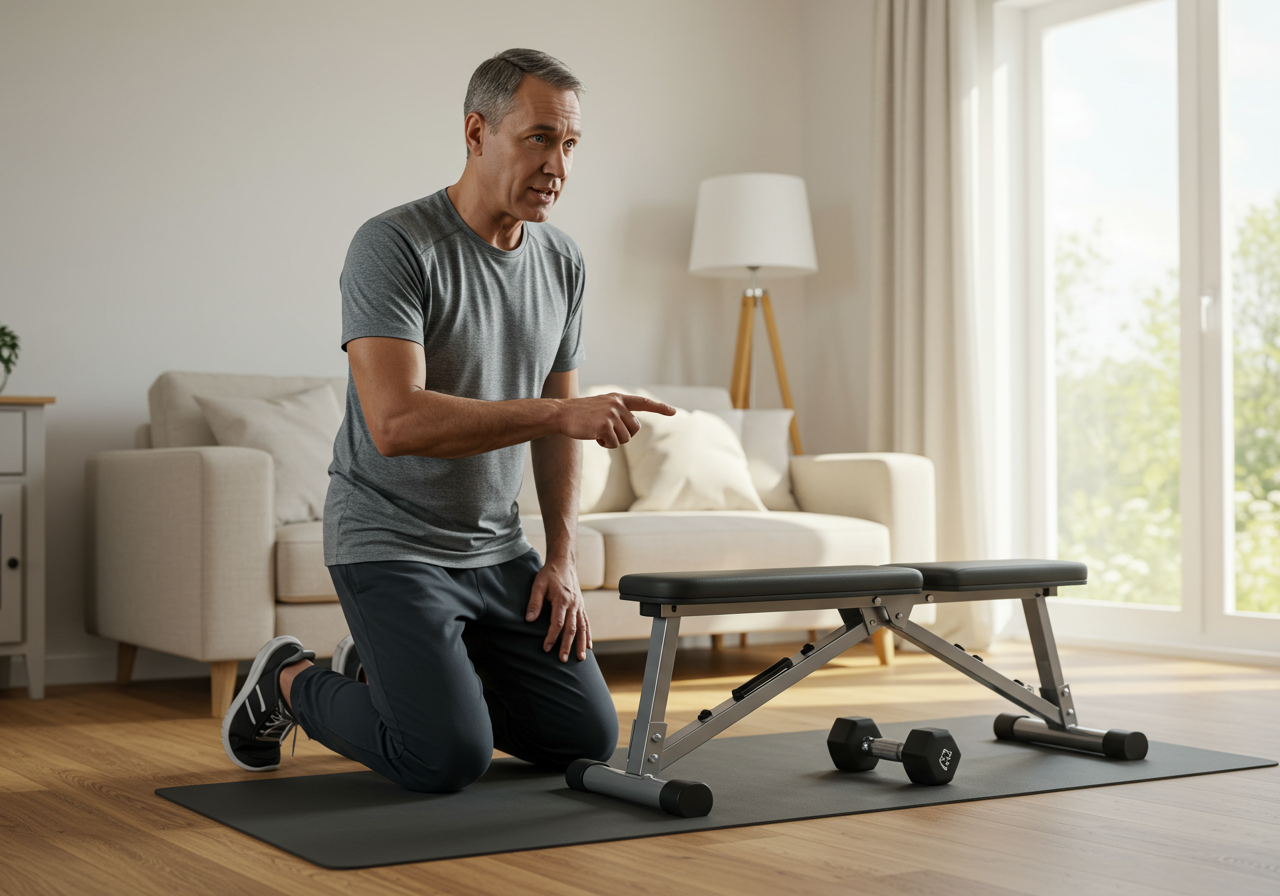
A home rehabilitation corner can turn a spare 6×6 ft space into your recovery and performance lab. Essentials: mat, bands, adjustable weights, anchor point, balance pad, step, roller, timer, and safe storage.
In minutes, you’ll learn how to select tools, plan a space, structure short daily sessions, progress from beginner to advanced, and track results with simple metrics so each week builds on the last.
Daily Consistency Builds Joint Health and Confidence
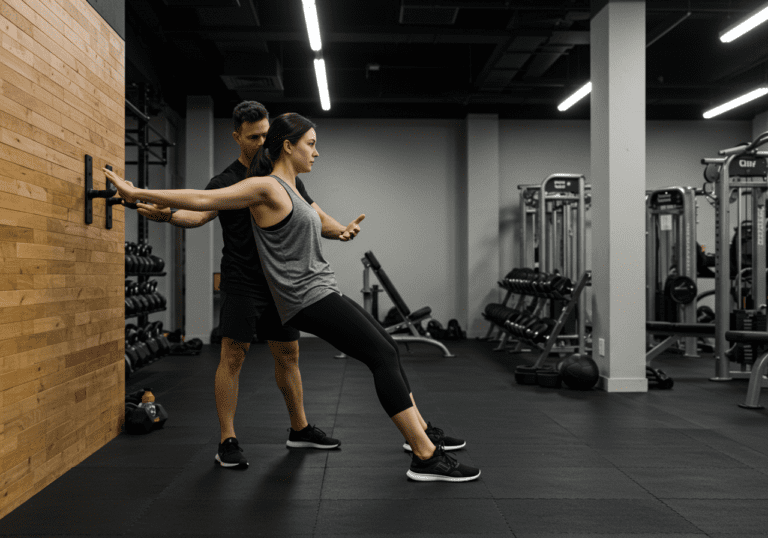
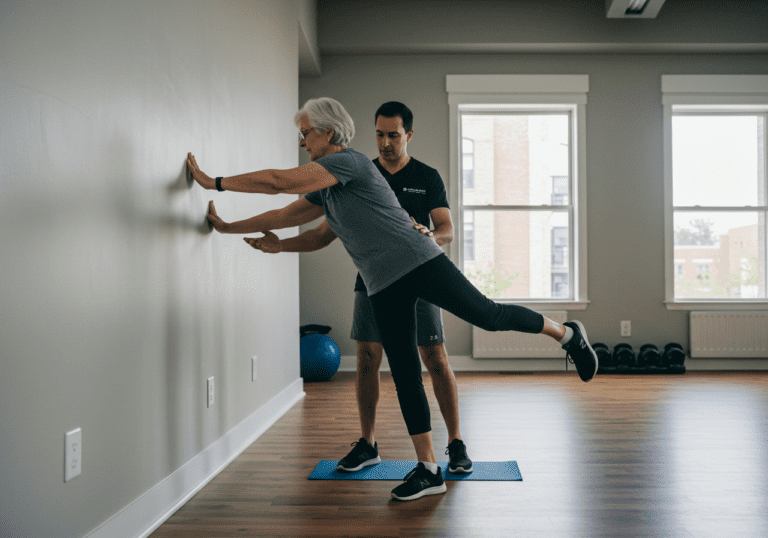
Good rehab thrives on consistency. A dedicated corner removes friction, shortens setup time, and nudges you to practice gentle movement daily. Mobility work supports joint lubrication and tendon loading; light strength builds tissue resilience; low-intensity cardio supports circulation and recovery. Balance drills help reduce fall risk, especially when done regularly.
In practice and small clinical trials, structured home routines tend to improve pain tolerance, range of motion, and confidence with daily tasks. I’ve seen clients stick far better when equipment is visible and organized, and my own Garmin logs reflect steadier zone 2 sessions when the bike and bands are always ready.
Client note: “Having a mat, bands, and timer in one spot made me actually do the work. Within two months my knee felt steadier on stairs.” Individual results vary, but the pattern—environment simplifies action—shows up again and again.
Essential Zones: Mobility, Strength, Cardio, and Monitoring
Room setup (aim for 6×6 to 8×8 ft): Use a non‑slip mat over firm flooring. Keep one clear aisle (about hip width) for step-ups and split stance work. Place a mirror or phone camera on a tripod for form checks.
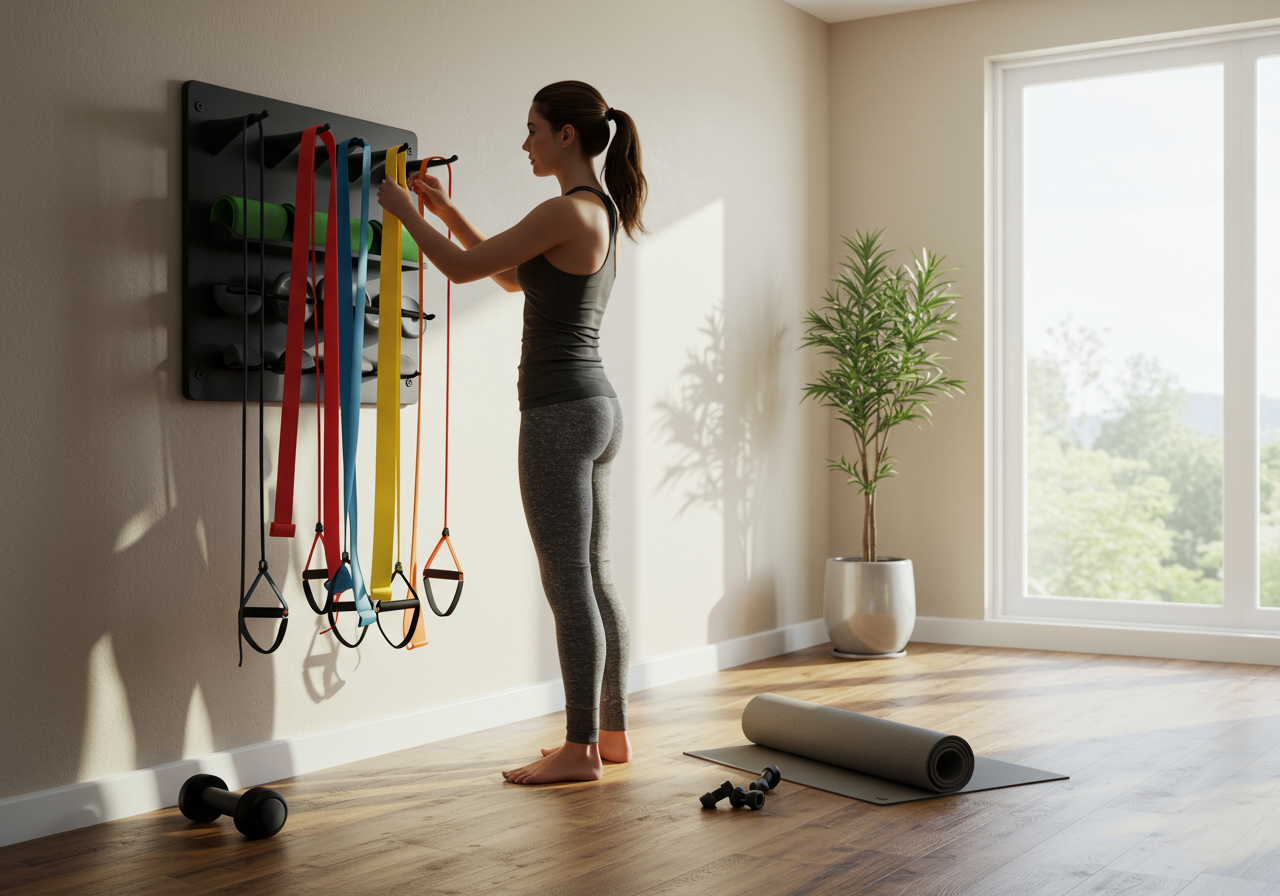
Strength/coordination: Mini‑bands, long bands with door anchor, light adjustable dumbbells (or a kettlebell), suspension trainer, step platform, balance pad.
Cardio/conditioning: Compact pedal exerciser, jump rope, or a clear space for marching intervals.
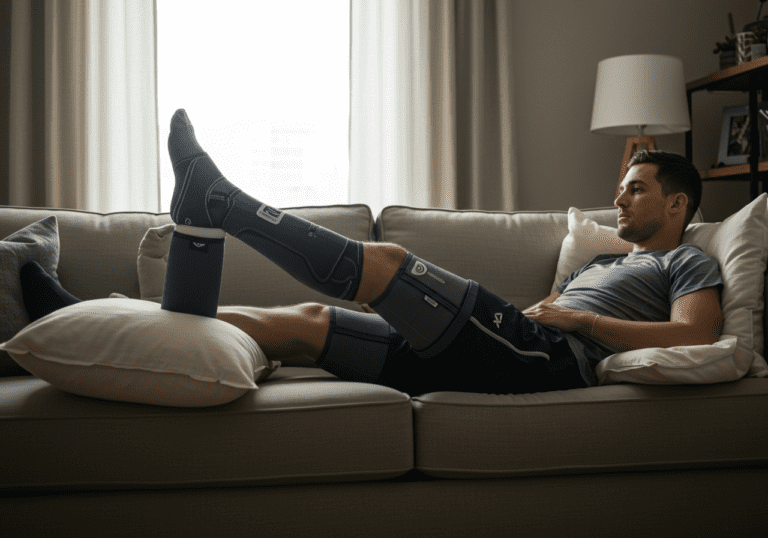
Recovery/monitoring: Timer, HR monitor (Polar/Garmin/Fitbit), small notebook or app (Strava, Apple Health, or Google Fit), optional blood pressure cuff if advised by your clinician.
Safety and layout tips: Mount anchors into studs and verify weight ratings. Store bands at shoulder height to avoid bending and snapping. Keep heavier items low. Add a small light and a fan; comfort matters for consistency.
Daily flow (about 30–40 minutes):
Warm-up (5 minutes): Easy marching or pedal work, nose-breathing, HR to zone 1–2 (roughly 60–70% HRmax). RPE 2–3.
Mobility (6–8 minutes): Ankle rocks, hip flexor shift, thoracic openers. 5–8 slow reps each, staying in pain-free range.
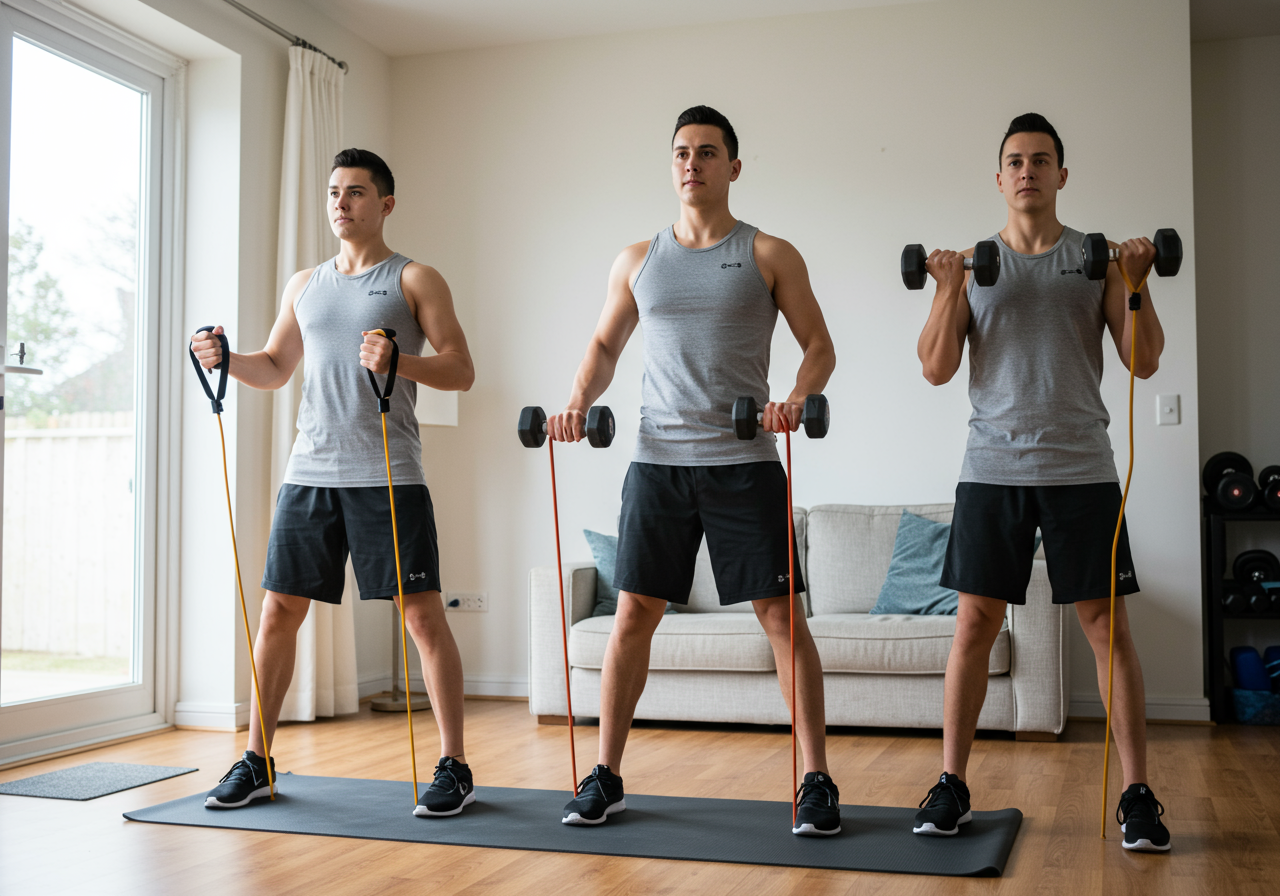
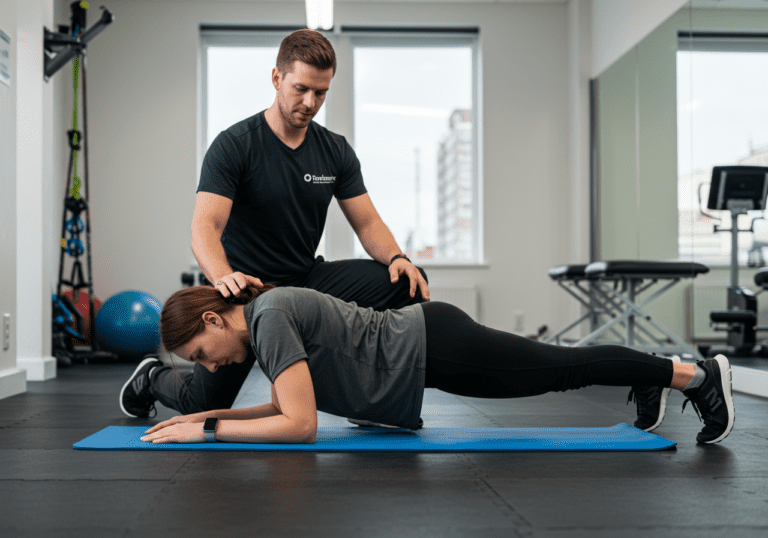
Strength/coordination (12–15 minutes): Circuit x 2–3 rounds: banded row 10–12, split squat 6–8/side (use support), step-up 6–8/side, banded press 8–10, dead bug or side plank 20–30s. Keep RPE 6–7.
Cardio finisher (6–10 minutes): Zone 2 marching or pedal intervals: 60s steady, 30s slightly brisk; repeat. Breathe through nose/mouth mix, smooth cadence.
Downshift (2–3 minutes): 4–6 slow breaths, 3 gentle stretches you enjoy. Log pain score (0–10), best movement of the day, and RPE.
Coaching cues I use: Move where movement feels safe; build shape before load; stop a rep short of pain; progress one variable at a time (range, reps, or resistance).
Twelve-Week Plan From Technique to Compound Movements
How to scale: Start with range-of-motion and coordination. Add time-under-tension, then resistance. Keep effort around RPE 6–7 most days; deload every 4–6 weeks.
12‑week progression snapshot—adjust by pain‑free range and RPE.
Weeks 1–2 (Beginner): Technique first

Mobility: 5–8 reps, slow tempo; Strength: mini-bands + bodyweight; Conditioning: 6–8 min Zone 2; Balance: 2×20s/side.


Weeks 3–4: Add volume

Mobility: +1 set per drill; Strength: add light dumbbells (2–5 kg) where smooth; Conditioning: 8–10 min Zone 2; Balance: 3×20–30s.


Weeks 5–6: Nudge intensity

Mobility: hold end-range 2–3s; Strength: progress band tension or +1–2 kg; Conditioning: 10–12 min, sprinkle 2×30s brisk bouts; Balance: add head turns.


Weeks 7–8 (Intermediate): Complexity

Mobility: add rotation; Strength: split squat to step-up supersets; Conditioning: 12–14 min with 30/30 builds; Balance: unstable surface or eyes-closed 10s.


Weeks 9–10: Strength focus

Mobility: maintain; Strength: 3 rounds, RPE 7; Conditioning: 10–12 min steady; Balance: single-leg hinge touches 6–8/side.


Weeks 11–12 (Advanced intro): Power & control

Mobility: dynamic to end-range; Strength: tempo reps (3–1–1) or pause squats; Conditioning: 12–15 min mixed; Balance: multi-direction reaches.
Load rules: If you finish a set with 2–3 clean reps in reserve and pain remains tolerable, add a small step next session (a few reps or a bit of resistance). If form degrades or pain spikes, hold or step back.
What to expect: Many people notice smoother stairs, longer balance holds, and steadier breathing during easy cardio by week six. In my coaching logs, sit‑to‑stand counts often rise modestly, though pace varies by history and sleep.
Track Pain, Balance, and Heart Rate Weekly
Frequency & intensity: Aim for 4–6 short touchpoints weekly. Keep most sessions conversational (Zone 2, RPE 3–4) with strength at RPE 6–7. Leave one day flexible for extra mobility or a neighborhood walk.
Monitoring: Track with Strava, Garmin, Fitbit, or Apple Health. Log pain (0–10), morning stiffness, step count, and a simple test (single‑leg balance time or 30‑second sit‑to‑stand). If any metric dips for several days, lighten volume.
Nutrition & recovery: Protein around 1.6–2.2 g/kg bodyweight supports tissue repair. Hydrate and include colorful produce daily. Most do well near maintenance calories for rehab; if weight loss is a goal, use a gentle deficit and prioritize protein. Sleep 7–9 hours and keep a 10‑minute wind-down routine.
Troubleshooting:
Plateaus: Change only one variable—range, reps, or resistance. Try tempo work or reduce rest to re‑challenge without irritation.
Overdoing it: Rising pain or fatigue? Drop total sets by a third for a week and favor Zone 2 cardio and mobility.
Motivation dips: Pre‑stage equipment each night, use 10‑minute mini‑wins, and check off sessions in MyFitnessPal or a paper habit tracker.
Flare‑ups: Shift to pain‑free partial range, lower band tension, and increase breathing drills. Resume load when symptoms settle.
Safety: Clear medical red flags with your clinician. Keep the area clutter‑free, anchors secure, and heavy gear stored low. Film a set weekly for technique review.
Next steps: Save this layout, print the weekly snapshot, and.
Medical Disclaimer: The information provided on this website is for informational and educational purposes only and is not intended as personal medical or health advice. The content, including text, graphics, and images, is not a substitute for professional medical advice, diagnosis, or treatment. Always seek the advice of your physician or other qualified healthcare provider…
Medical Disclaimer: The information provided on this website is for informational and educational purposes only and is not intended as personal medical or health advice. The content, including text, graphics, and images, is not a substitute for professional medical advice, diagnosis, or treatment. Always seek the advice of your physician or other qualified healthcare provider…
Medical Disclaimer: The information provided on this website is for informational and educational purposes only and is not intended as personal medical or health advice. The content, including text, graphics, and images, is not a substitute for professional medical advice, diagnosis, or treatment. Always seek the advice of your physician or other qualified healthcare provider…
Medical Disclaimer: The information provided on this website is for informational and educational purposes only and is not intended as personal medical or health advice. The content, including text, graphics, and images, is not a substitute for professional medical advice, diagnosis, or treatment. Always seek the advice of your physician or other qualified healthcare provider…
Medical Disclaimer: The information provided on this website is for informational and educational purposes only and is not intended as personal medical or health advice. The content, including text, graphics, and images, is not a substitute for professional medical advice, diagnosis, or treatment. Always seek the advice of your physician or other qualified healthcare provider…
Medical Disclaimer: The information provided on this website is for informational and educational purposes only and is not intended as personal medical or health advice. The content, including text, graphics, and images, is not a substitute for professional medical advice, diagnosis, or treatment. Always seek the advice of your physician or other qualified healthcare provider…