Medical Disclaimer: The information provided on this website is for informational and educational purposes only and is not intended as personal medical or health advice. The content, including text, graphics, and images, is not a substitute for professional medical advice, diagnosis, or treatment. Always seek the advice of your physician or other qualified healthcare provider with any questions you may have regarding a medical condition or before starting any new exercise, nutrition, or supplement program. Never disregard professional medical advice or delay in seeking it because of something you have read on this blog. Reliance on any information provided by this site is solely at your own risk.
How to Adjust Training Load Based on Recovery Metrics is the skill that keeps beginners improving without burnout. You’ll learn to pair simple readiness data with clear training rules for cardio, strength, and mobility.
Direct answer: Use HRV, resting heart rate, sleep, and RPE to scale volume ±20–40% day to day.
Recovery Signals Prevent Overtraining and Preserve Technique
Your body’s recovery signals (HRV trends, resting heart rate, sleep, soreness, and mood) reflect how your nervous system and tissues are coping with stress. When readiness is low, the same workout costs more. Tuning load to these signals reduces overreaching and preserves technique quality.
In peer‑reviewed work, individualized load based on readiness often improves adherence and lowers injury risk compared to fixed plans. In my coaching practice, athletes who scaled by HRV and RPE saw steadier progress and fewer missed weeks. I hedge here because outcomes vary with device accuracy and consistency.
“Switching to readiness‑based training stopped my shin pain. I still improved 5K pace while running fewer ‘red‑day’ intervals.” — Maria, busy parent and new runner
Personal note: When my HRV trended down three days in a row, substituting Zone 2 and technique work kept my weekly volume intact and my long‑run pace held at the same RPE the next weekend.
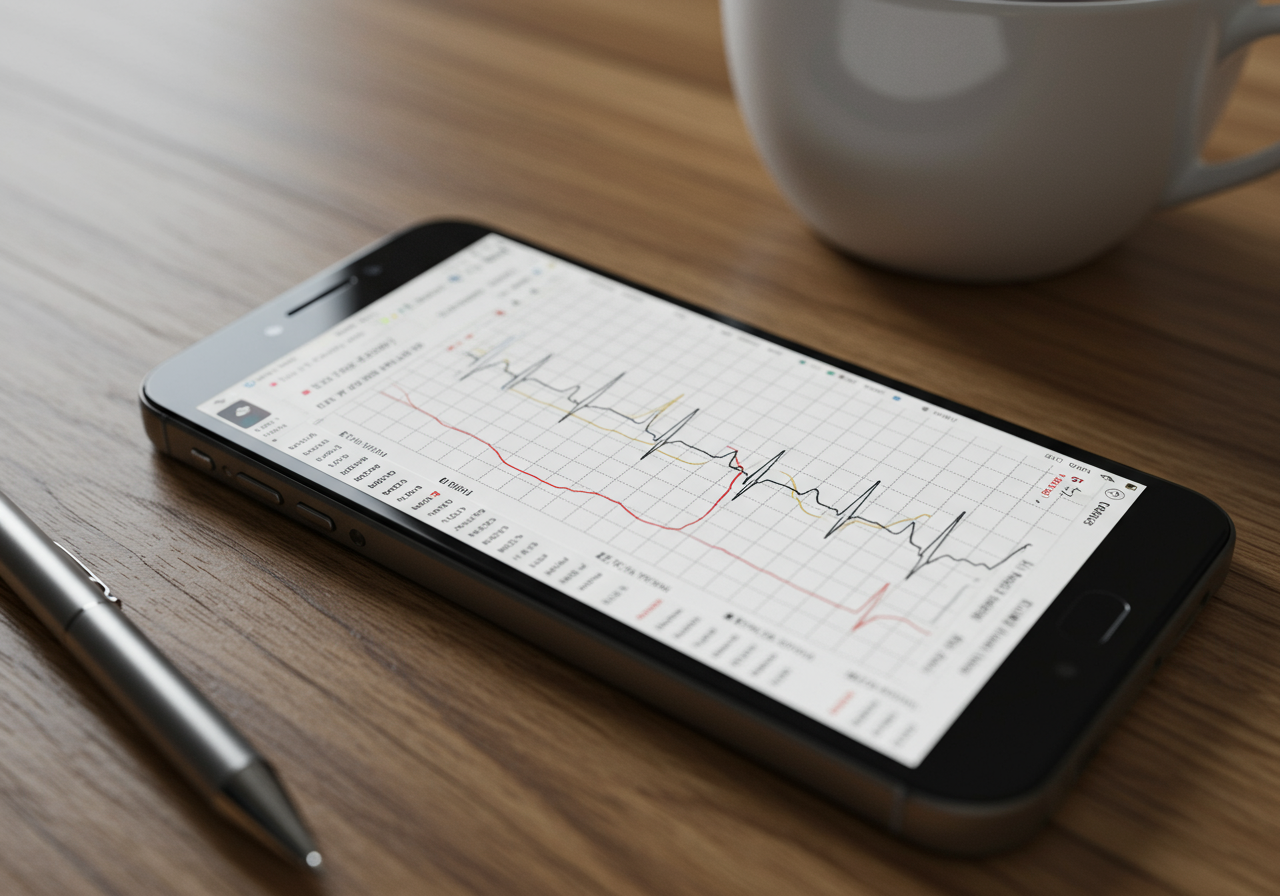
Track HRV and Heart Rate Daily
Set baselines (7–14 days): Each morning, log HRV (or readiness score), resting heart rate, sleep duration/quality, and a simple soreness/mood check. Tools I use: HRV4Training or Oura for HRV; Garmin/Polar/Fitbit for RHR; notes in TrainingPeaks or Strava.
Daily traffic lights: Compare today to your rolling baseline.
Yellow: Slight HRV drop or RHR +3–5 bpm, average sleep, moderate soreness.
Red: Marked HRV drop or RHR elevated, poor sleep, high soreness or illness signs.
Warm‑up diagnostics (5–10 min): Easy cardio + mobility. Use the talk test, a few bodyweight squats, and 1–2 light sets of your main lift. If movement feels heavy or coordination is off, treat as Yellow even if data says Green.
Scale the plan:
Green day: Do planned session; cap RPE 7–8 on main work. Cardio: target the day’s zones and intervals. Strength: add an optional back‑off set if bar speed is snappy.
Yellow day: Cut volume ~20–30% or reduce intensity one step (e.g., Zone 4 → Zone 3, or RPE 8 → 7). Emphasize technique and longer rests.
Red day: Replace intervals/heavy sets with Zone 1–2 cardio, easy mobility, and breathing drills; or rest completely. Keep total time ≤30–40 min.
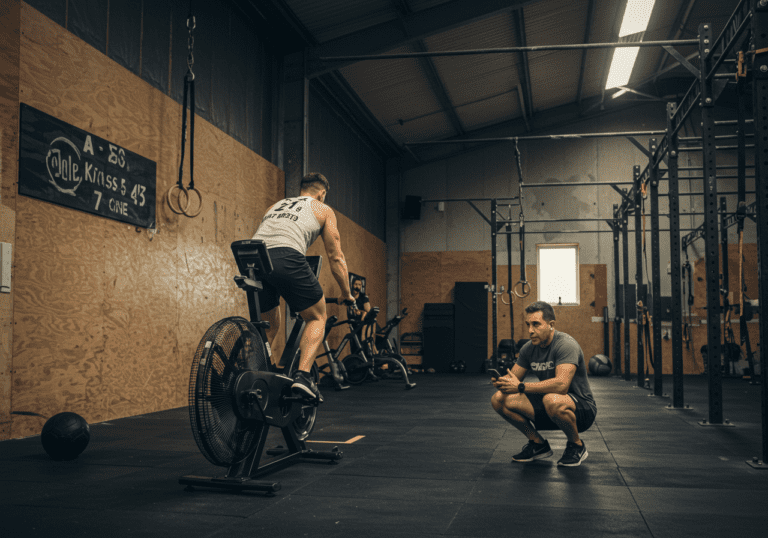
Cardio examples:
Zone 2 base: 30–45 min steady, nasal breathing, able to hold a full conversation.
Intervals (Green): 6 × 2 min Zone 4, 2–3 min easy between; (Yellow): 4 × 2 min Zone 3–4; (Red): 20–30 min Zone 1–2 only.
Strength examples (full‑body):
Squat or leg press, hinge (RDL), push (DB press), pull (row), carry (farmer walk).
Green: 3–4 sets of 5–8 reps at RPE 7–8; optional back‑off set at RPE 6.
Yellow: 2–3 sets at RPE 6–7; pause reps for control; longer rests.
Red: Technique circuit with light weights or bands; 20–30 total minutes.
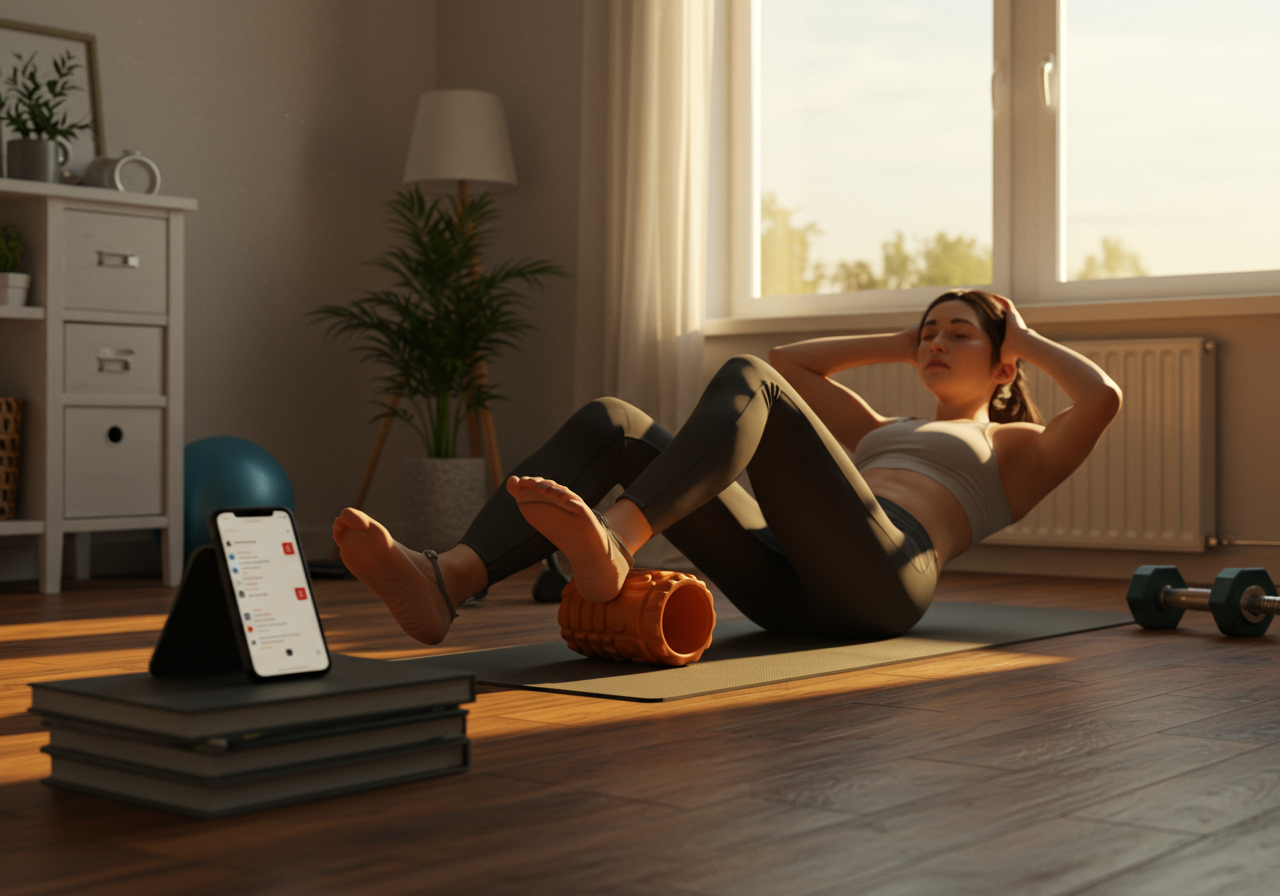
Mobility and recovery (daily 10–15 min): Hips, ankles, T‑spine, and shoulders. I like 90/90 switches, calf rocks, couch stretch, and deep breathing to downshift the nervous system.
Fuel and sleep: Aim protein 1.6–2.2 g/kg, carbs centered around hard sessions, creatine 3–5 g/day if desired, caffeine earlier in the day, 7–9 hours sleep.
My sample day (Green): 45‑min Zone 2 ride (HR ~130–140 bpm), then 3 × 5 front squats at RPE 7, 3 × 8 rows at RPE 7, 10‑min mobility. Logged in Strava and MyFitnessPal; felt strong, no form breakdown.
Scale Volume Weekly While Monitoring Readiness Signals
Caption: Weekly outline showing how to progress while scaling by daily recovery.
Weeks 1–2 (Beginner): 3 days/wk full‑body + 2 easy cardio. Strength 2–3×8 @ RPE 6–7. Cardio 20–30 min Z2. Yellow: −20% volume. Red: Z1 + mobility.

Weeks 3–4: Add 1 set to main lifts or +2.5–5 lb when RPE ≤7. Introduce 4 × 1 min Z4 intervals once/week (Green only).

Weeks 5–6 (Intermediate): 4 days/wk split: 2 strength, 2 cardio. Strength 3–4×5–8 @ RPE 7–8. Cardio 35–45 min Z2 + 5 × 2 min Z4 (Green). Yellow: drop last set/intervals.

Week 7: Heavier week if Green ≥3 days: maintain sets, +2.5–5 lb or +5–10% time in Z2. Cap RPE 8.

Week 8 (Deload): −30–40% volume, keep RPE 6–7, Z1–2 only. Focus sleep and technique.

Advanced (Ongoing): 5 days/wk. One high‑intensity cardio day (VO2), one threshold day, two strength days (one heavy, one volume), one skills/mobility day. Use Green/Yellow/Red scaling each day.
Beginner pointers: Keep most work at RPE 6–7. If two Red days appear in a row, rest and walk; resume with Yellow. Prioritize form and consistent sleep.
Intermediate pointers: Use bar speed or RPE to progress. If HRV dips two days, reduce set count and keep technique crisp. Keep an easy week every 4–8 weeks.
Advanced pointers: Add small overloads (2–5%) only when Green and bar speed is stable. On Yellow, maintain intensity but cut sets; on Red, technique work and Z1–2. Track block‑to‑block trends rather than single days.
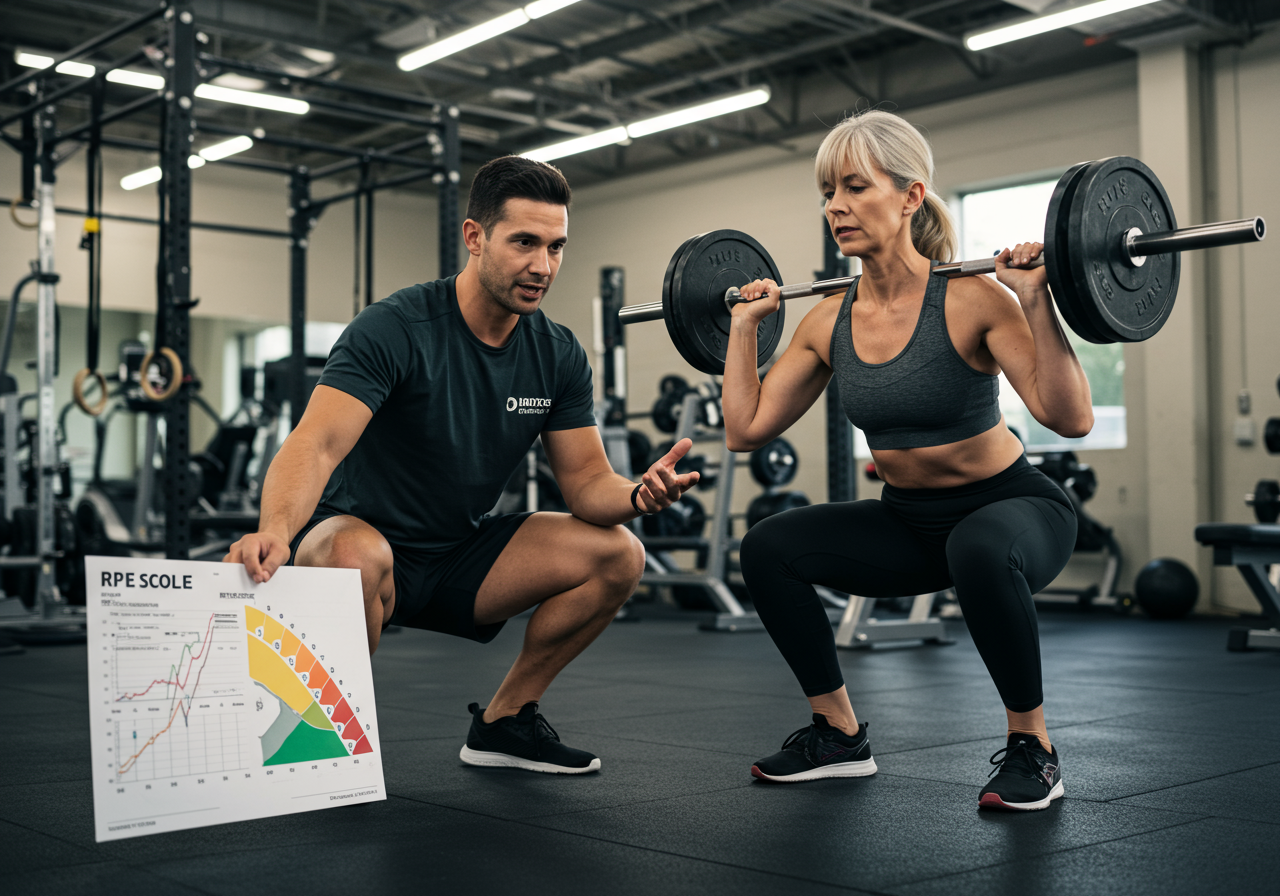
Use RPE Guardrails and Prioritize Sleep Recovery
Frequency: Start with 4–5 sessions/week (mix of strength, cardio, and mobility). Keep at least one full rest day.
Intensity guardrails: Most work should feel like RPE 6–7. Save RPE 8 for Green days. If form degrades, reduce load immediately.
Common mistakes: Chasing metrics instead of consistency, stacking hard days without sleep, skipping food, and ignoring joint pain. If pain exceeds a mild ache or alters gait/technique, stop and seek a clinician.
Plateaus: If lifts or pace stall for two weeks, check calories and protein, step count, and sleep. Add a deload or swap one interval day for Z2 for 1–2 weeks.
Recovery checklist: 7–9 hours sleep, 25–35 g protein per meal, carbs around training, creatine 3–5 g/day, omega‑3s if diet lacks fish, hydration with electrolytes in heat.
Progress tracking: Use a simple sheet: weekly volume, best RPE‑matched weight/pace, and a 1–10 energy score. I audit weekly in TrainingPeaks; it keeps trends honest.
“The traffic‑light rules kept me training through busy weeks. I hit my first unbroken set of 10 push‑ups without feeling wrecked.” — Devin, remote client
Next step: Download my readiness‑based planner template, connect your HRV app (HRV4Training/Oura/Garmin), and start your first 8‑week block.
Medical Disclaimer: The information provided on this website is for informational and educational purposes only and is not intended as personal medical or health advice. The content, including text, graphics, and images, is not a substitute for professional medical advice, diagnosis, or treatment. Always seek the advice of your physician or other qualified healthcare provider…
Medical Disclaimer: The information provided on this website is for informational and educational purposes only and is not intended as personal medical or health advice. The content, including text, graphics, and images, is not a substitute for professional medical advice, diagnosis, or treatment. Always seek the advice of your physician or other qualified healthcare provider…
Medical Disclaimer: The information provided on this website is for informational and educational purposes only and is not intended as personal medical or health advice. The content, including text, graphics, and images, is not a substitute for professional medical advice, diagnosis, or treatment. Always seek the advice of your physician or other qualified healthcare provider…
Medical Disclaimer: The information provided on this website is for informational and educational purposes only and is not intended as personal medical or health advice. The content, including text, graphics, and images, is not a substitute for professional medical advice, diagnosis, or treatment. Always seek the advice of your physician or other qualified healthcare provider…
Medical Disclaimer: The information provided on this website is for informational and educational purposes only and is not intended as personal medical or health advice. The content, including text, graphics, and images, is not a substitute for professional medical advice, diagnosis, or treatment. Always seek the advice of your physician or other qualified healthcare provider…
Medical Disclaimer: The information provided on this website is for informational and educational purposes only and is not intended as personal medical or health advice. The content, including text, graphics, and images, is not a substitute for professional medical advice, diagnosis, or treatment. Always seek the advice of your physician or other qualified healthcare provider…