Compound vs Isolation Movements decide how fast you gain strength, muscle, and resilience. I’ll show you when each shines and how to blend them.
Quick answer: Base training on compound lifts, then plug isolation where you need joint-friendly volume, symmetry, or rehab-friendly workload.
You’ll leave with a full framework: session design, weekly progression, recovery nutrition, and tracking methods I use with clients and in my own training.
Multi-Joint Movements Recruit More Muscle, Save Time
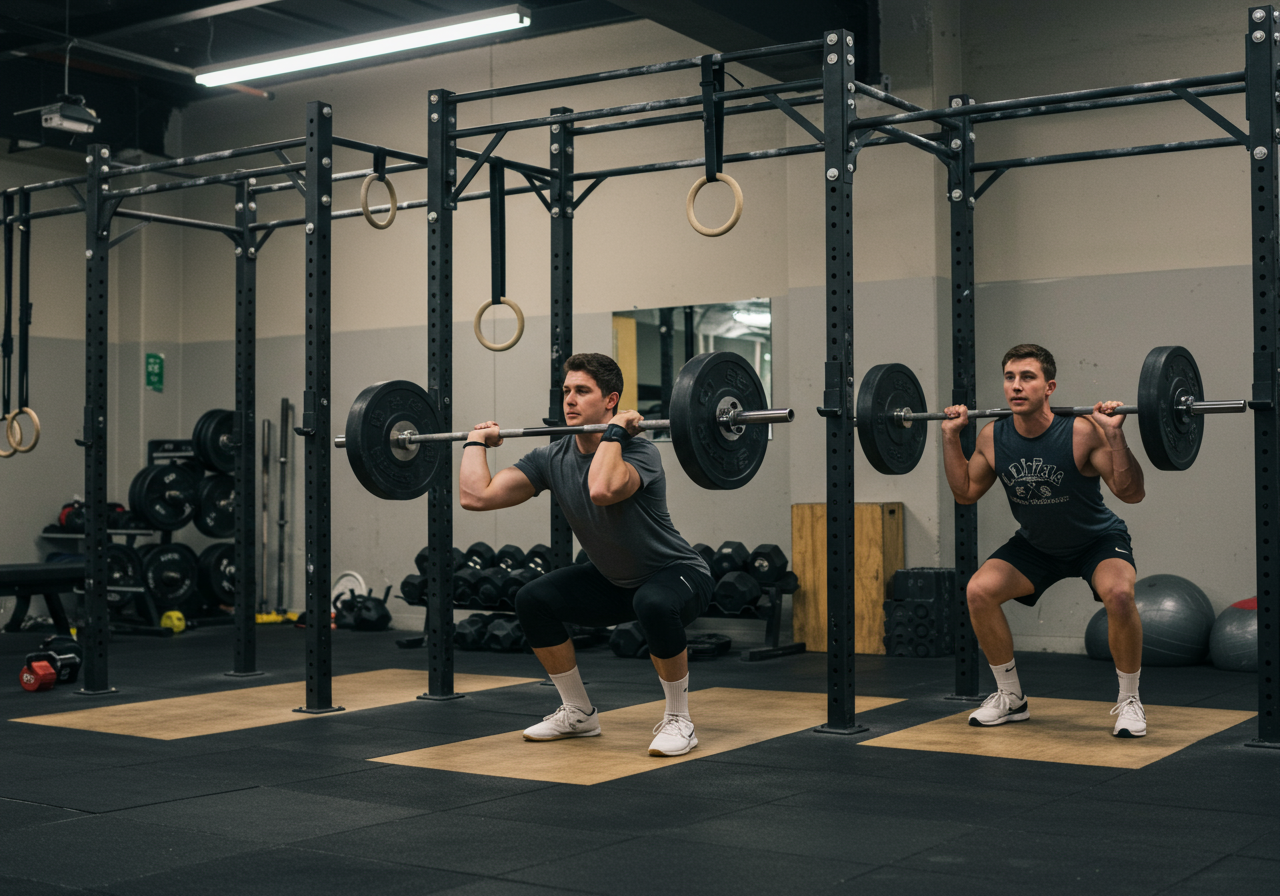
Compounds (squats, hinges, presses, pulls) recruit many muscles, load more weight safely, and train coordination. They deliver big mechanical tension and time efficiency—key drivers of strength and hypertrophy.
Isolations (curls, triceps extensions, leg curls, lateral raises) precisely target muscles that compounds may under-stimulate. They increase total volume without overwhelming joints or the nervous system.
Physiology in plain terms: compounds teach your body to move as a system; isolations refine the parts. Together, they support strength, balanced growth, and injury resilience. In practice and peer-reviewed work, programs combining both approaches often improve performance and joint comfort more than either alone.
Reality check: compounds can fatigue you fast; isolation lifts add volume gently. We’ll use that lever to prevent plateaus and distribute stress across the week.
Prioritize Compounds First, Add Isolations for Volume
Step 1 — Define today’s priority: Strength day? Lean into one major compound (e.g., squat). Hypertrophy or joint-friendly day? Lower compound intensity; increase isolation volume.
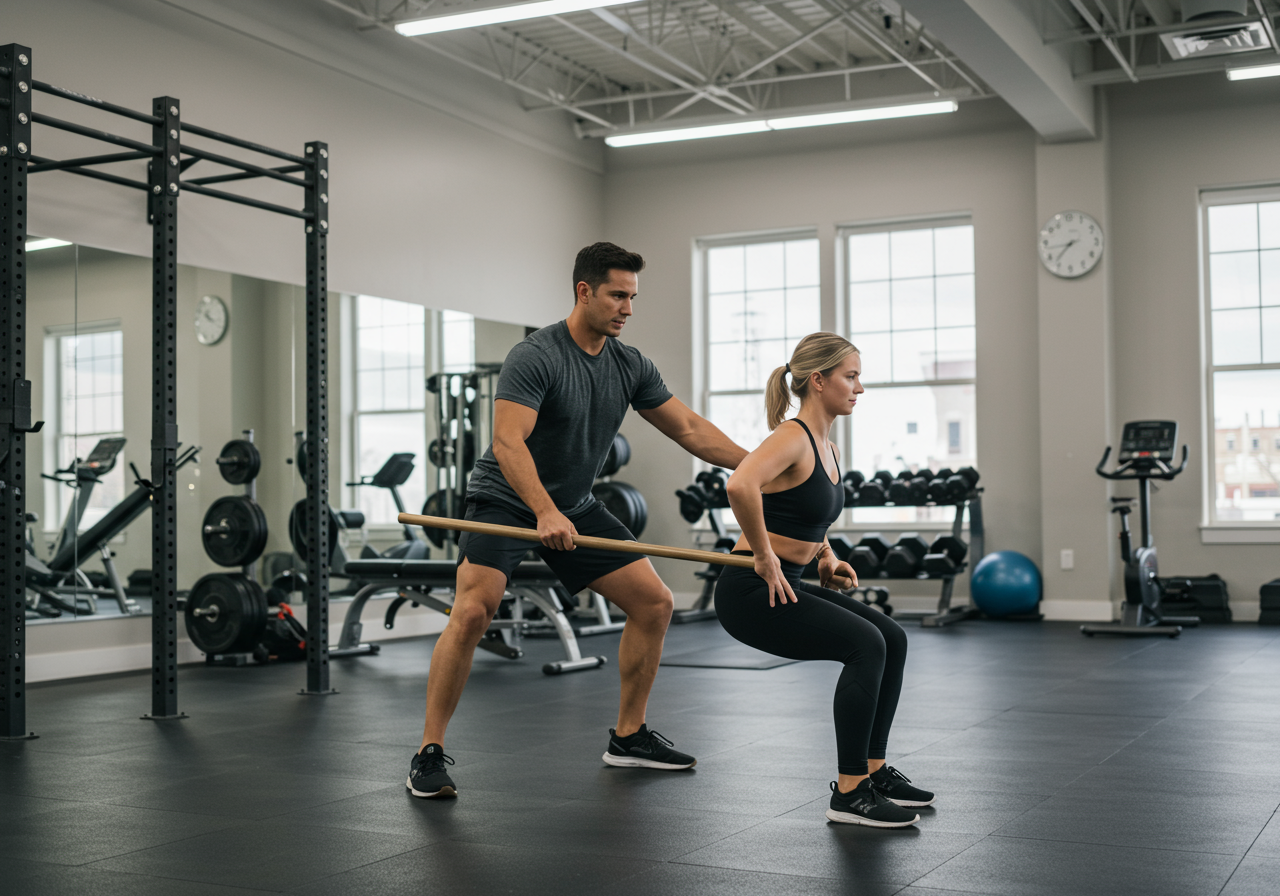
Step 2 — Quick readiness check (1–2 min): Two deep squats to a box, a hip hinge drill, shoulder circles. If anything feels sticky or painful, reduce load or range today.
Step 3 — Warm-up (6–8 min): 3 min easy cardio, then dynamic mobility (leg swings, thoracic rotations), and 2–3 ramp-up sets of your main lift.
Step 4 — Build the session:
Main Compound (A): 3–5 sets of 3–8 reps at RPE 6–8. Examples: back squat, RDL, bench, overhead press, pull-up, row.
Secondary Compound or Machine (B): 3–4 sets of 6–10 reps at RPE 6–7. Control tempo to reduce joint stress.
Targeted Isolation (C–D): 2–4 sets of 10–15 reps at RPE 7–8. Examples: leg curl, leg extension, lateral raise, cable fly, biceps curl, triceps pressdown, calf raise.
Conditioning Finisher (optional): 5–10 min Zone 2–3 (bike or rower). Keep breathing steady; you should speak in short sentences.
Step 5 — Cues for when to add isolation:
Your compounds stall but you still recover well between sessions.
Visible asymmetry or mind-muscle connection is weak in a specific area.
Joints ache after heavy compounds—swap to lighter isolation to maintain volume while reducing load.
Lower A (hypertrophy tilt): Front Squat 4×6 (RPE 7), RDL 3×8, Leg Press 3×10, Leg Curl 3×12, Calf Raise 3×15, Hanging Knee Raise 3×12.
Step 7 — Tracking: Log sets, reps, and RPE in the Strong app or a spreadsheet. Track steps and heart rate with Garmin/Fitbit; export to Strava if you run.
Step 8 — Recovery & nutrition: Sleep 7–9 hours. Protein ~1.6–2.2 g/kg/day, carbs around training, fats to fill remaining calories. I use MyFitnessPal to sanity-check intake during tougher blocks. A basic creatine monohydrate (3–5 g/day) and vitamin D (as advised by your clinician) can be helpful.
Personal note: When my shoulders felt beat up, I reduced barbell pressing volume and kept progress by adding cable flys and lateral raises. Strength returned faster once the joints calmed down.
Progress from Full-Body to Upper-Lower Split Training
Principle: Let compounds carry the load early; add isolation to reach weekly volume without frying your nervous system.
Weekly plan at a glance — use RPE for load guidance; add small weight only when reps and form are solid.
Level 1 (Weeks 1–4): Full-Body 3x/week

A: Squat or Leg Press 3x8 @ RPE 6

B: Row or Pull-up 3x8 @ RPE 6–7

C: Press (DB/BB) 3x8 @ RPE 6–7

D: Isolation pair (e.g., leg curl + lateral raise) 2x12 @ RPE 7

Finish: 6–8 min Zone 2 cardio


Level 2 (Weeks 5–8): Upper/Lower 4x/week

Main compounds 4x6–8 @ RPE 7–8

Secondary compounds 3x8–10 @ RPE 6–7

Isolations 3x12–15 @ RPE 7–8

Add 2.5–5 lb or 1 rep/week if technique is crisp


Level 3 (Weeks 9–12): Undulate stress

Day 1 (Heavy): Main lift 5x3–5 @ RPE 8; Minimal isolation

Day 2 (Hypertrophy): Compounds 3x8–10 @ RPE 7; 3–4 isolations 3x12–15

Day 3 (Power/Speed): Compounds 6x2 @ RPE 6–7, fast intent; Light isolation 2x15

Day 4 (Pump/Accessory): Machines + isolations 4x12–15; easy cardio


Every 4–8 weeks: Deload 1 week

Reduce volume by ~30–50%; keep technique sharp; prioritize sleep and steps


Advanced Block (6–8 weeks): Specialize

Choose one lagging muscle: +2 isolation sets/session for that area

Hold main lift volume steady; re-evaluate joints weekly
When to progress: If you complete all sets at target RPE two sessions in a row, add a small weight next time. If reps fall and form slips, hold or reduce load and increase rest.
Intermediate tip: Rotate grip or stance every 4–6 weeks (e.g., neutral-grip row → chest-supported row) to keep stimulus fresh without relearning movement patterns.
Train at RPE 6-8, Track Recovery Metrics Weekly
Frequency: 3–4 strength days/week works well for most. Keep 24–48 hours between heavy lower sessions.
Intensity: Live in RPE 6–8. Save true grinders for test weeks. Your joints will thank you.
Common mistakes: (1) Only compounds—great until a small muscle limits progress. (2) Only isolations—fun pump, little carryover to life. (3) No progression plan—log your work.
Injury and soreness: Pain during a compound? Swap to a similar pattern with less joint stress (e.g., back squat → safety bar or leg press). Keep muscle stimulus via isolation (leg curls/extensions) while you heal.
Monitoring: Track session RPE, morning mood, and grip strength (simple timed hang) weekly. If recovery trends down for 7–10 days, deload or cut isolation volume by 20–30%.
Validation: In client practice, mixing compounds for skill and isolations for volume often leads to steadier progress within 8–12 weeks. Typical feedback: stronger main lifts, better symmetry, and less joint crankiness.
Mara, new lifter: “Once I added curls and lateral raises after rows and presses, my shoulders felt stable and my bench stopped stalling.”
Dev, busy parent: “Two big lifts and three quick accessories fit my schedule. I finally see arm and leg definition without feeling wrecked.”
Next steps: Start at Level 1 for two weeks, learn your RPE anchors, then climb steadily. Subscribe for my printable templates and a recovery checklist you can keep in your gym bag.
Three-Phase Periodization Loop for Real-World Client Progress Implement periodization into client programming easily to replace guesswork with a clear plan that fits real lives. The simplest approach is a three-phase loop: build volume, raise intensity, then deload for one week, repeating every 8–12 weeks. In this guide, you’ll see a complete system I use with…
From scattered workouts to a structured training roadmap Endurance periodization turns scattered training into a simple roadmap from base to build to peak. Best approach: build easy volume, layer threshold/VO2 work, then taper to arrive fresh. In a few minutes, you’ll see how to structure your weeks, progress from beginner to advanced, fuel and recover…
Build engagement through small wins and progression A 30-day challenge can keep users engaged when it blends simple wins with steady progression, clear tracking, and recovery. Build it by mixing small daily wins, progressive difficulty, and clear tracking. In this guide you’ll get a complete template: cardio, strength, mobility, and activity days; level-based progressions; tracking…
Dynamic Warm-Ups and Strategic Cool-Downs for HIIT Warm-up and cool-down decide whether high-intensity cardio feels sharp or sloppy. Today you’ll get a complete system that scales from beginner to advanced. The best approach is 10–12 minutes of dynamic ramp-up and 8–10 minutes of easy aerobic plus breathing and light mobility afterward. You’ll learn why these…
Accessory work for big lifts is the smartest lever to grow your squat, bench, deadlift, and press without burning out. Choose 1–3 targeted accessories per lift, train 6–15 reps, progress weekly, and deload every 4–8 weeks. In this guide, you’ll learn how to pick the right accessories for your weak links, structure sessions around big…
Build Fitness While Protecting Your Joints Daily Low-impact cardio helps you build fitness without irritating your knees, hips, or back. Best joint-friendly options include walking, cycling, elliptical, swimming, rowing, and pool running. In the next minutes, you’ll get a complete, beginner-friendly conditioning system with clear sessions, weekly progressions, nutrition and recovery tips, and simple tracking…