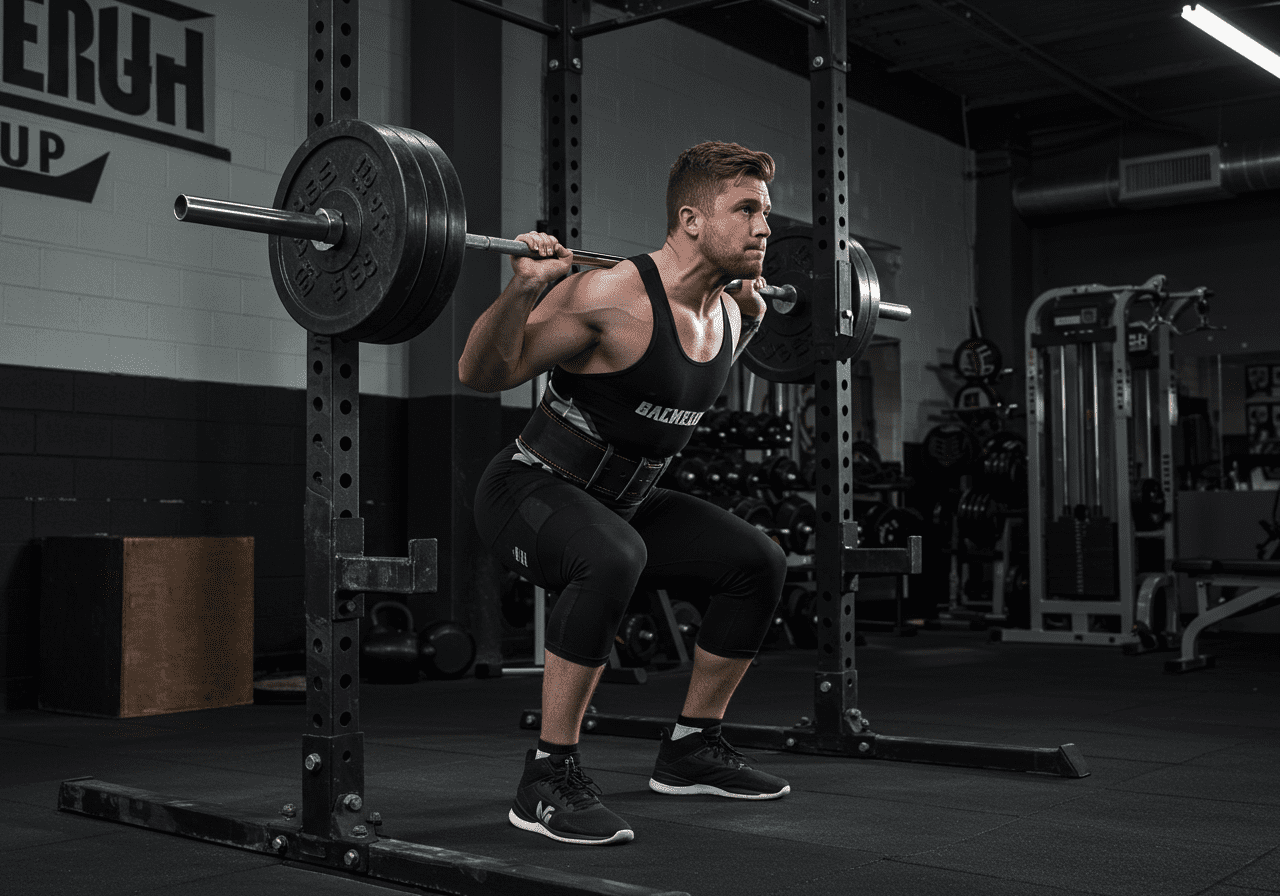
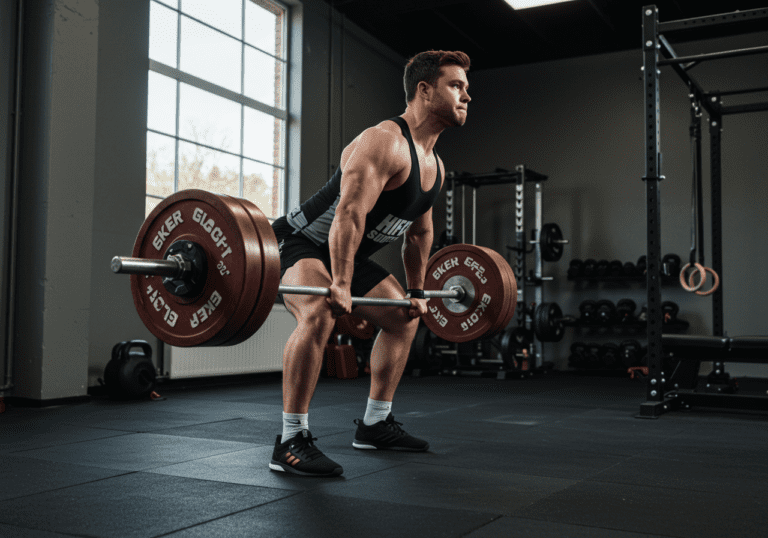
360-Degree Bracing Builds Squat and Deadlift Strength
Core strength protocols that improve squat and deadlift start with 360-degree bracing and anti-extension control, then layer anti-rotation and carries.
Direct answer: strong, braced cores raise squat and deadlift by boosting spinal stiffness and force transfer. In this guide, you’ll get a tested system, level-based progressions, and simple checks to confirm results.
Intra-Abdominal Pressure Acts Like an Internal Weight Belt
A stable trunk lets the hips and legs do their job. When you breathe low and brace 360 degrees, the diaphragm, obliques, and spinal erectors create intra-abdominal pressure. That pressure acts like an internal weight belt, reducing shear on the spine and smoothing the bar path. In practice-based studies, better bracing often correlates with higher bar speed and fewer tweaks.
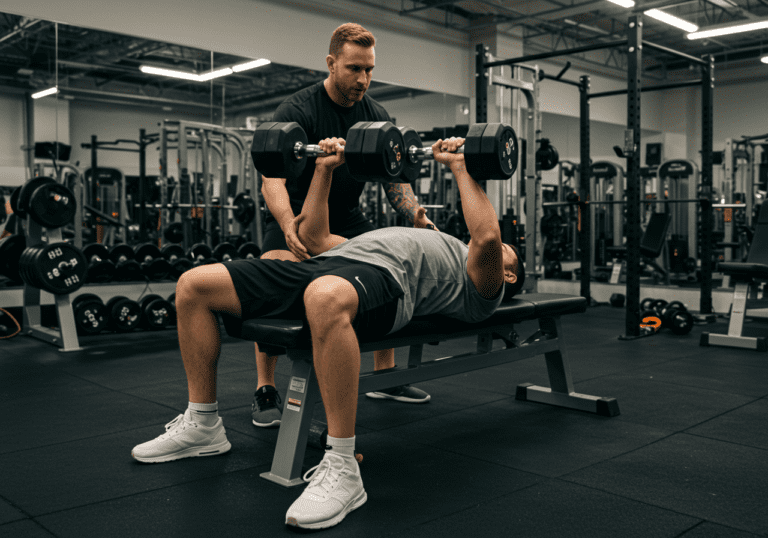
My experience: during a six-week block, I added a daily two-minute bracing primer and suitcase carries after pulls. My beltless deadlift moved from 405×3 @ RPE 8 to 425×3 @ RPE 8 while back tightness dropped. Client note—“Within 8 weeks, front squats felt upright and pain-free; I added 15 lb without changing reps.” Individual results vary, but this pattern is common in my coaching log.
Practical takeaways: isometrics (planks, paloffs) teach tension that transfers to heavy sets; dynamic drills (rollouts) build strength through range. Belts amplify a good brace but cannot replace it. Use both beltless practice and belted top sets to cover skills.
Dead Bugs, Rollouts, and Pallof Presses Done Right
Warm-up — 5–7 minutes of easy movement (bike or marching), then hip openers. Keep breathing through the nose and expand the lower ribs.
Brace primer — 2 minutes total: stand tall, hands around the lower ribs. Inhale into the belt-line (360 degrees). Think “widen” not “chest up.” Gentle hiss to set tension without rib flare. Repeat for 5–6 breaths. Then 1–2 sets of McGill Big 3 (short holds): curl-up, side plank, bird-dog.
Anti-extension drill — choose one: dead bug (3×6 slow reps; exhale as legs extend) or ab wheel/slider rollout to a safe range (3×5–8, 3–1–3 tempo). Keep ribs stacked over pelvis.
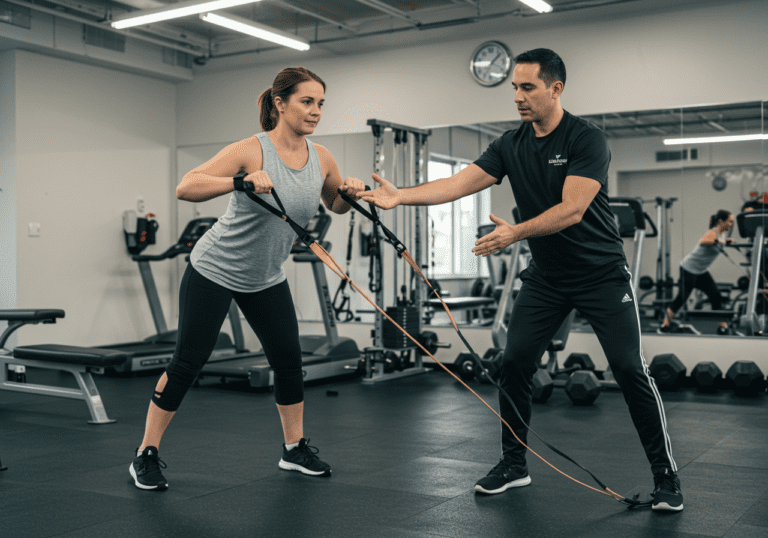
Anti-rotation drill — Pallof press or half-kneeling cable press-out (3×8–10 per side; 2–3 seconds in the long-lever position). Hips square; do not let the band move you.
Hinge integration — 2–3 sets of kettlebell RDL with 2-second pauses just below the knee. Brace, hinge, pause, drive. Focus on lats down and belt-line pressure.
Carry finisher — farmer or suitcase carry, 3×20–30 m. Walk tall, ribs stacked. If using a smartwatch, keep heart rate in Zone 2–3; if it spikes, lighten load and maintain posture.
On lift days — before your squat or deadlift work sets: 1–2 brace breaths, 1 light set of your anti-extension drill, then to the bar. Between warm-up sets, repeat a single dead bug or Pallof rep as a reminder. After the main lift, add 1–2 carry sets if time allows.
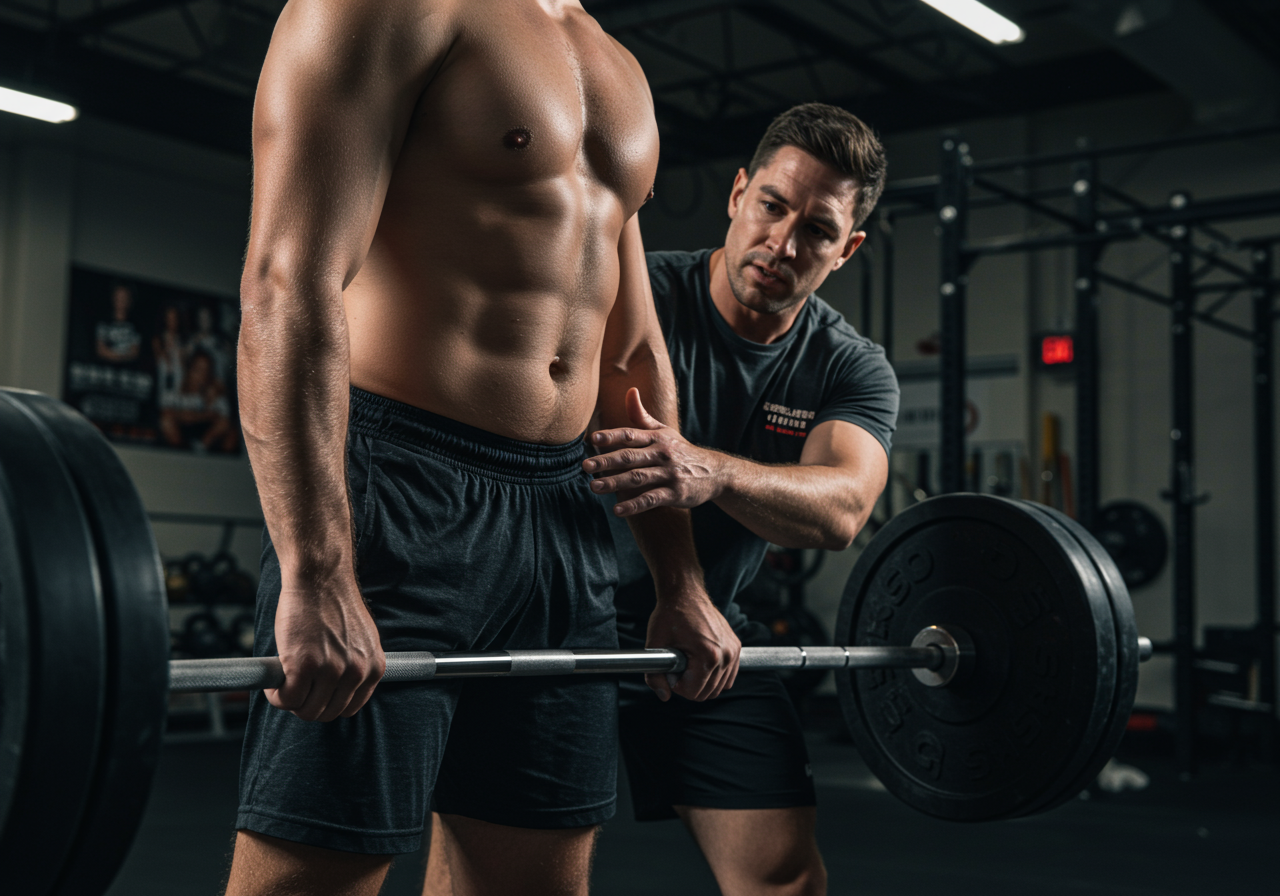
Belt use — place the belt where you can expand into it. Leave a finger or two of space so you can breathe and push 360 degrees. Your goal is pressure, not pain.
Tracking — log sets, hold times, and RPE in your app (I use Garmin for HR, and MyFitnessPal for recovery nutrition). Note bar speed or rep smoothness; a simple camera plus a rep-tracking app is enough.
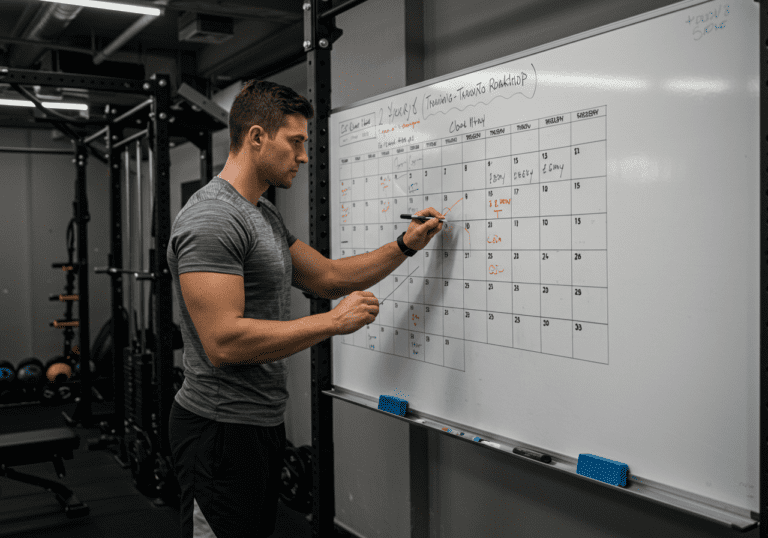
Eight-Week Protocol from Beginner Holds to Loaded Carries
Use these levels to scale difficulty while keeping technique crisp. Aim for RPE 6–8 on core moves; stop if you lose spinal position.
Caption: 8-week core-to-lift progression; adjust by RPE, keep positions solid. Week 1–2: Beginner — Big 3 (2×10–15s holds), Dead bug (3×6), Pallof (3×8/side); Squat/Dead @ RPE 6–7; Suitcase carry (3×20 m). Week 3–4: Beginner+ — Big 3 (3×15–20s), Dead bug (3×8), KB RDL pauses (3×5), Pallof (3×10/side); Main lifts @ RPE 7; Farmer carry (3×25 m). Week 5–6: Intermediate — Rollouts (3×5–8), Half-kneel press-out (3×8/side), Heavier RDL pauses (3×4), Carries (3×30 m); Squat/Dead top set @ RPE 8 then back-offs @ −10%. Week 7–8: Advanced — Rollouts (4×6–10), Offset front rack carry (3×20 m/side), Tempo hinge (3×3 @ 3-1-3), Anti-rotation press with long lever (3×8/side); Top single @ RPE 8, doubles/triples @ RPE 7–8. Optional Week 9: Deload — cut accessory volume by 40–50%, maintain light technique sets, test bar speed, not max.
Checkpoints — every 2 weeks, do a beltless top set @ RPE 7. Estimate e1RM from reps and bar speed. Note if bar feels straighter and hips lock out cleanly. If low back pumps early, reduce rollout range and add one suitcase-carry set.
Plateau plan — if progress stalls for 2 weeks: swap Pallof for cable anti-rotation press with step-out, reduce rollout volume by 1 set, and add a front-loaded carry. Rotate back the following week.
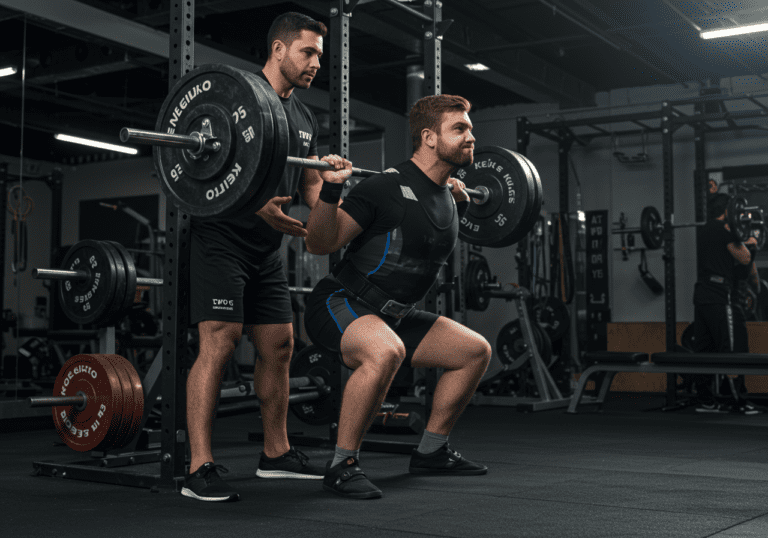
Three Weekly Touchpoints Keep Bracing Sharp and Safe
Frequency — 3 core touchpoints/week: two short primers on lift days and one focused accessory session. Keep total core time ~15–25 minutes/session.
Intensity — build tension, not cramps. Most sets at RPE 6–8; carries heavy but posture-perfect. For heavy squats/deads, use the brace you practiced: inhale low, expand 360, hold through the sticking point, then small exhale.
Common mistakes — holding the breath in the chest, flaring ribs, hyperextending the low back, and racing the rollout. Solve it by shortening the range and re-stacking ribs over pelvis. If you use a belt, do not cinch it so tight that you cannot expand.
Recovery & nutrition — prioritize protein 1.6–2.2 g/kg bodyweight, 7–9 hours of sleep, and 500–700 ml fluids with electrolytes around training. Creatine monohydrate (3–5 g daily) pairs well with strength blocks. I track steps and sleep in Garmin and log food in MyFitnessPal; consistency beats perfection.
Injury cautions — dull low-back fatigue that fades with rest is common early; sharp pain or tingling is a stop signal. Swap rollouts for dead bugs or breathing planks until symptoms resolve. Consult a qualified clinician if pain persists.
Validation — look for smoother bar paths, fewer bailout reps, and higher e1RM at equal RPE. In my coaching notes, lifters often report “less back tightness, more leg drive” within 3–6 weeks.
Next steps — download a simple tracker, film one top set weekly, and keep the brace primer forever. If you want my template and checklist, subscribe and I’ll send the editable logbook.
Simple Two-Year Plan for Sustainable Strength Gains Long-Term Strength Roadmap lays out a simple, 2-year plan to build muscle, improve fitness, and stay durable without burnout. Direct answer: Do three full-body lifts, two easy cardio sessions, and weekly mobility, then add small weight or reps when sets feel strong. What you’ll get today: a complete,…
Incremental loading in rehab gives you a clear path to restore capacity without re-injury. Increase load 2–10% when pain stays ≤3/10 during activity and the next day. In the next few minutes, you’ll learn the exact steps I use with clients and in my own training: pain rules, weekly progressions, session templates, tracking, and recovery…
Catch Overtraining Early With Simple Weekly Symptom Scans Overtraining syndrome can sneak up on beginners; here’s how to identify it fast and recover properly. Core signs: lasting fatigue, performance decline, mood shifts, poor sleep; recover by cutting training volume, sleeping 7–9 hours, and fueling adequately. In this guide, I’ll show you my field-tested system to…
Quick Overview: Zone Targets and Weekly Structure Heart Rate Zone Training helps beginners build endurance smarter with clear intensity targets. You’ll learn how to set your zones, plan workouts, and track progress without guesswork. Direct answer: Spend most sessions in Zone 2, add short Zone 4–5 intervals weekly, and take at least one full rest…
Build Endurance With 2-4 Weekly Pool Sessions Swimming workouts for total-body endurance conditioning deliver cardio, core stability, and shoulder/hip strength with minimal joint stress. This guide shows you the exact session structure, weekly progressions, and recovery strategies I use with new swimmers. Direct answer: Train 2–4 times weekly, progress total meters by 10–15% max, and…
Strategic Cold Plunge Timing for Recovery and Performance Cold water immersion can be a powerful recovery tool when you integrate it into a structured week of cardio, strength, and mobility. Use cold water immersion after cardio or on rest days, 2–10 minutes at 10–15°C, and avoid right after heavy lifting. In this guide you’ll learn…